
How to Clean Tile Grout: Expert Steps for Bright Tiles
Transform your tile! Learn how to clean tile grout with our guide. Discover effective DIY methods, essential sealing tips, and when to hire pros for a fresh
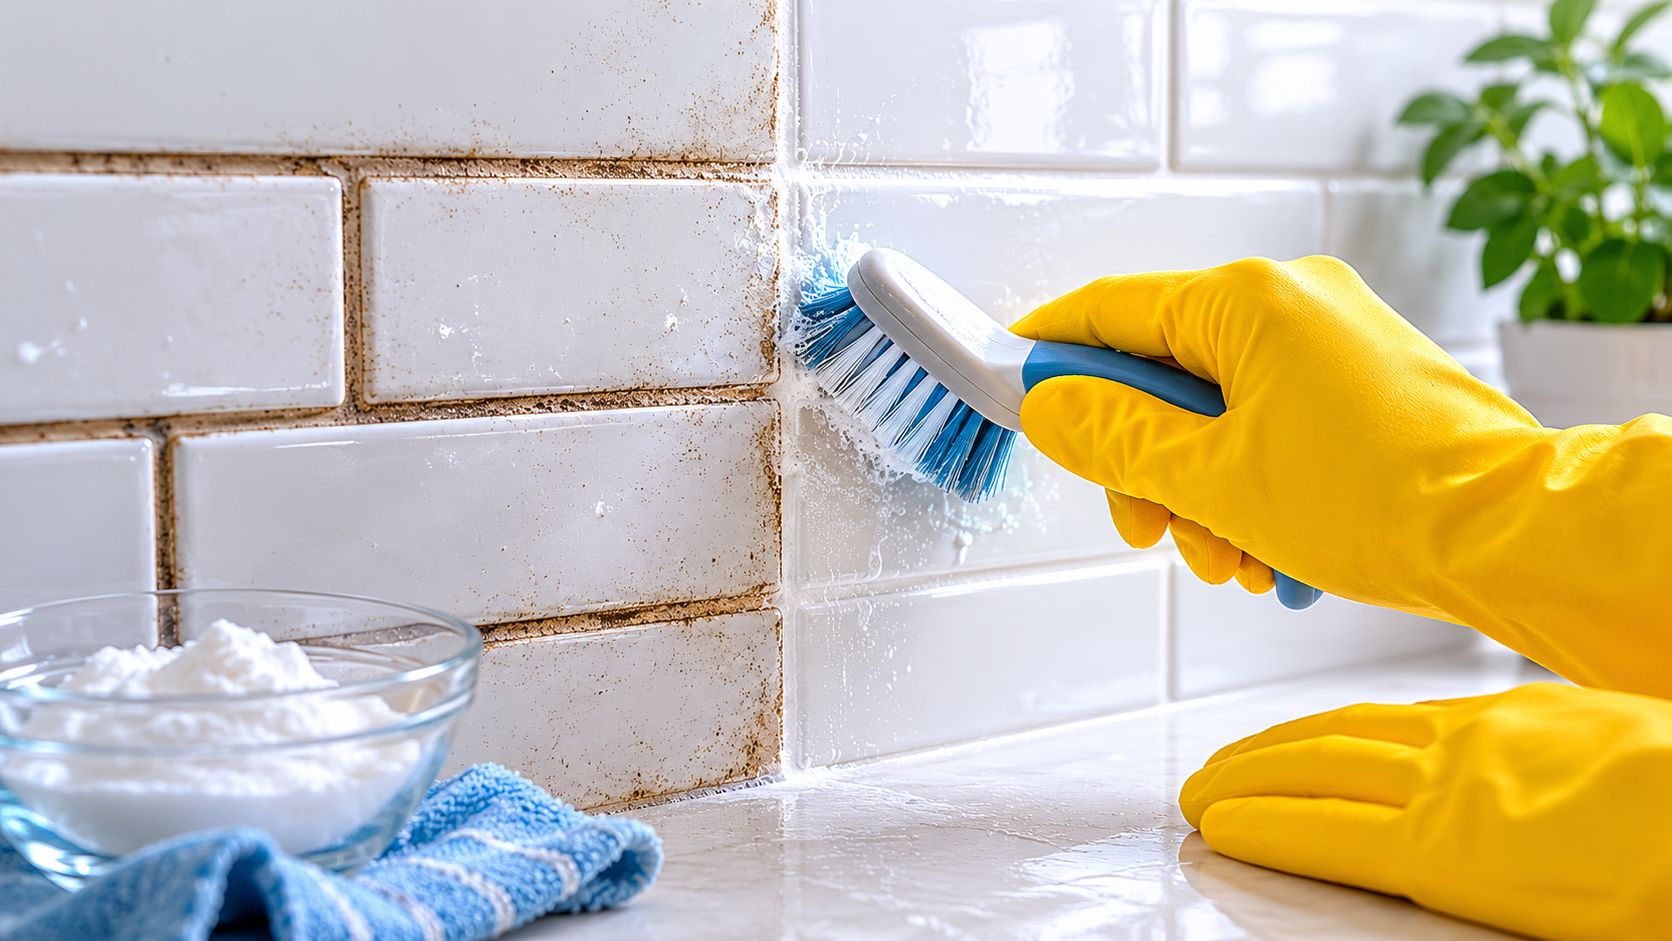
You mop the tile. The surface looks better. Then your eye goes straight to the grout lines, and the whole room still feels dirty.
That's the part most homeowners in places like Wayland, Newton, Needham, Wellesley, and Weston run into. The tile itself cleans up fast, but grout holds onto soil, soap residue, moisture, and discoloration in a way that makes a bathroom floor or shower wall look older than it is. A clean-looking tile surface next to dingy grout is frustrating because it makes the entire space feel unfinished.
The good news is that grout can often be brought back much further than people expect. The bad news is that scrubbing harder isn't always the answer. Sometimes the right fix is a gentle DIY method, sometimes it's a grout-safe commercial cleaner, and sometimes cleaning has already stopped being the smart move.
This guide is built for the actual situation you're in right now. You want clear steps, safe methods, and honest advice about what works, what doesn't, and when it makes sense to hand the job off.
Table of Contents
- Why prep changes the result
- What to do before any cleaner touches the floor
- A quick inspection before you scrub
- The DIY paste that works for most routine jobs
- How to scrub without damaging the grout
- If you're using a commercial cleaner instead
- Sealing is what reduces future work
- Simple habits that protect clean grout
- A maintenance mindset works better than rescue cleaning
- Can I use vinegar on tile grout
- How do I know if grout is dirty or permanently stained
- What's the best brush for cleaning grout
- How long should cleaner sit on grout
- Should I seal grout after cleaning
- What about mold in shower grout
Your Grout Can Look New Again
Most grout problems don't start with a dramatic mess. They build slowly. A little darkening along the kitchen floor. A shower corner that never looks bright. A bathroom tile floor that still seems grimy even after you've cleaned it twice.
That's why grout frustrates people so much. You can have solid tile, a well-kept room, and good cleaning habits, yet the grout lines still pull the whole look down. In homes with kids, pets, heavy foot traffic, or busy shower use, grout takes the hit because it's the most absorbent part of the surface.
What cleanable grout usually looks like
If the grout is intact and the discoloration looks like built-up soil, residue, or surface mildew, there's a strong chance a careful deep clean will improve it. In practical terms, that means the grout is still firm, still in place, and not breaking apart when touched or brushed.
Good candidates for cleaning usually show signs like these:
- Even darkening across traffic paths instead of isolated missing sections.
- Shower staining near the surface that looks worse when wet.
- Kitchen grime or tracked-in dirt sitting in grout lines around entries or cooking areas.
Grout often looks worse than it is. A lot of “ruined grout” is actually embedded soil plus cleaner residue that never got fully removed.
What homeowners often get wrong
The common mistake is going straight to the strongest product or the stiffest tool. That can leave you with frayed grout edges, scratched tile finishes, and a lot of effort without much payoff.
The better approach is to read the grout first. Ask a simple question: is this dirt, moisture-related growth, permanent staining, or physical failure? Once you answer that, the cleaning method gets much easier to choose.
Prepping Your Tile and Grout for a Deep Clean
Preparation is where a professional result starts. Most failed grout-cleaning jobs don't fail because the cleaner was weak. They fail because the surface wasn't prepared, loose debris stayed in place, and the cleaner got asked to fight dirt that should have been removed first.
Why prep changes the result
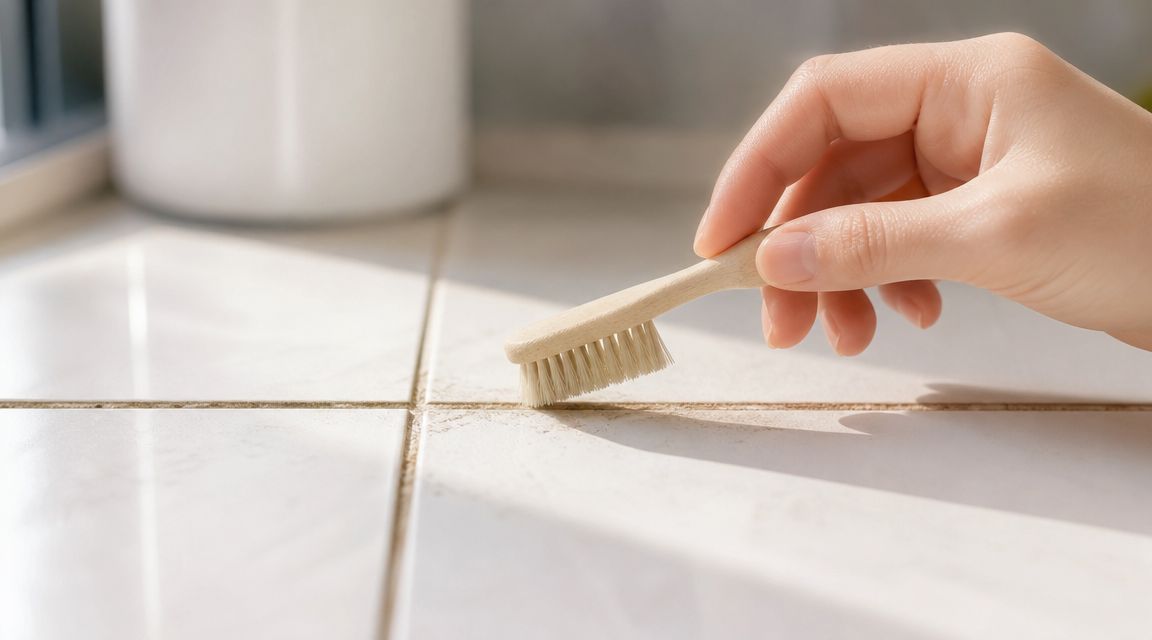
A professional-grade grout-cleaning workflow starts with dry soil removal because loose debris can be pushed deeper into porous grout during scrubbing. Tile-care guidance recommends sweeping or vacuuming first before applying any cleaner, as explained in this step-by-step professional grout-cleaning guide.
That one step makes a bigger difference than is often realized. If dust, sand, hair, or kitchen grit is still sitting on the floor, your brush turns it into abrasive mud. Then you're grinding grime into the grout instead of lifting it out.
Practical rule: If the floor still has crumbs, dust, or hair on it, it isn't ready for wet cleaning.
What to do before any cleaner touches the floor
Start by clearing the area completely. Move rugs, hampers, freestanding storage, trash cans, and anything else that blocks access to the grout lines. In showers, remove bottles, caddies, and mats so you can see the full condition of the grout.
Then work through this prep list:
- Vacuum or sweep thoroughly so loose debris is gone from both tile and grout lines.
- Open windows if you can and use the bathroom fan or another fan for airflow.
- Put on gloves and eye protection before you handle any cleaning solution.
- Keep tools simple with a small grout brush, toothbrush, microfiber cloths, and a bucket of clean water.
- Check for damage first so you don't scrub crumbling grout that really needs repair.
A quick inspection before you scrub
Look closely at corners, floor transitions, shower edges, and areas near tubs or sinks. If grout is cracked, missing, soft, or powdery, scrubbing won't solve the underlying issue. It may make it worse.
This is also the time to notice the tile material around the grout. Porcelain, ceramic, marble, and natural stone don't all react the same way to cleaners or brushing pressure. If you rush this step, it's easy to damage a finish while trying to brighten the grout next to it.
Choosing the Right Grout Cleaning Method
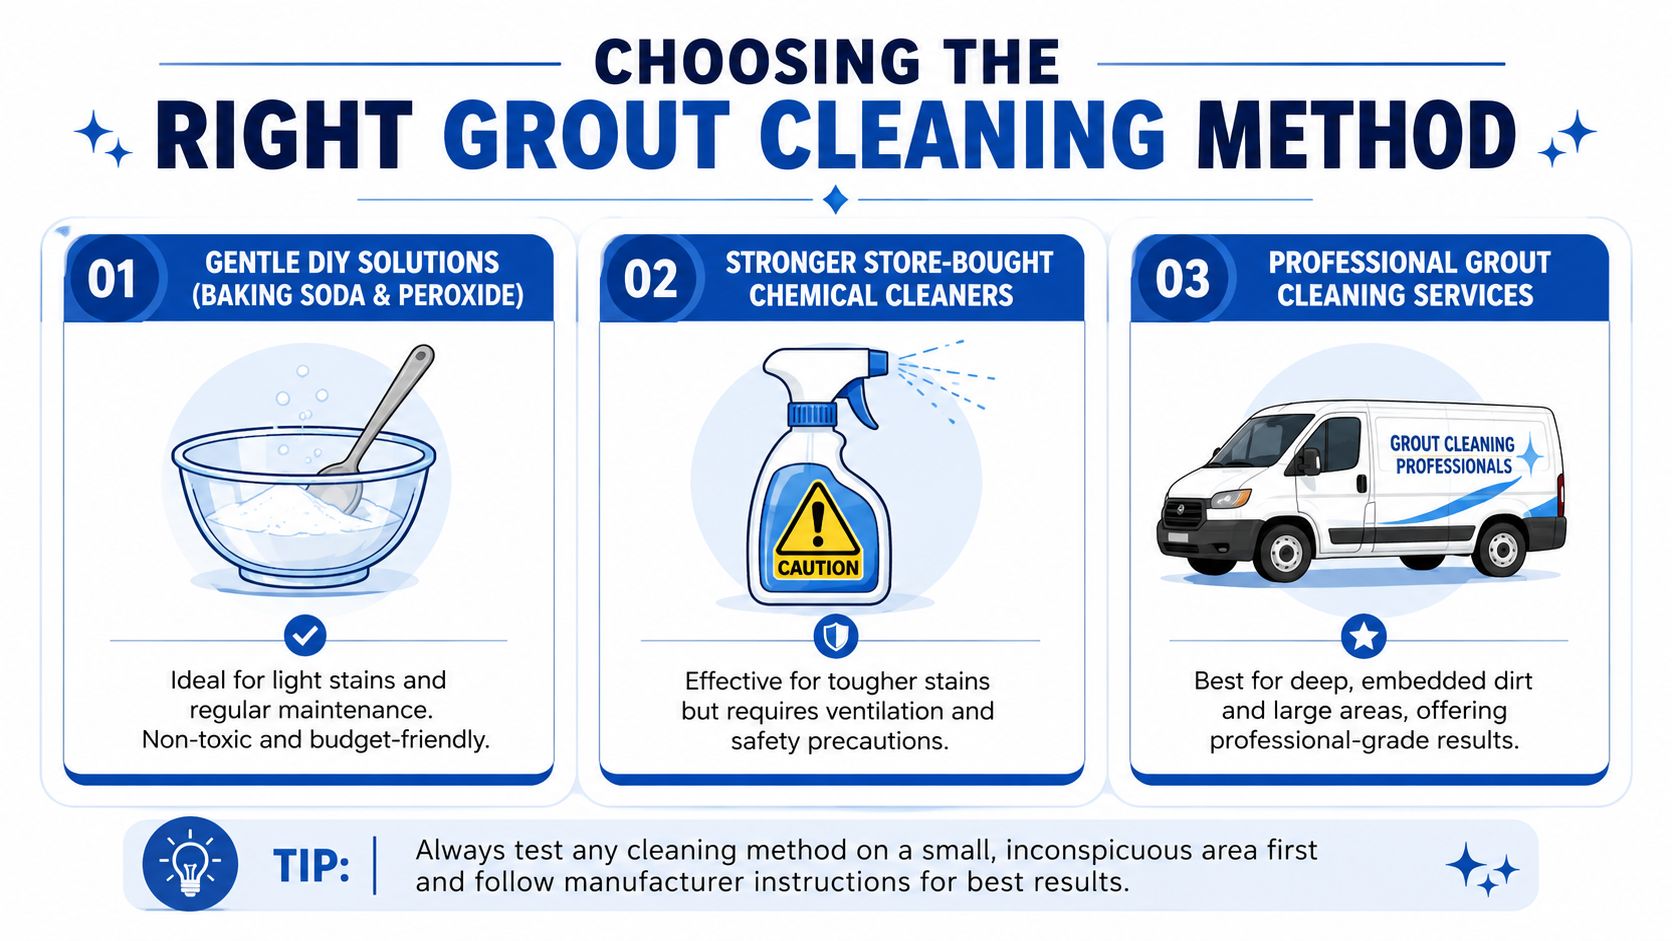
There isn't one best grout-cleaning method for every job. The right choice depends on what's in the grout, how delicate the surrounding tile is, and how much effort you want to put in yourself.
Match the method to the problem
For routine dinginess and maintenance cleaning, a gentle DIY approach is often enough. A baking soda and hydrogen peroxide paste is popular because it gives you control. You can target the grout lines, let the mixture work, and scrub only where needed.
Store-bought grout cleaners make sense when the buildup is heavier, especially in bathrooms. The trade-off is that stronger chemistry requires more caution. You need ventilation, gloves, eye protection, and strict label-following.
Professional cleaning is the best fit when the grout is thoroughly soiled, the area is large, or the surface includes materials that can be damaged by trial-and-error cleaning. If your tile includes stone, it's smart to learn the differences first. This guide on how to clean marble tile is worth reading before you apply any grout cleaner near marble.
Independent guidance notes that porcelain is denser and less porous than ceramic, and any cleaner should be patch-tested on a hidden area before full application to avoid damaging the tile or grout, as noted in this tile and mold cleaning video guidance.
Grout cleaning method comparison
| Method | Best For | Effort Level | Cost | Safety Note |
|---|---|---|---|---|
| Gentle DIY paste | Light staining, regular upkeep, targeted spot cleaning | Moderate hand scrubbing | Low | Patch-test first, especially around delicate tile finishes |
| Store-bought grout cleaner | Heavier bathroom grime, mildew-prone areas, broader cleaning jobs | Moderate | Moderate | Use gloves, ventilation, and follow label directions carefully |
| Professional grout cleaning service | Deep embedded soil, stubborn discoloration, large areas, restoration work | Low for homeowner | Higher | Best option when wrong chemistry or over-scrubbing could cause damage |
What usually doesn't work well
A few things waste time fast:
- Random internet mixtures that combine too many ingredients and make it hard to know what's safe.
- Very aggressive brushing that roughs up grout edges without removing the embedded discoloration.
- Skipping the patch test because the tile “looks durable.”
- Using acidic products on grout when the problem is really staining or failed sealer, not surface dirt.
If you want the safest path, choose the mildest method that matches the problem and test it where a mistake won't show.
Your Step-by-Step Grout Cleaning Process
The most reliable DIY process is simple. Remove dry debris, apply a grout-safe cleaner, let it sit long enough to work, scrub with control, and rinse thoroughly. Most homeowners cut corners on the middle two steps. That's why they scrub for a long time and still get uneven results.
The DIY paste that works for most routine jobs
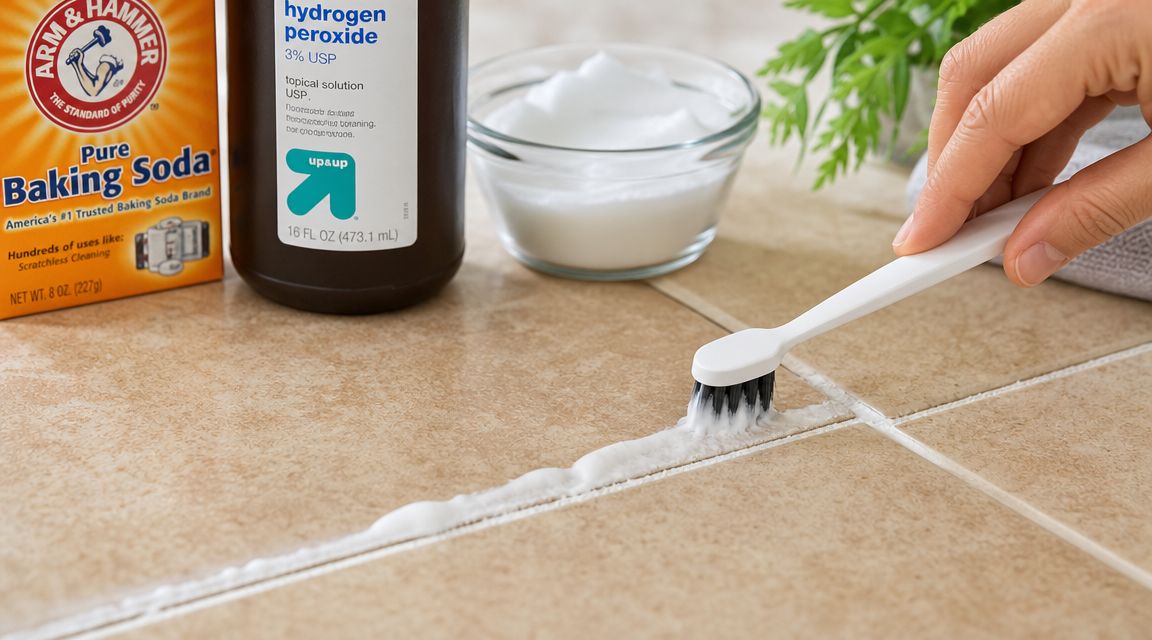
A widely used DIY formula combines 1/2 cup baking soda, 1/4 cup hydrogen peroxide, and 1 teaspoon dish soap. It's applied to grout for 5–10 minutes before scrubbing so the ingredients can penetrate the porous surface, as described in this grout and tile cleaning guide.
Use it like this:
- Mix the paste until it spreads easily but doesn't run.
- Apply it directly to the grout lines with a spoon, gloved finger, or small brush.
- Let it dwell for 5–10 minutes so it can loosen trapped grime.
- Work in small sections so the paste doesn't dry out before you scrub.
A lot of homeowners want to scrub immediately. Don't. Dwell time is what gives the cleaner a chance to penetrate the pores of the grout instead of just wetting the surface.
How to scrub without damaging the grout
Use a small firm brush, toothbrush, or a soft- to stiff-bristle grout brush. Scrub in short back-and-forth motions along the grout line. Stay controlled. You're loosening soil, not trying to grind the grout thinner.
Once the grime lifts, wipe or rinse with clean water. Then rinse again. Residue left behind can attract new dirt and leave the grout looking hazy after it dries.
A practical workflow looks like this:
- Apply only as much paste as you can manage before it starts drying.
- Scrub line by line instead of making broad circular passes over the whole floor.
- Change rinse water when it gets dirty so you're not putting slurry back on the surface.
- Finish with a microfiber wipe or mop on floors so loosened grime doesn't settle back down.
The rinse step is where a lot of DIY jobs lose the result. If dirty slurry stays on the surface, the floor can look dull again after it dries.
If you're using a commercial cleaner instead
Commercial grout cleaners can be very effective, especially in bathrooms with soap film, body oils, or recurring mildew staining. The rule is simple. Follow the product directions exactly.
One manufacturer recommends diluting 1/8 cup of cleaner in 1 gallon of water, scrubbing the grout, letting the solution sit for 5–10 minutes, then scrubbing again and rinsing thoroughly. Another mold and mildew product guide advises keeping the surface wet for 5 minutes and repeating weekly if growth returns, which shows how important dwell time and repeat treatment can be in grout cleaning practice, according to this bathroom grout-cleaning guidance.
That tells you two useful things. First, stronger products still need time to work. Second, mold-prone grout often needs more than one pass.
Shop-floor advice: If a label says rinse thoroughly, treat that as mandatory. Cleaner left in grout lines can create its own residue problem.
For floors, dry the surface well after rinsing. For showers, improve airflow once the cleaning is done. Damp conditions make it easier for staining and mildew to return.
How to Keep Your Grout Clean for Good
Cleaning gets the grout back. Protection is what keeps it that way.
Sealing is what reduces future work
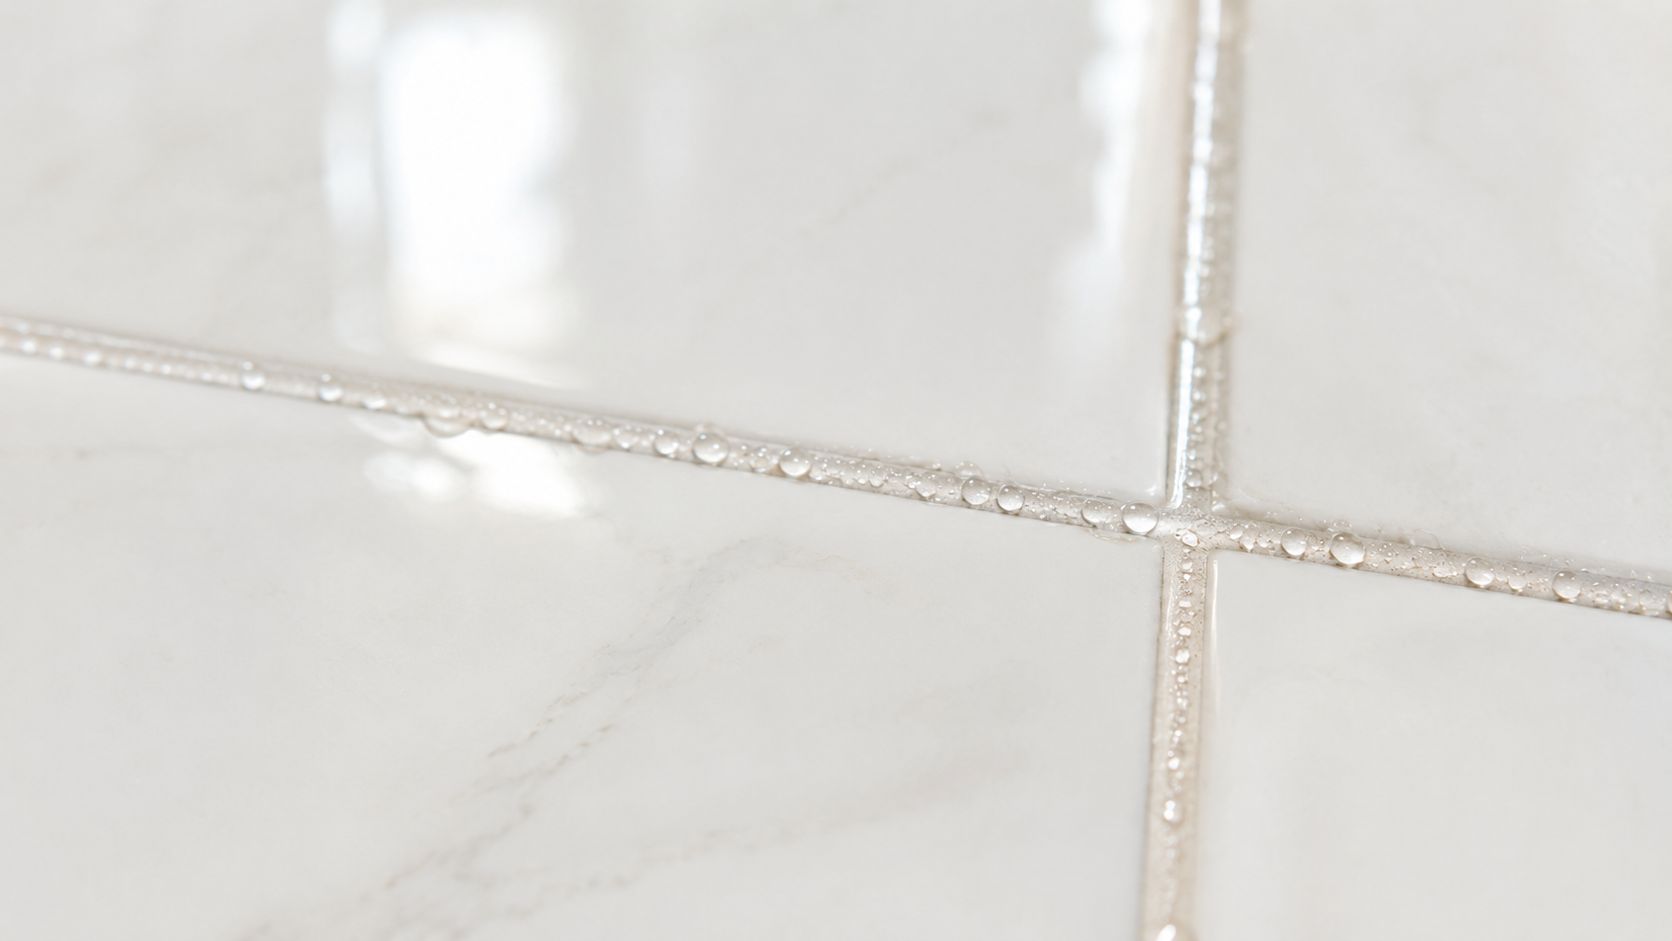
Grout is porous. That's why it stains so easily and why freshly cleaned grout often starts looking tired again sooner than homeowners expect. A sealer helps by limiting how much moisture and soil the grout can absorb.
Expert guidance recommends applying a grout sealer after the grout is fully dry, then repeating sealing about yearly for light-colored grout or high-traffic areas, according to this professional grout restoration demonstration.
That yearly habit matters most in bathrooms, entry areas, and busy kitchen floors. These are the spots where moisture, tracked-in dirt, and daily wear shorten the time between deep cleans.
Simple habits that protect clean grout
You don't need a complicated routine. You need a few habits that stop the grout from becoming a catch basin again.
- Dry wet areas sooner by using fans, opening windows, or running the bath fan after showers.
- Wipe spills quickly so oils, food residue, and colored liquids don't sit in the grout lines.
- Use a squeegee in the shower to reduce standing moisture on tile and grout.
- Keep floor soil down by vacuuming or sweeping before grit gets ground in.
- Choose gentler maintenance products if you're trying to reduce chemical load in the home. This article on eco-friendly cleaning and keeping your home clean and green offers useful ideas for that balance.
A maintenance mindset works better than rescue cleaning
Most grout gets ugly in slow motion. Waiting until it looks very dark usually means more scrubbing, more product, and more frustration.
A better pattern is simple maintenance. Spot clean trouble areas early. Keep moisture under control. Re-seal after the grout is fully dry. That approach reduces the need for aggressive cleaning, which is better for the grout and easier on the tile around it.
Freshly cleaned grout without sealing is a short-term win. Cleaned and sealed grout is what actually changes the maintenance burden.
When to Call a Grout Cleaning Professional
Some grout should be cleaned. Some grout should be repaired, re-sealed, or replaced. Knowing the difference saves time and prevents damage.
Signs cleaning is no longer the fix
A key point many DIY guides skip is that cleaning isn't always the right answer. Repeated harsh cleaning can reduce grout longevity, and a professional can help determine whether the grout is dirty, permanently stained, or needs repair or replacement, as discussed in this guidance on when grout cleaning stops being the right fix.
That distinction matters a lot in older bathrooms and heavily used kitchens. If you keep throwing stronger products at a problem that's really structural, you're just wearing the grout down further.
Here are the signs that usually mean it's time to stop scrubbing:
- The color won't improve after a proper deep clean and the discoloration looks locked in.
- Grout is cracked, crumbling, or missing in spots.
- Shower mold keeps returning even after careful cleaning and drying.
- The grout feels soft or sandy when you brush it.
- You're cleaning around expensive tile finishes and can't afford a mistake.
Why homeowners call for help
Professional help makes sense when the problem is bigger than dirt. That includes restoration work, widespread staining, moisture-related issues, and situations where tile type changes the chemistry you can safely use.
In the Boston suburbs, this comes up often in older bathrooms, finished basements, family mudrooms, and shower stalls that stay damp for long periods. Homeowners also call when they're preparing a property for listing, finishing a remodel, or trying to recover tile surfaces before move-in.
If the project has shifted from maintenance to restoration, it's smart to bring in a service that handles deep cleaning and surface-specific care. This overview of deep cleaning services near me gives a good sense of where routine cleaning ends and more advanced help begins.
If you need to ask whether more scrubbing might damage the grout, you're already close to the point where a professional evaluation is the safer move.
Frequently Asked Questions About Grout Cleaning
Can I use vinegar on tile grout
No. Acidic cleaners can degrade grout chemistry, and they can also etch natural stone surfaces. Neutral or grout-specific cleaners are the safer standard for most residential tile systems. That's one of the clearest cases where a popular DIY tip can create avoidable damage.
How do I know if grout is dirty or permanently stained
Start with a proper deep clean on a small test area. If the grout lightens evenly, you were likely dealing with surface soil or residue. If the color barely changes, or only improves in spots while other areas stay dark, the grout may be permanently stained or the sealer may have failed.
What's the best brush for cleaning grout
A small grout brush or toothbrush is usually the best choice because grout is porous and the dirt sits in tiny openings. A controlled brush lets you work the line without putting too much pressure on the tile edges. Avoid overly abrasive tools that can damage grout or adjacent finishes.
How long should cleaner sit on grout
For many grout-cleaning methods, dwell time is essential. Common guidance for both DIY paste and commercial cleaners puts that sit time in the 5–10 minute range for many situations, but the exact approach depends on the product and surface. Letting cleaner work before scrubbing is usually more effective than scrubbing immediately.
Should I seal grout after cleaning
Yes, if the grout is fully dry and in good condition. Sealing helps reduce future staining and makes maintenance easier. It's especially worthwhile on light-colored grout, floors that see heavy use, and bathrooms where moisture is constant.
What about mold in shower grout
Treat it carefully and focus on both cleaning and moisture control. Patch-test any cleaner first, improve airflow, and understand that repeated return of mold can point to a deeper moisture issue rather than a simple cleaning problem. If the growth keeps coming back, the grout or the surrounding assembly may need more than surface treatment.
If your grout still looks dark after a careful deep clean, or you're dealing with cracked grout, recurring shower mildew, or tile that needs a more expert hand, Sunny Day Pro Services can help. Homeowners across Wayland, Newton, Needham, Wellesley, Weston, and nearby Massachusetts communities trust their team for meticulous cleaning, tile care, and no-hassle service. Request a quote and get a clear plan for bringing your tile and grout back to life.

