
Porcelain Tile Installation Guide for 2026
Planning a porcelain tile installation in Wayland, Newton, or Wellesley? Our 2026 guide covers costs, DIY vs. pro, and tips for a flawless finish.
The floor usually tells you when it's time.
In a lot of Wellesley, Weston, and Newton homes, that moment comes when old vinyl starts curling at the edges, tired grout never looks clean again, or a bathroom floor feels soft in one corner after another New England winter. You stand there with a coffee, look down, and start picturing something cleaner, sharper, and built to last.
Porcelain tile is often the right choice for that upgrade. It handles busy kitchens, muddy entries, powder rooms, and family bathrooms well. It also fits the situation of older New England houses, where floors aren't always flat, walls aren't always straight, and moisture control matters more than most homeowners expect.
Your Guide to Flawless Porcelain Tile
A first porcelain tile installation can feel more significant than it appears on paper. The tile itself seems simple enough. Then the underlying questions show up. Is the subfloor level enough? Will the layout look balanced at the doorway? What happens when a hallway jogs out of square or a bathroom wall bows slightly because the house settled over time?
That's where many projects in MetroWest go sideways. The tile didn't fail because porcelain was a bad material. The job failed because the prep, layout, or moisture planning was off.
In older homes around Wayland and Weston, I've seen the same pattern again and again. A homeowner picks a beautiful tile, assumes the room is close enough to square, and underestimates how much precision porcelain demands. By the time cuts get tight around a tub apron or a threshold, small errors start showing up everywhere.
Good porcelain work looks calm and effortless when it's finished. Getting there takes planning, flatness, and discipline.
This guide is built for that real-world situation. It's for the homeowner who wants a floor or wall assembly that looks right, wears well, and doesn't become a repair project a year later. If you're weighing a bathroom remodel, kitchen floor replacement, mudroom upgrade, or a first tile project in a classic New England home, this is the practical side of porcelain tile installation that matters.
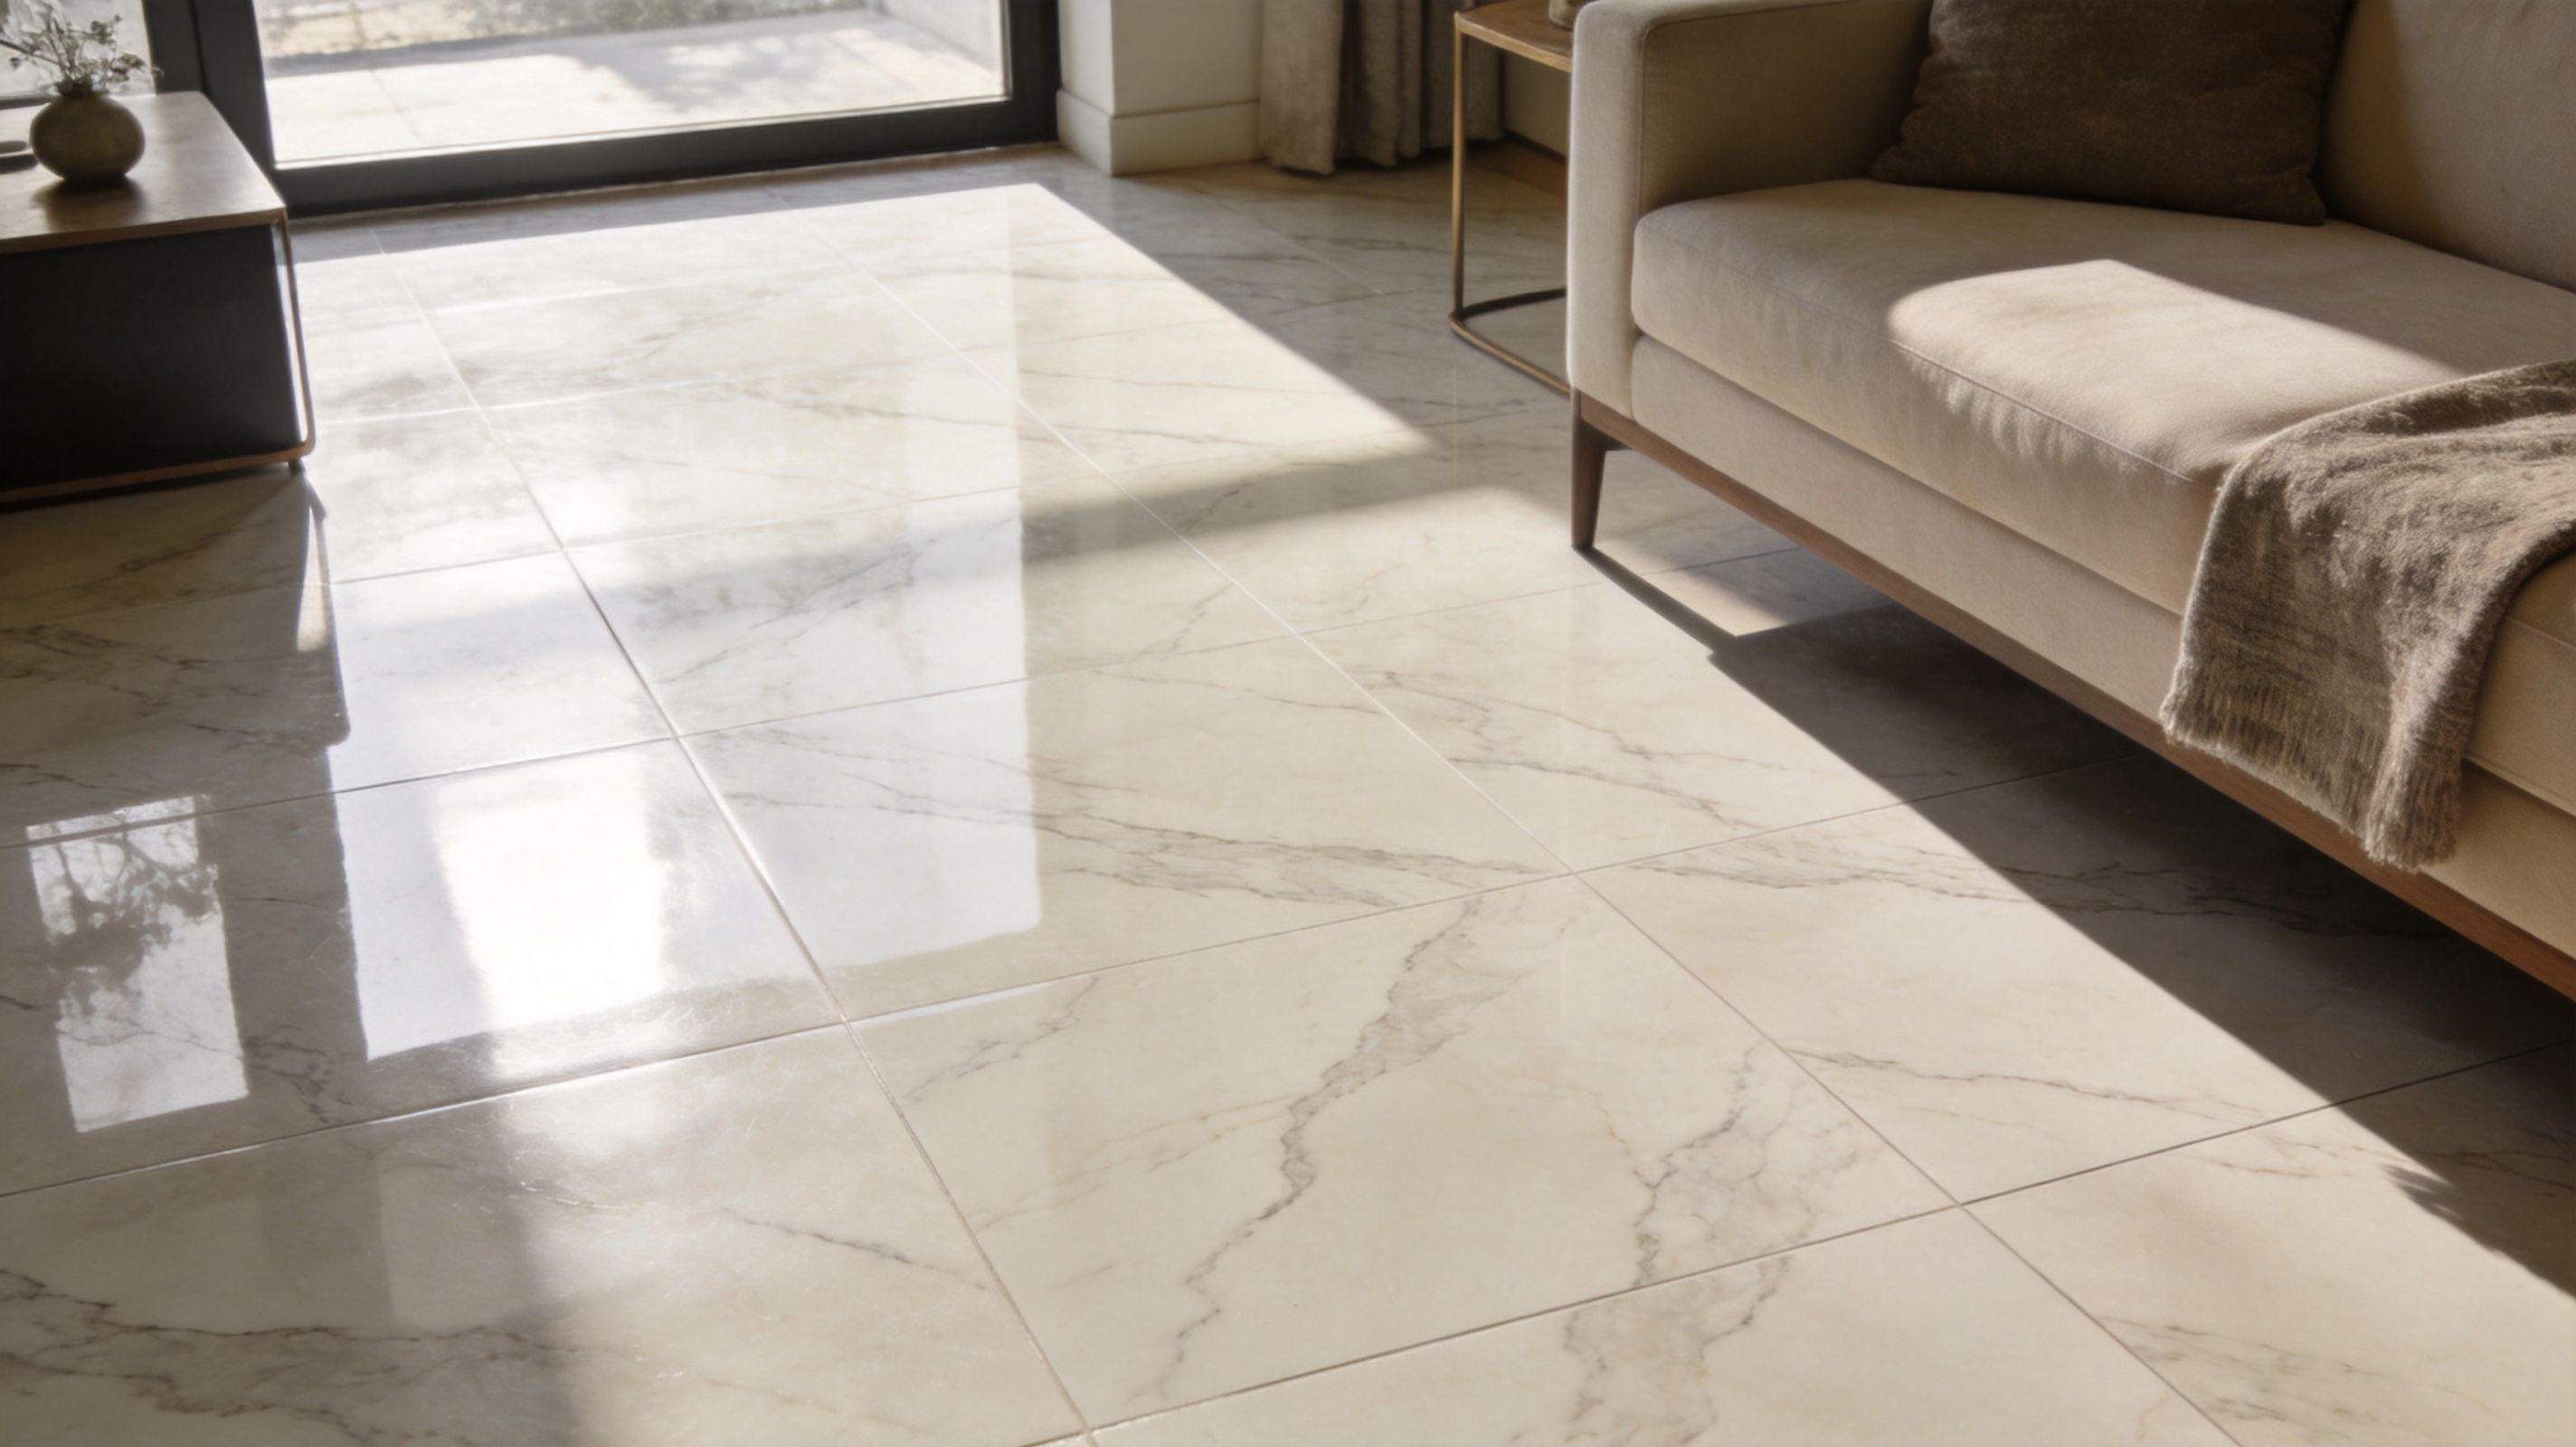
Why Porcelain Is the Premier Choice for Your Home
A lot of Wellesley homeowners start out focused on color and pattern. Then winter hits, the mudroom fills with salt and grit, or an upstairs bath runs humid for months, and the material choice gets real fast. Porcelain holds up in those conditions better than many other finishes because it is dense, hard-wearing, and far less prone to taking on moisture.
That matters in older New England houses. In Wayland, Newton, and Weston, I often see entries, kitchens, and baths that deal with seasonal expansion, minor settling, and years of patchwork under the existing floor. Porcelain is a strong finish for those spaces because it handles daily traffic well and gives homeowners a wide range of looks without asking them to accept a softer, easier-to-mark surface.
Why it works in New England homes
Four-season wear is hard on floors. Slush in January, pollen and rain in spring, sand and grit through summer, then wet leaves in fall. In a Needham mudroom or a Wellesley side entry, porcelain stands up well to that cycle and is easier to keep looking clean than many materials homeowners consider at the start.
It also fits the architecture here. A porcelain floor can suit a 1920s Colonial, a mid-century ranch, or a newer build in the same town, depending on the tile you choose. Some homeowners want a stone look that feels quiet and traditional. Others want wood-look planks or a cleaner contemporary surface. Design flexibility is one reason full-room tile treatments keep getting attention, especially with ideas like tile drenching in Massachusetts homes.
Porcelain also gives you practical range. It works on floors, walls, fireplace surrounds, and some exterior applications when the product is rated for that use. The right tile can help one material carry through several connected spaces without feeling repetitive.
What to look for before you buy
Porcelain is not one uniform product. The type you choose affects how the room looks, how forgiving the install will be, and how much prep the house may need first.
- Glazed porcelain has a finished surface layer and usually gives you the broadest choice of color, pattern, and sheen.
- Through-body porcelain is useful where chipped edges would be more visible, because the body of the tile is more consistent through its depth.
- Rectified porcelain has precisely cut edges for tighter grout joints and a cleaner look, but it also exposes subfloor and wall irregularities faster.
That last point matters a lot in older homes.
Large-format or rectified porcelain can look excellent in a Newton kitchen or a Weston primary bath, but only if the substrate is flat enough. Old plank framing, patched underlayment, and settled additions often leave dips, crowns, or transitions that a smaller or more textured tile would hide better. Porcelain does not create those flaws. It reveals them.
Practical rule: The sharper the lines and the larger the tile, the more honest the room has to be.
For homeowners choosing between porcelain and a more forgiving material, that is the trade-off to understand. Porcelain gives you durability, low water absorption, and a high-end finished look. It also asks for better prep, especially in homes that have seen decades of movement, moisture swings, and renovation layers.
Understanding Project Timelines and Costs in Massachusetts
A Wellesley homeowner can walk into a tile showroom, price the porcelain they like, and still be nowhere near the total project cost. In Massachusetts, the tile is only part of the expense. Older houses in places like Wayland, Newton, and Weston often hide the expensive part below the surface. Uneven subfloors, layered underlayment, past water damage, and out-of-level framing change both the schedule and the budget fast.
That is why two bathrooms with the same square footage can price very differently.
Porcelain work is usually estimated in two buckets: the finish work you expect to see, and the prep work you only notice if someone skips it. The finish side includes the tile, setting materials, grout, trim pieces, and labor to install them cleanly. The prep side includes demolition, disposal, flattening, repairs, waterproofing, and any correction needed to give porcelain a stable base. In older New England homes, that second bucket often decides the final number.
What usually adds cost
The biggest pricing swings come from conditions uncovered after the old floor is removed. A bathroom that looks straightforward from the doorway may have a soft section near the toilet flange, an out-of-plane plywood seam, or a transition that was patched three renovations ago.
Common cost drivers include:
- Demolition and disposal of old vinyl, laminate, backer board, or failed tile
- Subfloor repair or flattening where dips, crowns, movement, or water damage show up
- Moisture management in bathrooms, mudrooms, and entries that deal with wet boots, snow, and seasonal humidity
- Complex layout work around cabinets, stair edges, heat registers, old trim profiles, and tight door casings
- Large-format or rectified tile that demands tighter substrate tolerances and slower, more careful installation
- Finish details such as niche edges, transitions, base cuts, or pattern work that take time to execute well
Labor in Greater Boston suburbs also reflects the house itself. A clean, square room in a newer build is one thing. A second-floor bath in a century-old home with bounce in the framing, plaster walls out of line, and no level reference anywhere in the room is another.
Why schedules stretch in older Massachusetts homes
Homeowners often ask whether the job can be done in a day or two. Sometimes a small floor can. Many projects cannot, especially once prep and cure time are counted properly.
A typical porcelain tile project may include:
- Field measuring and condition review
- Material ordering and delivery timing
- Demolition
- Substrate repair, flattening, or underlayment installation
- Waterproofing where needed
- Layout planning and dry fitting
- Tile setting
- Grouting
- Cure time before normal use
The timeline slows down for good reasons. Leveling compounds need time to set. Waterproofing products need to dry. Fresh tile should not be rushed into service before the mortar and grout have cured. In a four-season climate, indoor humidity and temperature can affect that schedule too, especially in homes with older heating systems or less consistent climate control.
I tell homeowners to pay close attention to how a contractor talks about prep time. If the schedule sounds fast because it assumes the floor is ready as-is, the bid may be missing the hardest part of the work.
Budgeting with fewer surprises
The best budgets include a little room for what demolition might reveal. That is standard practice in older New England homes, not a scare tactic. Once existing finishes come up, we may find minor rot at a doorway, loose underlayment around a tub, or a floor that needs flattening before porcelain can be installed correctly.
A solid estimate should separate known work from possible repair work. That gives you a clearer picture of what is included, what could change, and why. It also helps you compare bids accurately. One proposal may look cheaper until you realize it leaves out disposal, waterproofing, or substrate correction.
Porcelain lasts a long time when the base is right. In Massachusetts homes, the schedule and budget make more sense once you treat prep, moisture control, and cure time as part of the installation, not as extras.
The Professional Porcelain Tile Installation Process
Most failures in porcelain tile installation don't start with the tile. They start below it. That's especially true in older homes around Wellesley, Wayland, and Newton, where the structure may have shifted over time and previous renovations weren't always done with tile in mind.
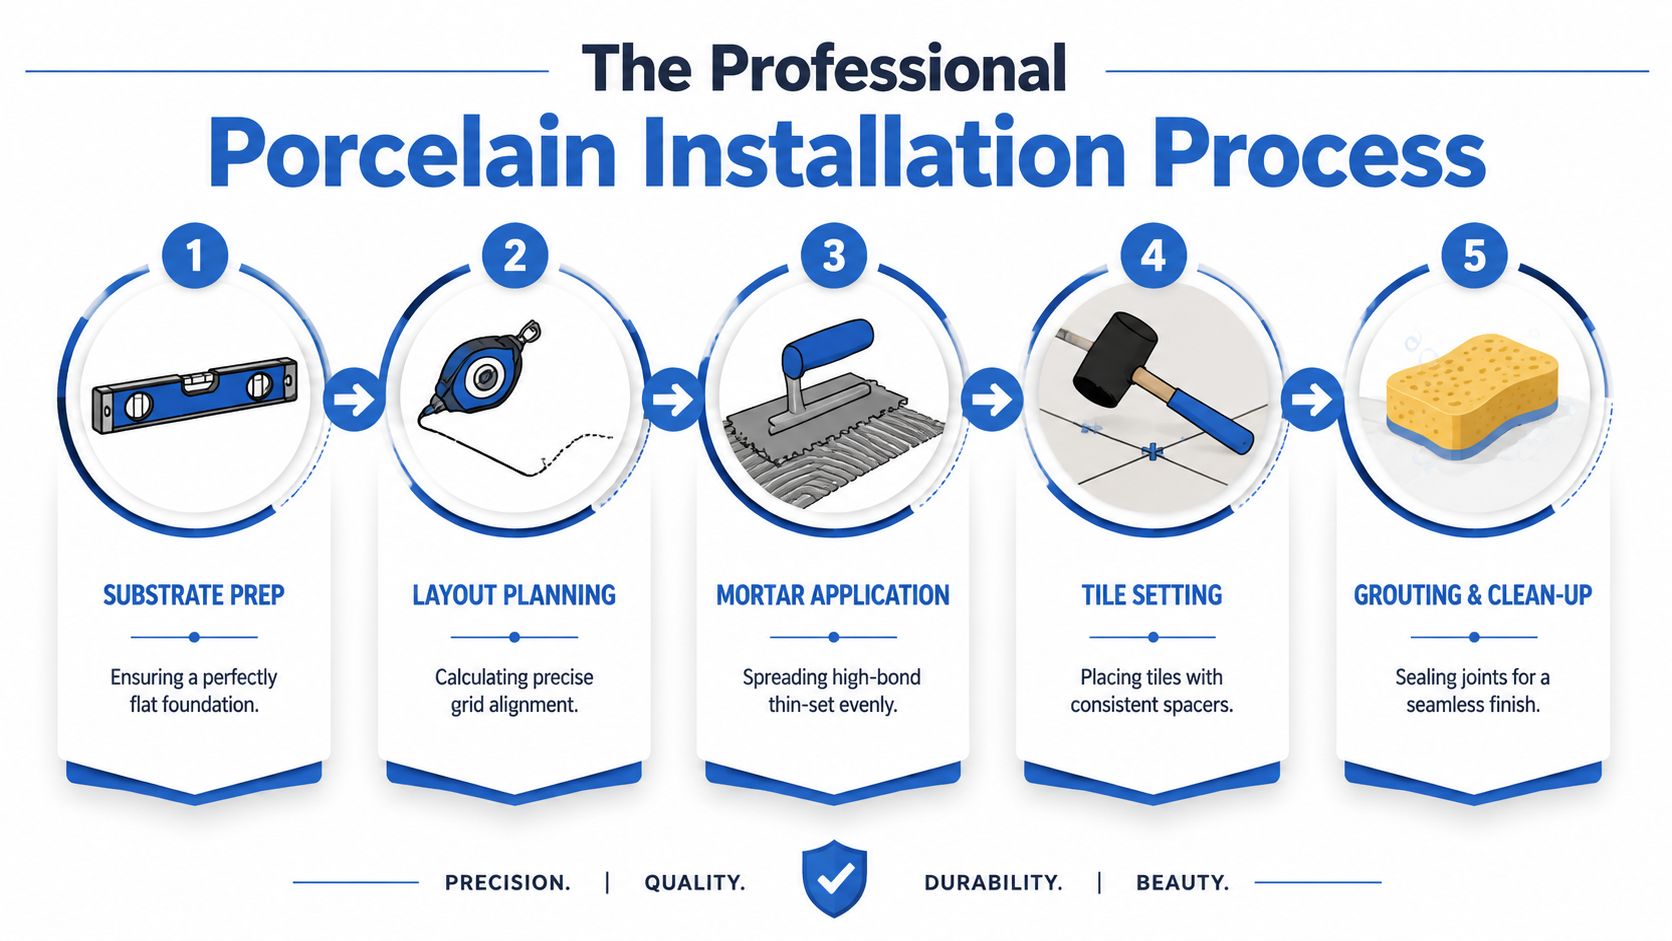
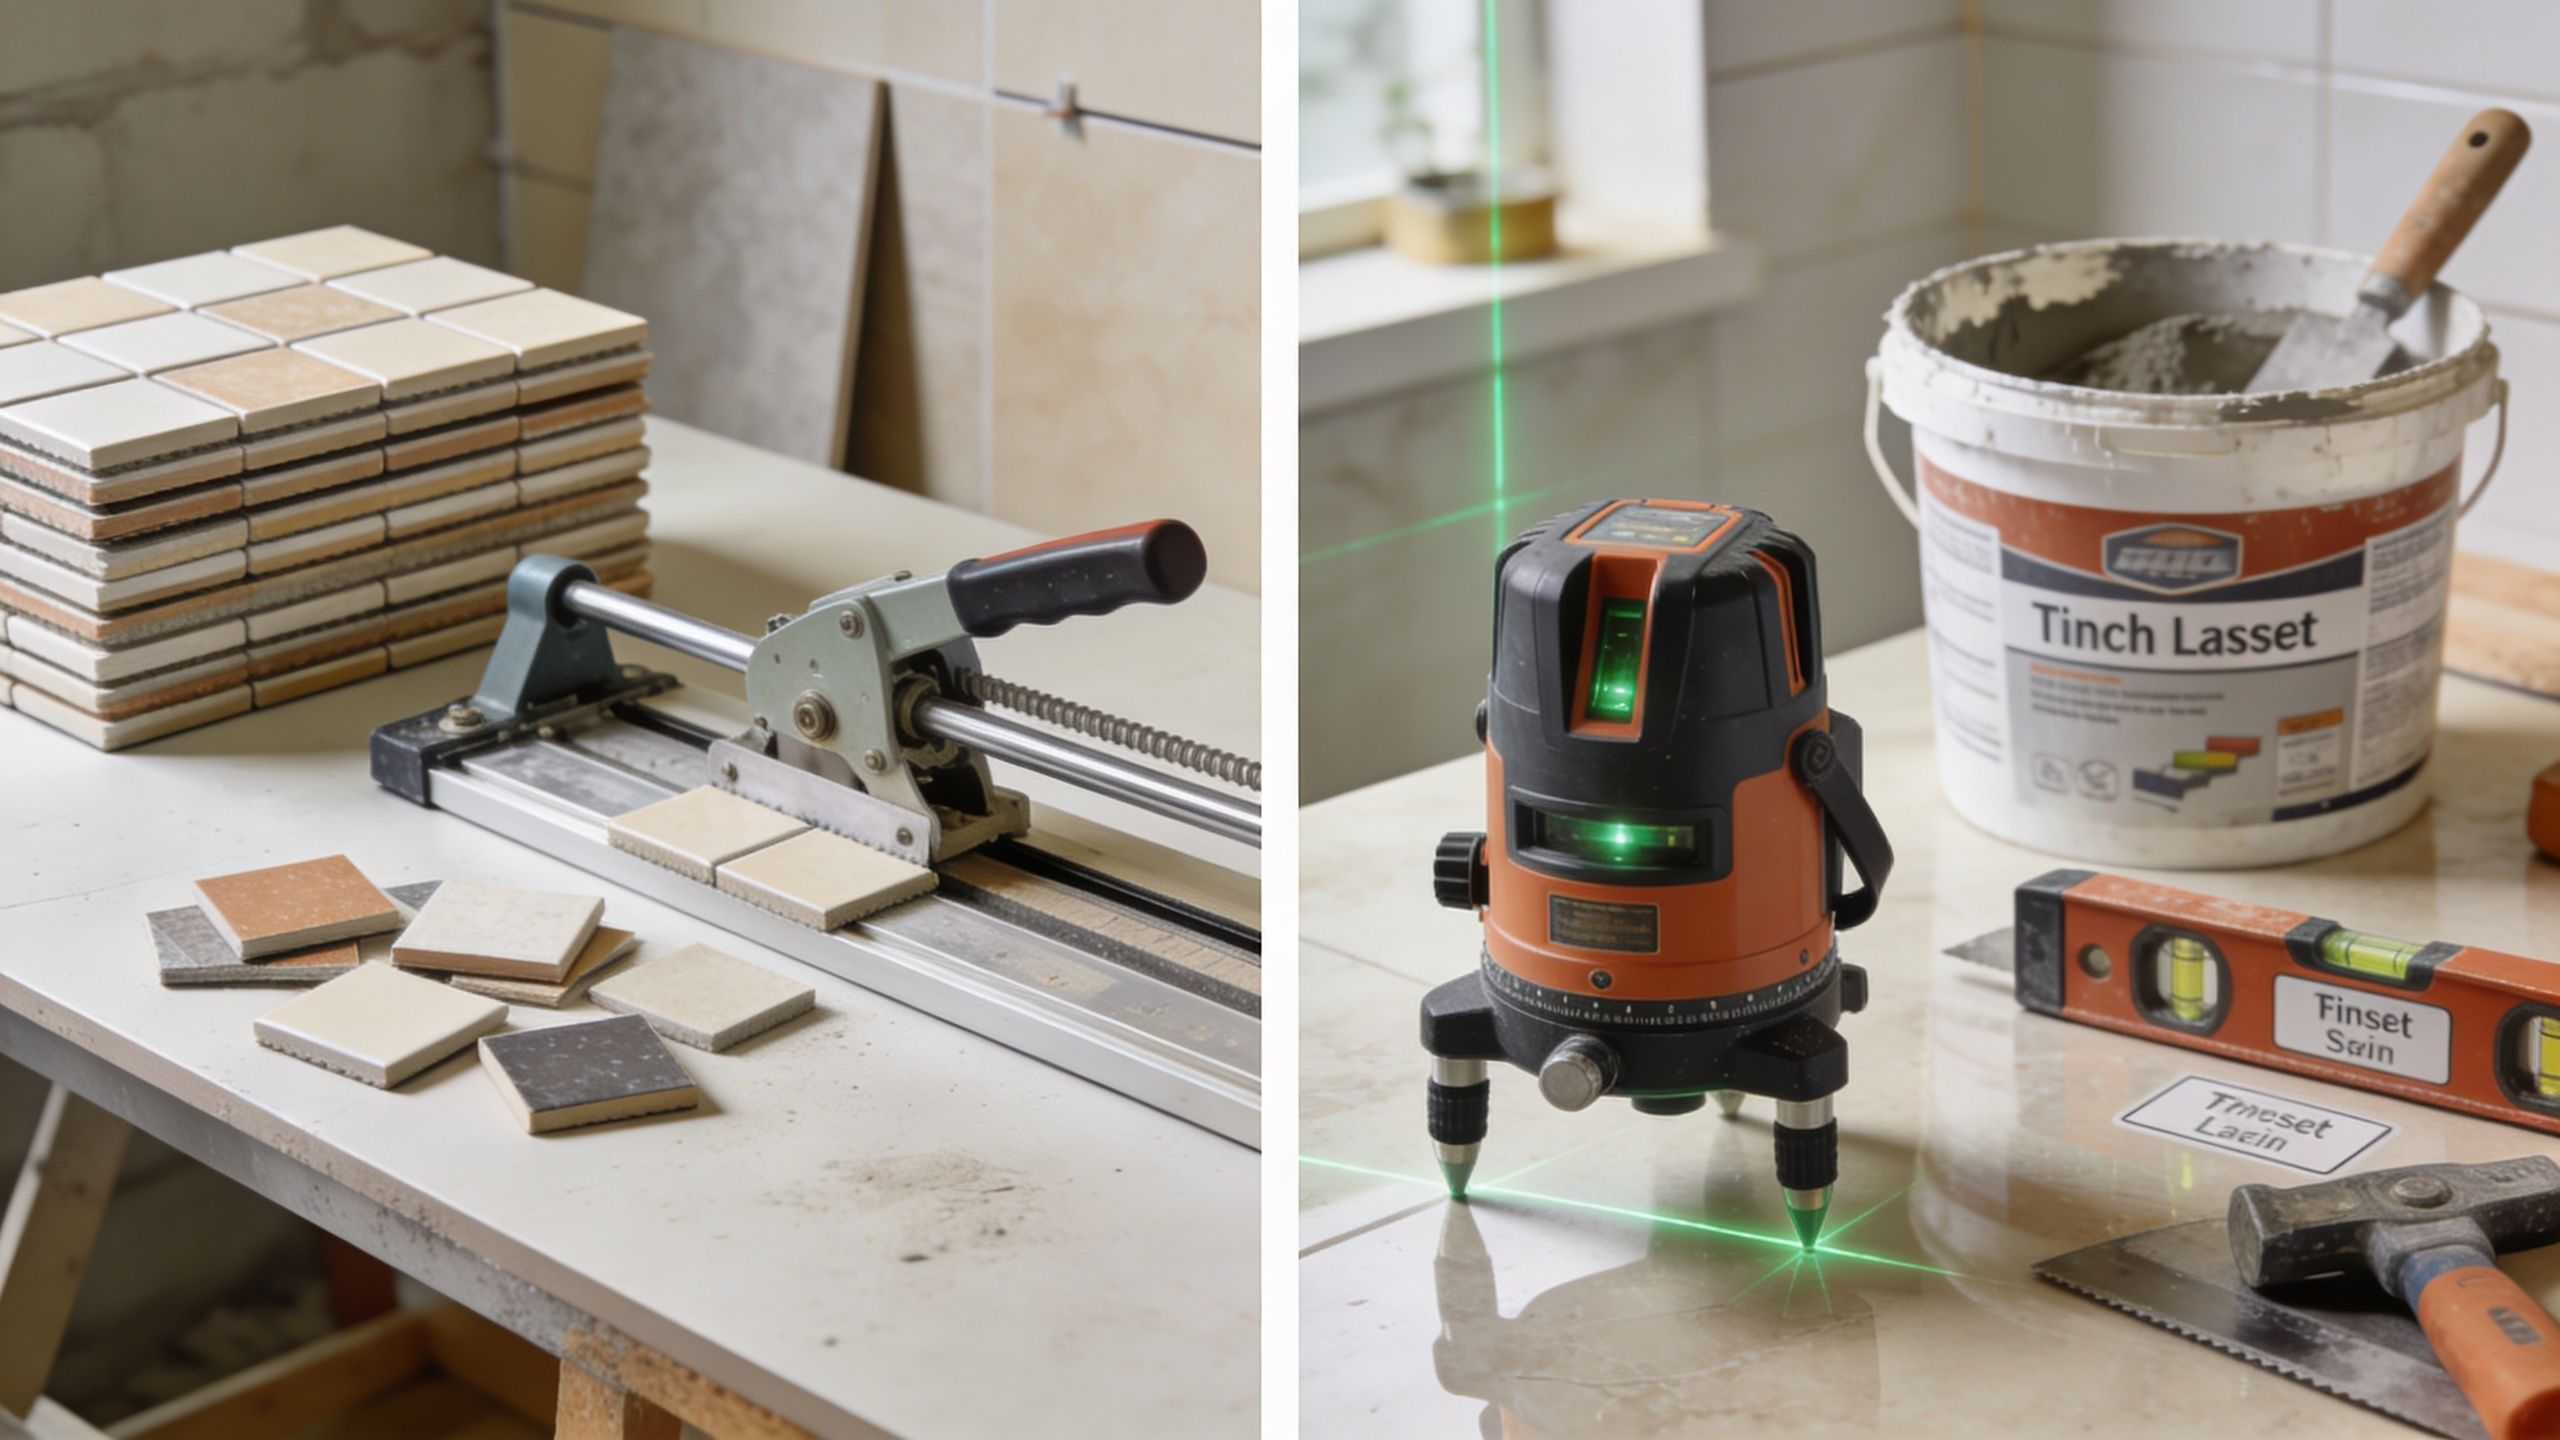
Start with the substrate, not the tile
The first job is to find out what the floor or wall is doing. Is it flat? Is it sound? Is there movement? Has moisture been getting in around a toilet flange, entry door, or tub?
In older New England homes, you can't assume anything. A floor may look fine until a long level or laser reveals dips and crowns. A bathroom may seem dry until the underlayment around the tub edge tells a different story.
For porcelain, flatness matters because the material is hard, rigid, and unforgiving. It won't bend to follow a wavy floor. If the substrate isn't corrected first, the finished surface will show lippage, hollow spots, or stressed corners.
Common prep steps include:
- Removing failed finishes down to a stable base
- Checking deflection and movement before tile goes on
- Flattening low and high areas with the appropriate prep materials
- Installing proper underlayment or tile substrate where needed
- Addressing moisture risks before they get trapped below the assembly
Layout is where craftsmanship shows
A good layout makes the room feel intentional. A bad one announces itself every time you walk in.
The process usually starts with control lines. Chalk lines, laser lines, and dry layout help establish where full tiles will land, what the eye sees first from the doorway, and how cuts will finish at tubs, vanities, thresholds, and walls. In older homes, this is also when out-of-square conditions show up.
That's one reason layout should never be improvised row by row. Once the first few rows drift, the whole room follows.
For rectangular porcelain, the pattern choice matters too. Industry guidance from Daltile's installation instructions for floor tile is clear that rectangular porcelain should not be installed in a 50% offset pattern. A maximum offset of 33% with a wider grout joint is the standard approach to help prevent lippage and cracking.
A brick pattern may look simple on paper. With rectangular porcelain, it often creates the exact height variation homeowners hate.
A closer look at material options and applications can help if you're planning floors, walls, or a full remodel with professional porcelain tile services.
Here's a visual overview of the workflow in action:
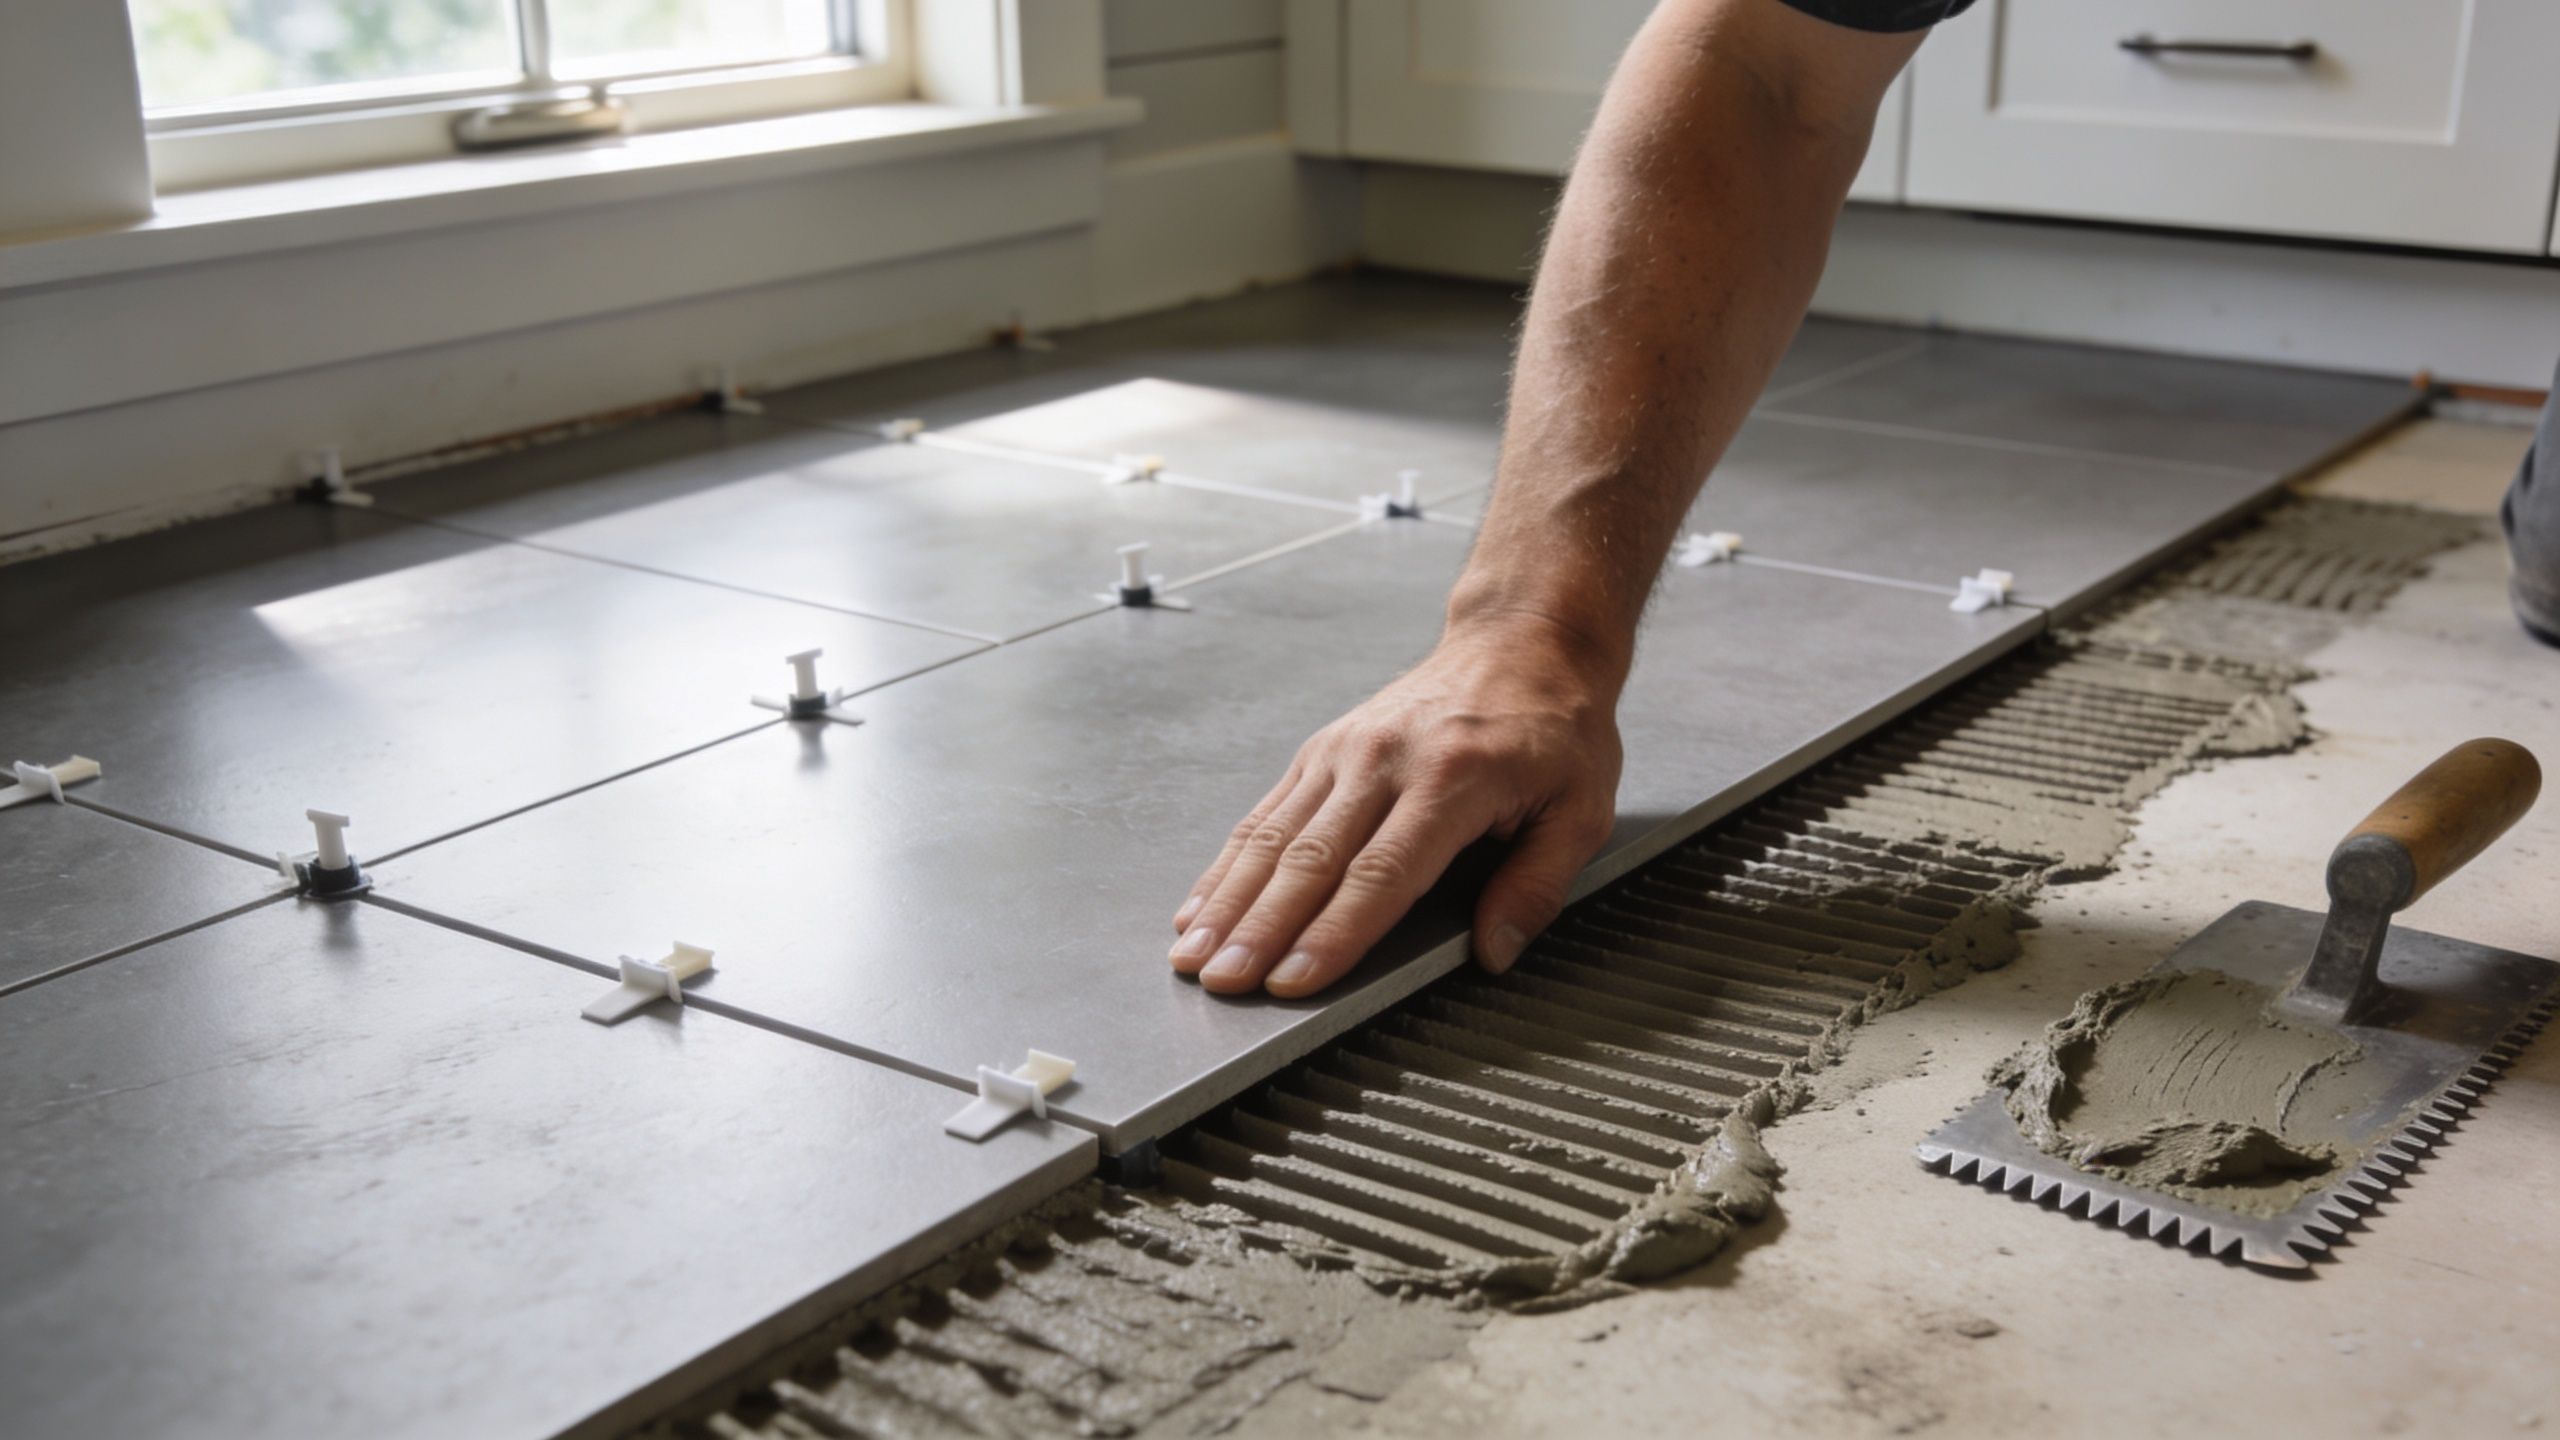
Mortar coverage is not optional
Here, professional technique matters most.
According to the Floor Expert summary of ANSI A108 and TCNA porcelain installation guidelines, 95% to 100% thin-set mortar coverage is mandatory in wet areas such as bathrooms and showers. That level of coverage helps prevent water damage and bond failure. Professionals often use double-buttering to get complete contact between tile and substrate.
That means:
- Thin-set is keyed into the substrate first
- Ridges are combed in a consistent direction with the right notched trowel
- Additional mortar is applied to the back of the tile when needed
- Tiles are pressed and set for full support, especially at corners and edges
- Coverage is checked by lifting tiles periodically instead of assuming the trowel did the job
In practical terms, this is how you avoid voids. And voids are trouble. In a bathroom floor, they can trap stress. In a shower or exterior condition, they can create moisture-related failures.
Cuts, edges, and difficult rooms
Older houses separate average installers from excellent ones.
A straight open kitchen is one thing. A powder room with a radiator pipe, a bowed plaster wall, and an angled doorway is another. Curved walls, odd alcoves, and old trim profiles often need templating and careful trial fitting before the cut is made.
A clean porcelain tile installation depends on making those details look deliberate. The room shouldn't feel like the tile was forced into it. It should look like the surface was designed for that space from the start.
Grout, movement joints, and cleanup
Once the tile is set and cured appropriately, grouting begins. Joint width should match the tile type, layout, and installation standard. Perimeter movement space matters too, especially in homes that see seasonal expansion and contraction.
The final stage is where the room comes together. Joints are cleaned, haze is removed, transitions are finished, and the surface is protected during cure time. This is also when a professional checks the whole field for consistency, edge alignment, and any issue that should be corrected before the room goes back into service.
DIY Installation vs Hiring a Professional Contractor
Porcelain tile installation sits in that category of projects that looks easier from across the room than it is on the floor. The materials are available. The tools can be rented. Online videos make the process seem manageable. Sometimes it is. Often, the hard part isn't setting tile. It's diagnosing the floor, choosing the right approach, and avoiding mistakes that don't show up until months later.
DIY vs professional tile installation at a glance
| Factor | DIY Installation | Professional Installation |
|---|---|---|
| Upfront cost | Lower labor cost, but tool purchases and waste can add up | Higher upfront investment |
| Subfloor diagnosis | Easy to miss movement, dips, and moisture issues | Better at catching structural and prep problems early |
| Layout quality | Can be challenging in older, out-of-square rooms | Typically stronger visual planning and cleaner finished cuts |
| Mortar coverage | Harder to verify consistently without experience | More reliable technique in wet areas and large-format tile |
| Speed | Often slower, especially on first projects | More efficient workflow and fewer pauses for problem-solving |
| Warranty and accountability | You own the mistakes | A qualified contractor stands behind the work |
| Complex rooms | Curves, odd transitions, and trim details are tough | Better suited to custom fitting and finish work |
Where DIY can make sense
If the room is small, square, dry, and forgiving, a patient homeowner can sometimes handle it. A simple backsplash or utility area is a different risk level than a primary bathroom floor in an older house with uneven framing.
But porcelain raises the stakes. It's harder than many people expect, demands clean cuts, and doesn't hide flaws in prep.
Why pro labor costs what it costs
Labor pricing reflects skill, not just time. The tile installation market also continues to rely on trained tradespeople. According to industry statistics on tile installer wages and market conditions, the median annual wage for flooring installers and tile setters was $52,000 in May 2024. That aligns with what homeowners already sense on the ground. Good installers are in demand because precision work is hard to fake.
A premium tile deserves a premium installation. Otherwise the material ends up paying for someone else's learning curve.
The real trade-off
DIY can save money on labor. It can also turn expensive porcelain into a very visible reminder that the room needed more experience than expected.
Hiring a pro isn't just about convenience. It's about protecting the finish, the waterproofing details, the layout, and the life of the floor. In older MetroWest homes, that difference matters more than is generally understood.
Your Checklist for Hiring a Tile Expert in MetroWest
The right contractor doesn't just know tile. They know houses like yours.
That matters in MetroWest, where one home may have a dead-flat addition and the next room over may have an original floor system that has moved for decades. A polished sales pitch won't help much if the installer can't handle an out-of-square bath, an old mud bed, or a wall that curves just enough to ruin a clean layout.
What to ask before you sign
Use a short hiring checklist and stick to it.
- Ask about local project experience with older homes in towns like Wellesley, Newton, Weston, and Wayland
- Confirm licensing and insurance before any demolition or setting begins
- Review actual finished work and look closely at cuts, transitions, grout lines, and edge detail
- Discuss subfloor prep directly instead of focusing only on tile style and color
- Ask who performs the work each day, not just who prepares the estimate
- Get a written scope that includes prep, setting materials, grout, cleanup, and protection of adjacent finishes
Pay attention to how they talk about hard rooms
A capable tile setter usually gets more specific, not more vague, when a room is challenging.
According to this video discussion of tile work in irregular spaces, a common challenge in older Massachusetts homes is installing tile around curved walls or within irregular layouts. A real professional knows how to template those areas and make custom cuts that maintain pattern integrity and avoid awkward gaps.
That's one of the clearest dividing lines between average work and high-level work. Anyone can talk confidently about a square room. The better question is what they do when the room isn't square.
If the contractor brushes off curved walls, crooked corners, or uneven transitions as “close enough,” keep looking.
What a fair contract should include
A useful tile contract should spell out the basics in plain language:
- Scope of demolition
- Substrate or underlayment work
- Tile pattern and orientation
- Grout joint expectations
- Who supplies tile and setting materials
- Cleanup responsibilities
- What happens if hidden conditions are uncovered
That written detail protects both sides. It also reduces the misunderstandings that turn renovation projects into stress.
If you're ready to talk through your room conditions, timeline, and estimate with a local team, use the Sunny Day Pro Services contact page.
Maintaining Your New Porcelain Tile for Lasting Beauty
One of the best things about porcelain is that once it's installed correctly, day-to-day care is straightforward. It doesn't ask for much. That's a major reason busy homeowners choose it for kitchens, bathrooms, mudrooms, and family entryways.

Simple weekly care
Most porcelain tile floors do well with a soft broom, vacuum made for hard surfaces, or microfiber dust mop. Grit is the main thing to remove, especially in New England entry areas where sand and salt get tracked in.
For routine cleaning:
- Use a pH-neutral cleaner made for tile and grout
- Choose a microfiber mop over a string mop that leaves dirty water behind
- Rinse residue when needed so the surface doesn't develop dull film
- Clean spills promptly in kitchen and bath areas, especially around grout joints
What to avoid
Porcelain is durable, but maintenance mistakes usually show up in the grout and finish details rather than the tile body itself.
Avoid:
- Oil-based soaps that leave buildup
- Harsh acidic cleaners unless the product specifically says it's safe for your tile and grout
- Abrasive pads or powders on polished finishes
- Letting water sit at room edges, tub lines, or transition areas for long periods
Long-term habits that help
Seasonal care goes a long way in older homes. Entry mats help catch grit. Felt pads under chairs reduce wear at dining areas. Good ventilation in bathrooms helps keep grout lines cleaner and reduces lingering dampness.
Clean porcelain like a finished surface, not like a workshop floor. Gentle products and regular upkeep beat aggressive scrubbing every time.
If the tile was installed well, maintenance stays boring. That's exactly what most homeowners want.
Frequently Asked Questions About Porcelain Tile Installation
Can porcelain tile go over existing tile
Sometimes, but only if the existing tile is sound, well bonded, and the substrate below is suitable. In older homes, it's often better to remove the old layer so the floor height, transitions, and hidden damage can be addressed properly.
Why does lippage happen with rectangular porcelain
Lippage usually comes from a combination of tile warpage, uneven substrate conditions, and poor layout choices. Industry guidance from the earlier Daltile reference is why rectangular porcelain should be installed at a maximum 33% offset, not a half-offset running bond. That approach helps keep the finished surface flatter.
Is porcelain a good fit for older New England homes
Yes, if the prep work is done correctly. The key issues in this region are often uneven subfloors, seasonal movement, and moisture management. The installation matters as much as the tile itself.
How soon can you use a newly tiled room
That depends on the materials used, room conditions, and the stage of the project. Tile needs proper time to set and grout needs time to cure. Follow the installer's instructions closely before walking heavily on the surface or moving fixtures and furniture back in.
What's the biggest mistake homeowners make
Choosing tile before confirming the floor is ready for tile. Beautiful porcelain won't compensate for a weak substrate, rushed waterproofing, or a poor layout.
If you're planning a porcelain tile installation in Wellesley, Wayland, Newton, Weston, or a nearby Massachusetts town, Sunny Day Pro Services can help you get it right from the start. From uneven subfloors in older homes to clean layouts, precise cuts, and durable finished surfaces, the team handles the details that make tile last. Reach out for an estimate and get a clear plan for your kitchen, bathroom, mudroom, or full-room remodel.

