
How to Polish Marble Tile Without Dulling or Etching It
Learn how to polish marble tile safely: test first, work through progressive grits, avoid etching, and know when to call a pro.
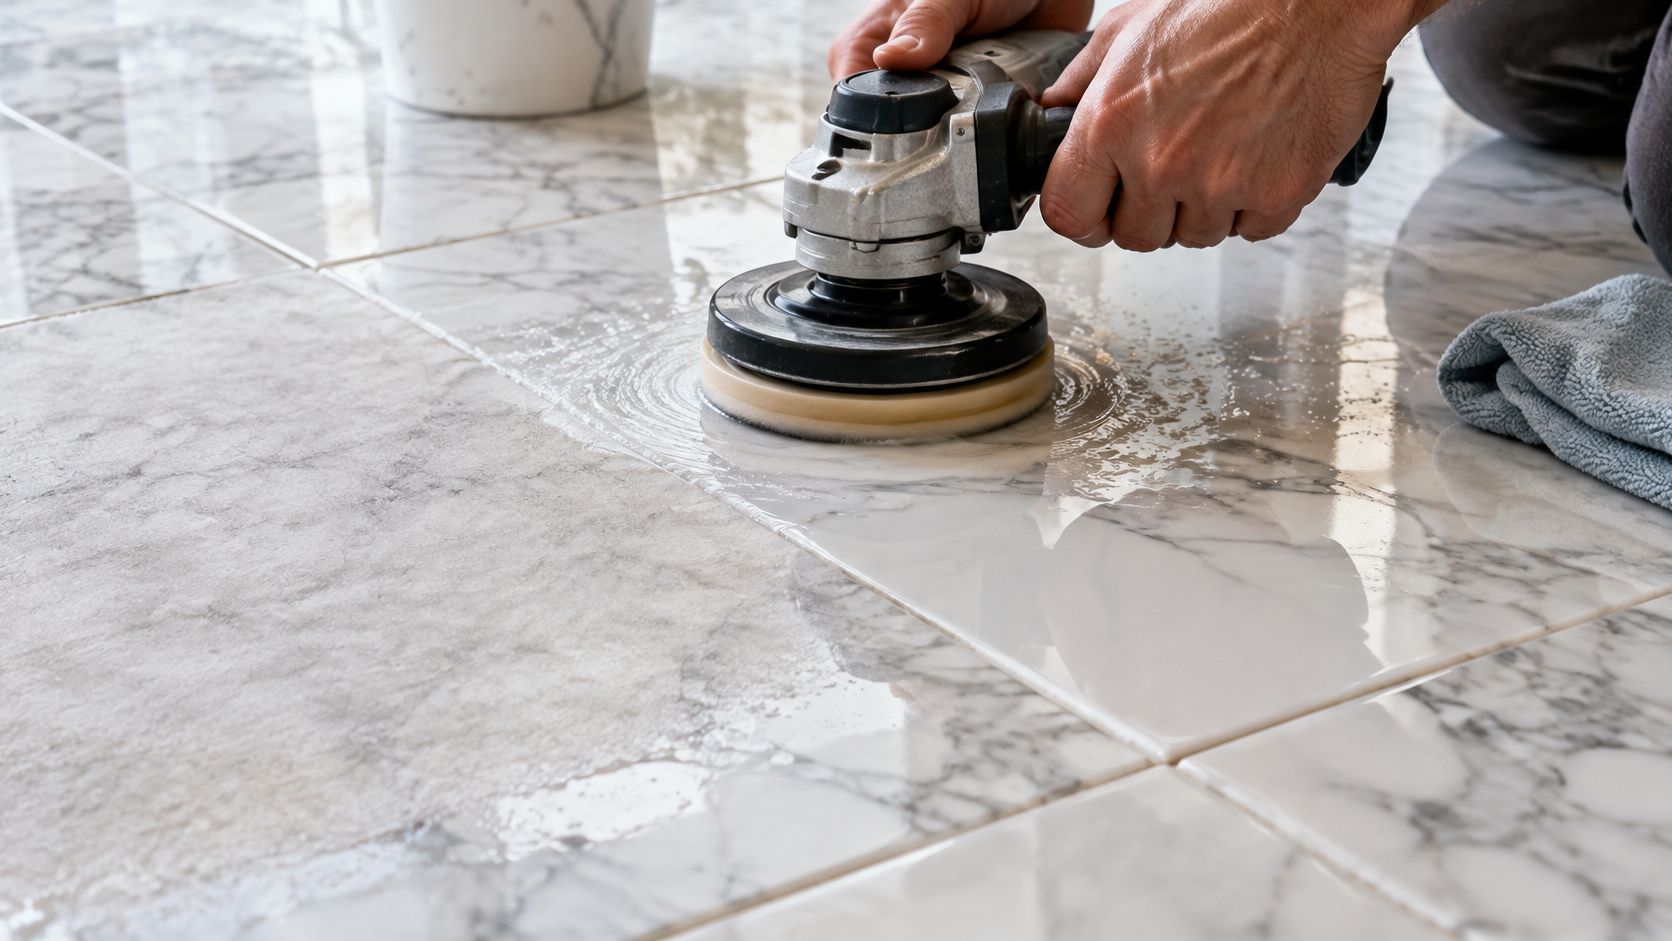
The most common advice about polishing marble tile, buy a shine product and buff harder, skips the part that restores the finish. Polishing is controlled abrasion, not a stronger version of cleaning. If the surface is etched or scratched, a glossy coating won't repair the damaged stone underneath.
The right approach starts with identifying the damage, then removing only enough material to produce an even finish. You also need to decide whether a mirror shine belongs in that room. A bathroom floor and a dry living-room floor shouldn't automatically receive the same treatment.
Table of Contents
How to Polish Marble Tile Step by Step
For a small, flat floor with manageable wear, use the following sequence. Don't commit an entire weekend to the main floor until a concealed test patch gives you the finish you want.
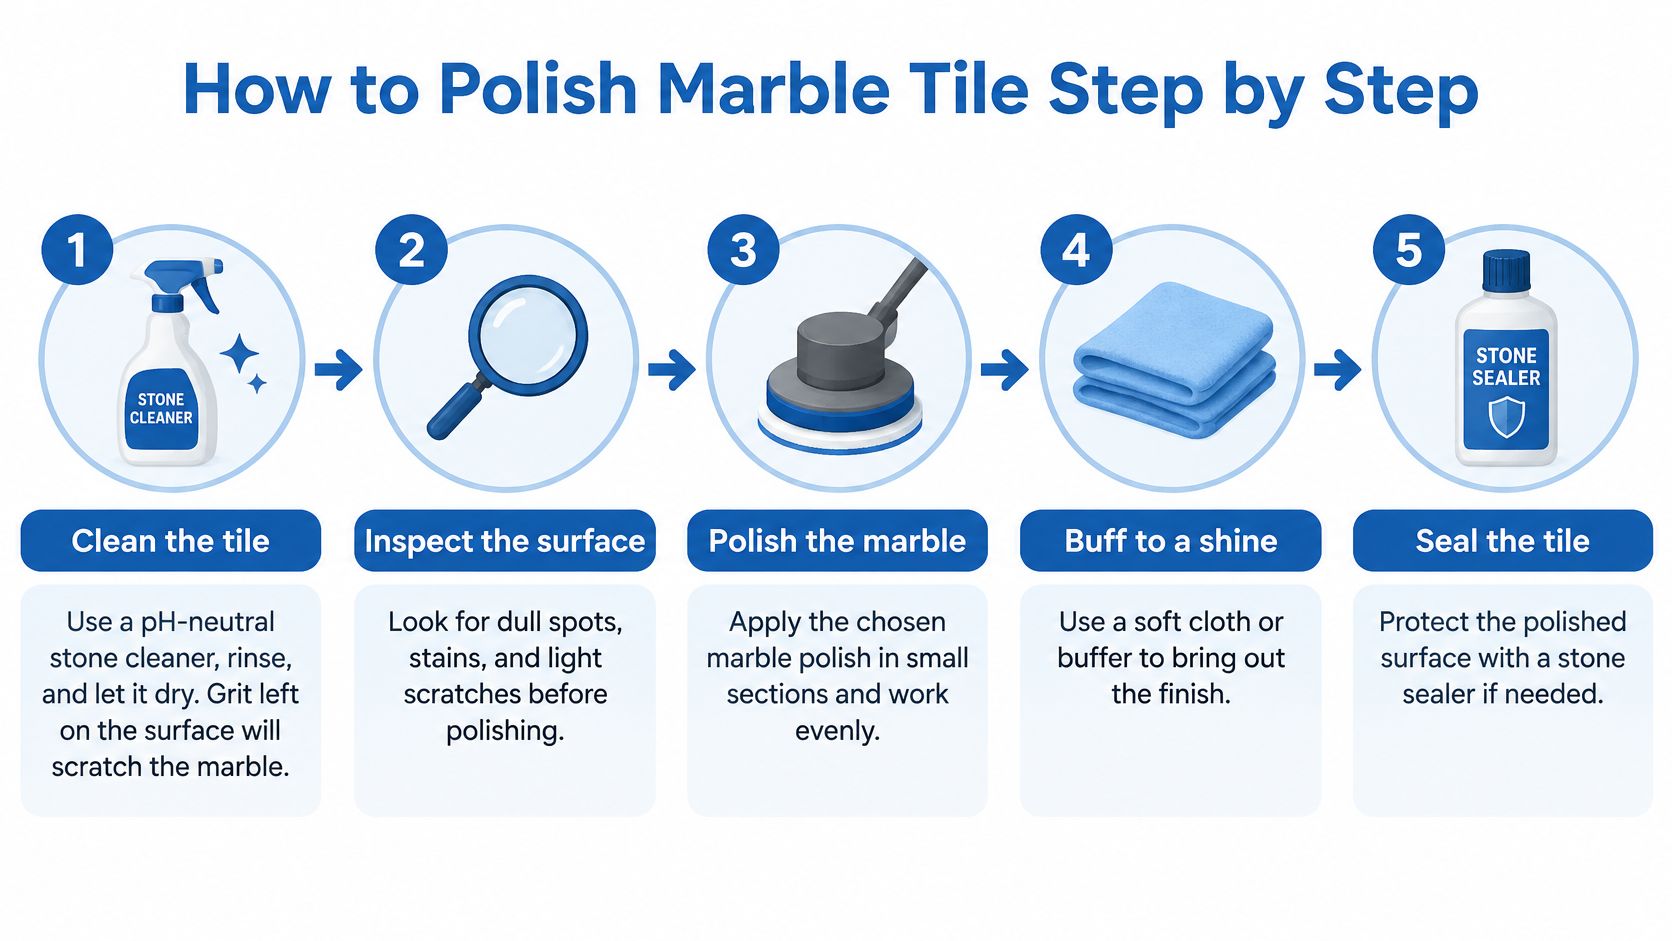
Prepare and prove the process
Clean before you abrade. Wash with a pH-neutral stone cleaner, rinse thoroughly, and let the tile dry for inspection. Loose grit can lodge beneath a pad and cut fresh scratches into the marble.
Choose the least aggressive effective starting pad. Moderate scratches commonly require a coarser start than light haze; the typical progression is 200, 400, 800, 1500, and 3000 grit, as described in DeFusco's marble polishing methods guide. These are working stages, not a requirement to grind undamaged stone unnecessarily.
Complete a concealed test patch. Use an accessible spot beneath a vanity overhang or behind a door, and take it through the proposed sequence. Inspect it dry before proceeding, because water can temporarily disguise scratches and dullness.
Contain the work. Protect baseboards and adjacent finishes with painter's tape and plastic sheeting, and mask vulnerable grout where practical. Don't cover the tile edges you need to treat or create loose plastic that can catch the machine.
Refine the marble without rushing
Wet the tile and the appropriate wet-use pad. Work in manageable sections, roughly a square yard where the room allows, using overlapping passes. Keep the pad moving so you don't concentrate abrasion in one place.
Remove slurry before changing abrasives. Rinse the tile completely, extract the dirty water, and wipe residue out of grout joints before it dries. Fit the next clean grit pad only after the preceding abrasive has been removed.
Stop at the finish the room needs. A honed finish generally stops around 400 to 800 grit, while the finer stages develop greater reflectivity. A lower-sheen finish is often the better starting choice for a wet room, subject to an actual slip assessment.
Inspect with the surface dry and a flashlight held low. Look across the tile rather than straight down at it. If the previous scratch pattern remains visible, return to the preceding effective stage instead of expecting finer abrasives to hide it.
Use finishing powder only after the surface is uniform. For a compatible product, the working mix may be about half a cup of powder to a cup of water; confirm the product-specific directions before applying it. Buff evenly, then rinse and recover every trace of slurry.
- Deliver water at the pad. Dampening the room afterward doesn't control dust where abrasion occurs.
- Recover slurry while it's wet. Don't dry sweep or use compressed air to move settled residue.
- Isolate the room. Keep children, pets, and other occupants out, and prevent residue from being tracked elsewhere.
- Use suitable protection. Wear eye protection and product-appropriate gloves; respiratory protection supplements effective controls rather than replacing them.
- Protect against electrical hazards. Use wet-rated equipment and appropriate ground-fault protection, keeping connections away from water.
- Scratches remain beneath a shiny finish. You started too fine or skipped an intermediate stage. Return to the last abrasive that can produce a uniform scratch pattern, then progress without skipping.
- Fresh matte spots appear after cleaning. An incompatible cleaner may have etched the marble. Refinish the affected surface after testing, rather than applying more sealer.
- A depression or bright island appears. The pad likely stayed in one place too long. Stop abrading that spot and have a professional assess any measurable dip.
- White residue outlines the grout. Slurry dried before recovery. Soften fresh residue with clean water, wipe gently, and extract it without reaching for acidic grout-haze remover.
- Circular swirls repeat across the tile. A contaminated or worn pad is a likely cause. Replace or clean the pad and return to the preceding effective abrasive.
- Tile edges still interrupt the reflection. The floor has lippage, not merely dullness. Arrange professional flattening assessment instead of polishing the high edges harder.
- The floor feels coated or looks streaky. A consumer shine product may have left a film. Remove it with a marble-compatible method before judging the underlying finish.
- Remove grit frequently. Use a clean microfiber dust mop or a suitable vacuum attachment that won't scrape the stone.
- Damp-clean according to use. Busy entries may need daily attention; quieter rooms may need less frequent washing with a pH-neutral stone cleaner.
- Blot spills promptly. Pick up wine, coffee, oil, and juice rather than spreading them across neighboring tiles.
- Maintain the mats. Keep entry and sink-area mats clean, dry, and secure so trapped grit doesn't become another abrasive.
- Check cleaning tools. A dirty mop or gritty cloth can undermine otherwise careful maintenance.
- Test patch passed. The dry finish blends without a visible halo.
- Floor is flat. No raised edges, loose tiles, or unresolved cracks interfere with the work.
- Dust and slurry controls are ready. You can contain, recover, and dispose of residue appropriately.
- Finish suits the location. Appearance hasn't taken priority over wet-use safety.
- Scope is understood. You're correcting surface wear, not trying to disguise structural or moisture problems.
Success means even sheen across the treated tiles, without swirls, cloudy islands, or dried residue in the grout. Don't judge the job while the floor is still wet, and don't keep polishing because a stubborn defect hasn't disappeared.
Pick the Right Starting Grit for Your Damage
Are you looking at cloudy haze, scratches, an acid etch, or discoloration inside the stone? That diagnosis determines whether you need an abrasive pad at all.
| Damage | How to recognize it | Starting grit | Who should handle it |
|---|---|---|---|
| Light haze or dullness | Cloudy look in raking light, no visible scratch lines | 400 | DIY with a test patch |
| Moderate scratches or light etch | Visible scratch lines or matte patches that catch light unevenly | 200 | DIY with wet diamond pads after a successful test |
| Deep scratches or lippage | Scratches you can feel with a fingernail, or uneven tile edges | 50–100 | Trained stone professional |
| Stain with no surface loss | Discoloration that does not change the surface feel | None, poultice first | DIY poultice, then a professional if it persists |
Treat these starting grits as test-panel decisions, not automatic prescriptions. Marble mineralogy, the factory finish, and the depth of the damage can change which pad is appropriate.
A stain and an etch need different repairs
A stain is discoloration from material absorbed into the stone. An etch is surface damage caused by an acidic substance reacting with the marble. A spill can leave both, so color alone isn't a complete diagnosis.
As SolidShape's marble floor care guide explains, an impregnating sealer slows absorption but doesn't stop acids from attacking the calcite surface. That's why sealed marble can still develop dull patches after contact with lemon juice, vinegar, wine, or an acidic bathroom cleaner.
Diagnosis first: A darker mark calls for stain assessment. A matte patch that interrupts the reflection calls for finish assessment.
For discoloration, choose a marble-safe poultice suited to the suspected stain and test it discreetly. Don't grind deeper just because a colored mark remains.
For an etch, cleaning won't replace the lost surface material. Controlled honing or polishing must blend the damaged area into the surrounding finish. Polished marble makes these interruptions particularly noticeable, while honed marble tends to disguise them better.
If a scratch catches your fingernail or neighboring tile edges sit at different heights, stop treating it as maintenance polishing. That's a grinding and flattening decision.
Tools and Products for Each Polishing Stage
Buy the consumables that must stay clean and stone-specific: cleaner, microfiber cloths, masking materials, and compatible pads. Consider renting the machine for a single floor, but confirm that it supports wet stone work and that you can control it before bringing it home.
| Item | Stage | Practical note |
|---|---|---|
| pH-neutral stone cleaner | Prep and cleanup | Avoid acidic cleaners before polishing |
| Wet diamond pads, 200 to 3000 grit | Honing and polishing | Change pads between grits and rinse fully |
| Low-speed floor machine or variable-speed polisher | Large floors | Keep moving in overlapping passes |
| Hand-held buffer with pad | Small areas and corners | Use long, even strokes |
| Polishing or honing powder | Final finish | About 1/2 cup powder to 1 cup water for the specified product |
| Microfiber cloths and a damp sponge | Wipe-down between grits | Clean cloths reduce new scratches |
| Painter's tape and plastic sheeting | Containment | Protect grout and baseboards |
| Wet/dry shop vacuum with HEPA filter | Slurry cleanup | Never dry sweep the dust |
| Raking flashlight | Inspection | Check the dry surface under low-angle light |
Match the machine and compound to the job
The LATICRETE marble care resource guide describes approximately 1/2 cup (118 mL) of honing powder with 1 cup (237 mL) of water, and a maintenance-machine reference of about 175 rpm. Neither the mix nor the machine speed is universal across products, handheld tools, and marble types.
Honing powder and polishing powder aren't automatically interchangeable. Select the product for the intended stage and finish, rather than buying whichever container promises the most shine. Consumer gloss products cannot perform the scratch removal of diamond abrasives.
A compact variable-speed wet polisher provides more control around a small area than a full-size floor machine, but it also makes localized overworking easier. Match every pad's size, backing, speed rating, and wet-use requirements to the tool.
For slurry recovery, use a vacuum approved for wet pickup and configure its filter exactly as its manufacturer requires. A HEPA filter alone doesn't make an ordinary vacuum suitable for water or hazardous dust.
Dust, Slip and Chemical Safety Before You Start
Don't dry-grind marble indoors as a shortcut. Stone, grout, mortar, and other materials in the work area can create hazardous dust, including respirable crystalline silica where it's present. The material's composition matters, but visible dust is never a useful measure of safe exposure.
OSHA's silica interpretation guidance identifies wet methods and local exhaust or vacuum controls, and states a general-industry exposure limit of 50 micrograms per cubic meter as an eight-hour time-weighted average. That's a workplace exposure standard, not a homeowner's permission to work until the room looks dusty.
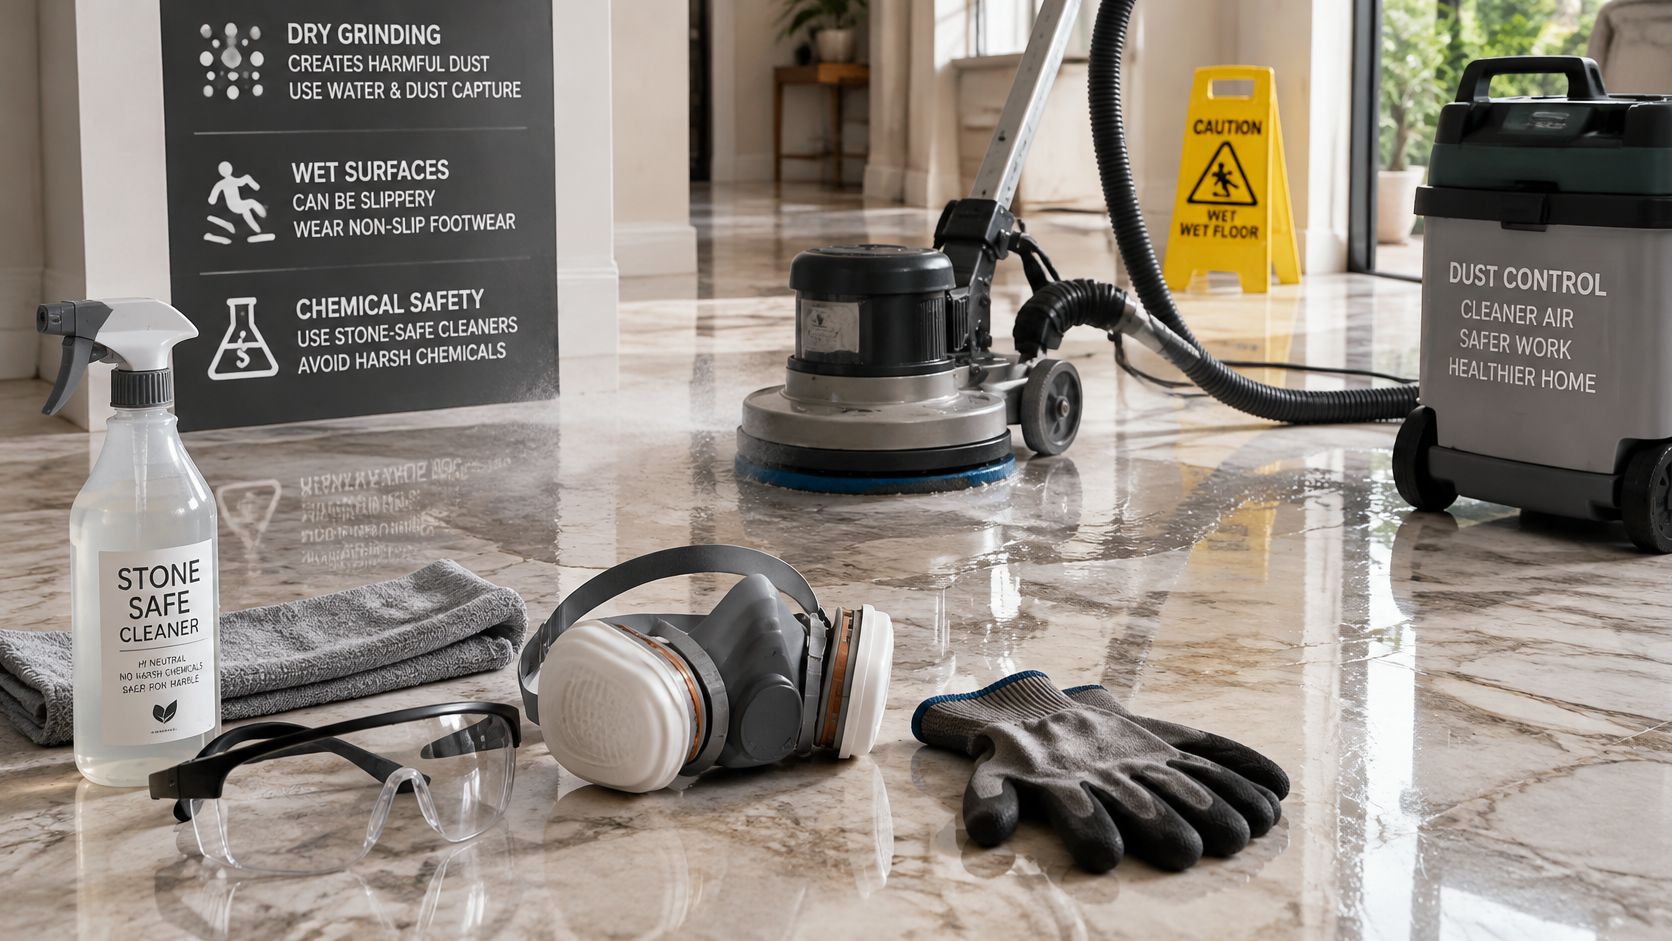
Control exposure at the source
Choose chemistry and finish together
Skip vinegar, lemon-based cleaners, and improvised acid treatments. Our guide to cleaning products for tile floors helps distinguish general tile-cleaning choices from products appropriate for sensitive stone. Never use hydrofluoric-acid products for a DIY traction treatment.
A mirror finish can create wet-slip concerns, but honed doesn't automatically mean safe. Published stone-friction testingMT.1943-5533.0001556) shows that stone composition and surface finish both affect slip behavior.
For shower floors, snowy Massachusetts entrances, and frequently wet kitchens, arrange a professional wet-slip assessment before changing the finish. Consider footwear, drainage, and secured mats. Don't deliberately walk across a wetted test patch to decide whether it's safe.
Common Polishing Mistakes and How to Fix Them
The most tempting mistake is applying more compound when the floor still looks scratched. More gloss won't conceal an unfinished abrasive stage. It can make the remaining defects easier to see.
Conservation guidance from the GSA emphasizes identifying the original finish and testing treatment before repolishing. That restraint matters on an ordinary residential floor too: correction should preserve the intended surface, not chase maximum shine at any cost.
Read the symptom before making another pass
Stop when a defect changes shape but doesn't improve. Continued abrasion can turn a repairable mark into an uneven tile.
Don't force a deadline
There's no dependable universal polishing time per tile. Pressure, pad condition, stone hardness, and the existing finish change the work required.
Use visual uniformity as your timing rule. If your test patch won't blend into the surrounding floor, don't expand the same unsuccessful method across the room.
Keep Marble Looking Glossy Between Polishes
The best maintenance routine keeps abrasive dirt off the floor and deals with spills before they become restoration work. You don't need to keep adding a shine product to preserve a properly finished surface.
Use a simple cleaning routine
For a room-by-room washing method, use our guide to how to clean marble tile. Avoid leaving cleaner residue that can look like renewed dullness.
Evaluate protection instead of resealing automatically
The Natural Stone Institute educational brochure explains that impregnating sealers act as repellents rather than making stone completely stain-proof. Their practical value is extra cleanup time, not permission to leave spills standing.
Periodically place a small amount of water on an inconspicuous, clean area. If the stone darkens as it absorbs water rather than resisting absorption, evaluate whether the protective treatment needs renewal. Remove the test water afterward.
Maintenance rule: Reseal for an absorption problem. Refinish for a damaged surface.
Schedule polishing based on the condition, not a fixed calendar. Fine finishing pads may suit a lightly worn, already uniform surface, but new scratches require fresh diagnosis. Repeated abrasion removes stone, so polishing an otherwise sound floor just because a season has changed isn't useful maintenance.
Decide Whether to Polish Yourself or Call a Pro
DIY makes sense when the floor is flat, the area is manageable, the damage is shallow, and your concealed test patch dries to a uniform finish. You also need the equipment, containment, and patience to finish each stage without rushing cleanup.
Professional work is the better choice for deep scratches, lippage, large connected floors, unidentified stone, or historic marble. A wet area needing a slip assessment also belongs with a qualified specialist.
Use a go or no-go checklist
If any item fails, pause and hire the appropriate stone-restoration professional rather than experimenting across the entire floor.
Frequently asked questions
Can I polish a single dull tile?
Sometimes, but matching the surrounding sheen is harder than making the isolated tile shiny. A successful concealed test is especially important for spot repairs.
Should I reseal before polishing?
Don't add another treatment before diagnosing the defect. Determine whether you're dealing with absorption, discoloration, residue, or surface damage first.
What should I include when requesting local help?
For homeowners in Wayland, Newton, Needham, Wellesley, Weston, and nearby communities, our marble tile service page outlines our installation offering. We install porcelain, ceramic, marble, and granite, with backsplash work and kitchen, bathroom, and flooring remodeling; tile installation comes with a guaranteed high-end finish.
Mention sensitive natural stone and its existing finish in our quote form. We work around your timing for scheduling, and the proposed finish should be confirmed against the room's use before any polishing begins.
Sunny Day Pro Services offers marble and other tile installation, remodeling, and surface-appropriate home cleaning to help you care for the room as a whole. Visit Sunny Day Pro Services to request a quote, describe your marble's condition and finish, and clarify the right service scope before work begins.

