
Tile Cleaning and Sealing: Expert Tips for 2026
Master tile cleaning and sealing with expert surface techniques, drying times, and lasting maintenance tips.
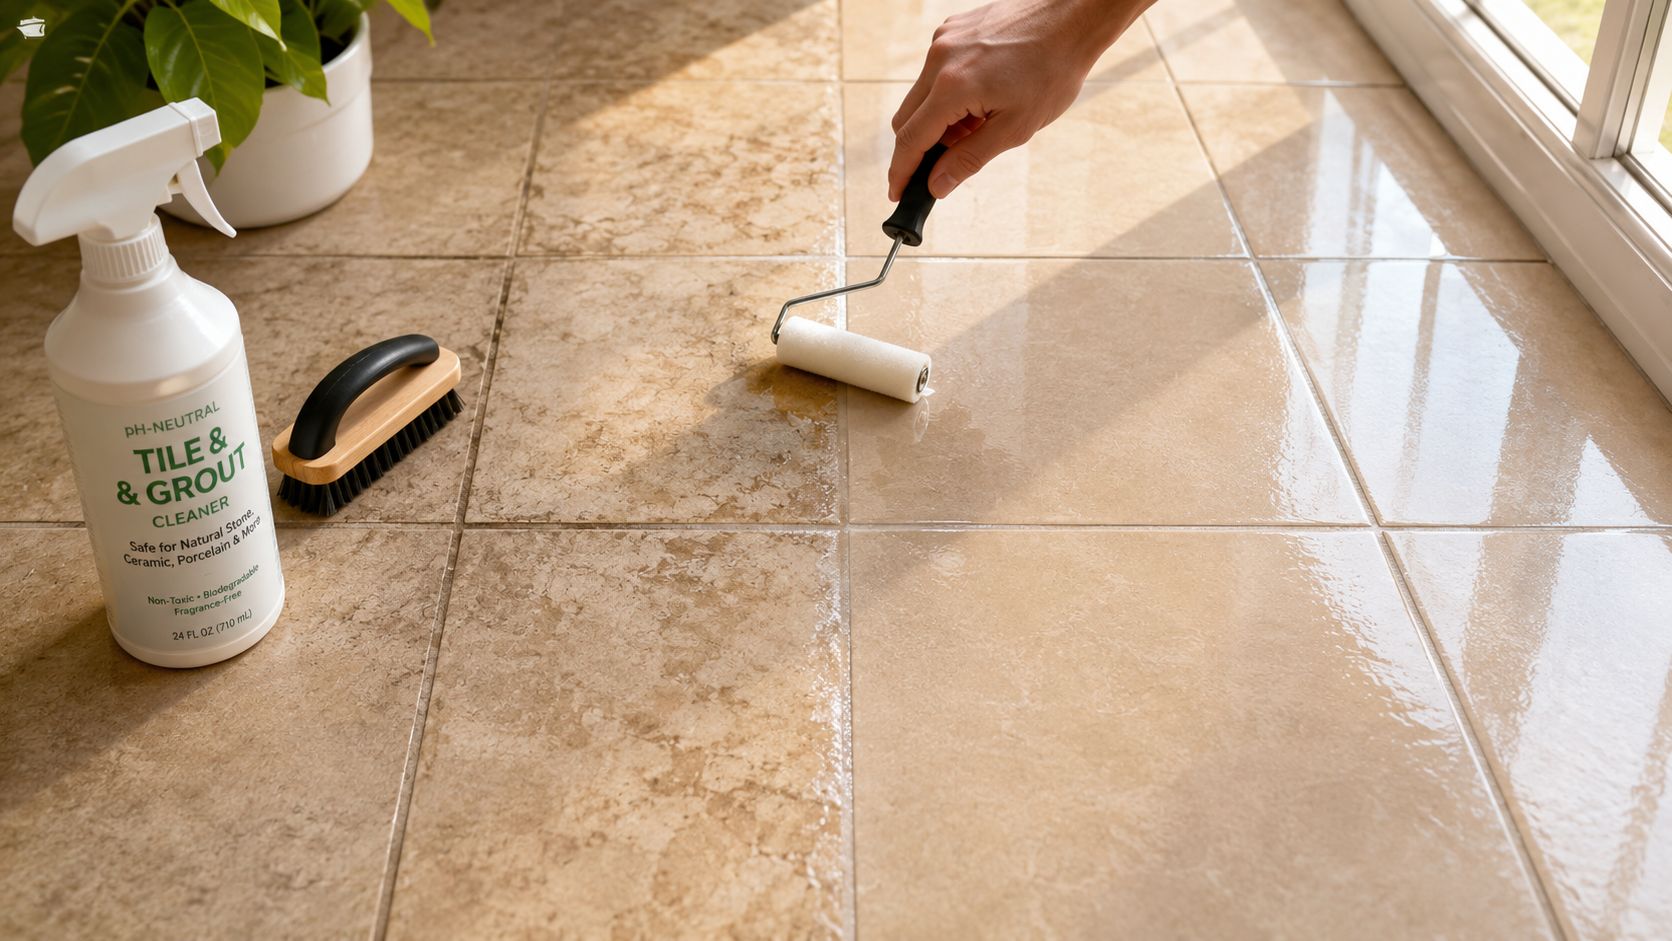
If you've been mopping the same kitchen or bathroom floor and the grout still looks tired, you're probably dealing with more than surface dirt. Tile can keep the room looking bright while the grout darkens, holds moisture, and makes the whole installation look older than it should. That's usually the moment homeowners start searching for tile cleaning and sealing, because the floor no longer responds to routine cleaning the way it once did.
The hard part is that most advice online treats every tile the same. It isn't the same job on glazed ceramic as it is on porous cement tile, and it definitely isn't the same in a dry entryway as it is in a damp Massachusetts bathroom. The difference between a floor that stays cleaner and a floor that ends up hazy, sticky, or still stained usually comes down to a few decision rules most guides skip.
This article is built around those rules. If you want to know what needs sealing, how to test it, and how to avoid trapping moisture under a product that was supposed to protect the surface, the practical answers are here.
Table of Contents
- Why Tile Cleaning and Sealing Matters More Than You Think
- Porosity is the decision rule
- Tile Type Sealing Requirements
Why Tile Cleaning and Sealing Matters More Than You Think
A homeowner usually notices it in stages. First the grout line near the sink looks a little darker. Then the shower floor starts to look cloudy even after a careful scrub. Eventually the whole room feels dull, and mopping seems to move the dirt around instead of removing it.
That's because tile cleaning and sealing is rarely just a cosmetic refresh. It's a lifecycle decision, especially in kitchens, bathrooms, mudrooms, and entryways where soil, moisture, and foot traffic work into grout over time. Professional tile and grout cleaning typically runs $0.50 to $3 per square foot, with most jobs carrying a $100 to $200 minimum fee and a national average project price of about $479; total costs commonly fall between $285 and $676 depending on size and condition, and sealing or grout repair can add another $2.50 to $6 per square foot Angi pricing guide.
Practical rule: if the grout is absorbing what the mop leaves behind, the problem isn't “dirty tile,” it's a surface that needs a better maintenance strategy.
Sealing matters because grout is porous, and porous surfaces hold onto grime long after the visible spill is gone. That's why a floor can look clean right after mopping and still darken again once it dries. A proper cleaning and sealing routine changes how the surface handles moisture and soil, which is why it tends to pay off over time instead of only making the room look better for a week.
That long view is the point. In homes where the floor is part of daily traffic, the better question isn't whether the tile looks dirty today. It's whether the surface is being maintained in a way that keeps it from wearing out faster than it should.
Which Tile and Grout Types Actually Need Sealing
The biggest mistake homeowners make is assuming every tile installation needs the same treatment. It doesn't. Some surfaces are porous enough to benefit from sealing, some are mainly protected through cleaning and grout care, and some mixed installations need a split approach because the tile and grout behave differently.
Porosity is the decision rule
The simplest practical check is the water-drop test. Put a few drops of water on the tile in an inconspicuous spot and watch what happens. If the water darkens or absorbs quickly, the surface is porous enough to consider sealing. If it beads and stays on top, the tile itself may not need the same treatment, even though the grout still might.
That difference matters in real homes. Technical guidance on tile maintenance distinguishes between routine cleaning and restorative sealing based on substrate and porosity, and it notes periodic resealing only for grout and natural stone in the maintenance cycle National Tile Authority guidance. In other words, the grout often needs more protection than the tile face.
Natural stone is where sealing usually becomes essential, since stone commonly has absorbent structure. Cement tile also demands careful sealing decisions because its surface and finish can change how it takes in product. Ceramic and many porcelain installations are often less absorbent on the tile face, so the grout and any porous accents become the main focus instead of the whole field.
Mixed-material spaces deserve special attention. A kitchen backsplash might combine ceramic field tile with a stone accent, or a bath floor might have porcelain tile with cement inserts. Those aren't “one setting fits all” jobs. The product choice should follow the most absorbent component, not the easiest one.
For homeowners comparing approaches on stone surfaces, the care logic is different from standard ceramic maintenance, and this marble tile cleaning guide fits that narrower material category.
Tile Type Sealing Requirements
| Tile Type | Porosity Level | Sealing Needed | Notes |
|---|---|---|---|
| Ceramic | Usually low on the tile face | Often grout only | Check grout first, especially in kitchens and baths |
| Porcelain | Usually low | Often grout only | Confirm with a water-drop test and inspect joints |
| Natural stone | Often porous | Usually yes | Needs substrate-appropriate cleaner and sealer |
| Cement tile | Porous enough to require care | Usually yes | Test a small area before full application |
The tile face and the grout joint don't always need the same treatment. If you treat them as one material, you'll miss the part that actually needs protection.
That's the rule homeowners should keep in mind. Don't ask whether the whole floor needs sealing in a generic sense. Ask which part is porous, which part is protected already, and which part is collecting moisture and staining first.
How to Deep Clean Tile and Grout Before Sealing
A sealer cannot make up for a dirty surface. If grit, soap film, or old cleaner residue is still on the floor, the product bonds to contamination instead of the tile or grout itself. The result is haze, streaking, or a finish that looks uneven from the start.
Start with grit removal, then use the right cleaner
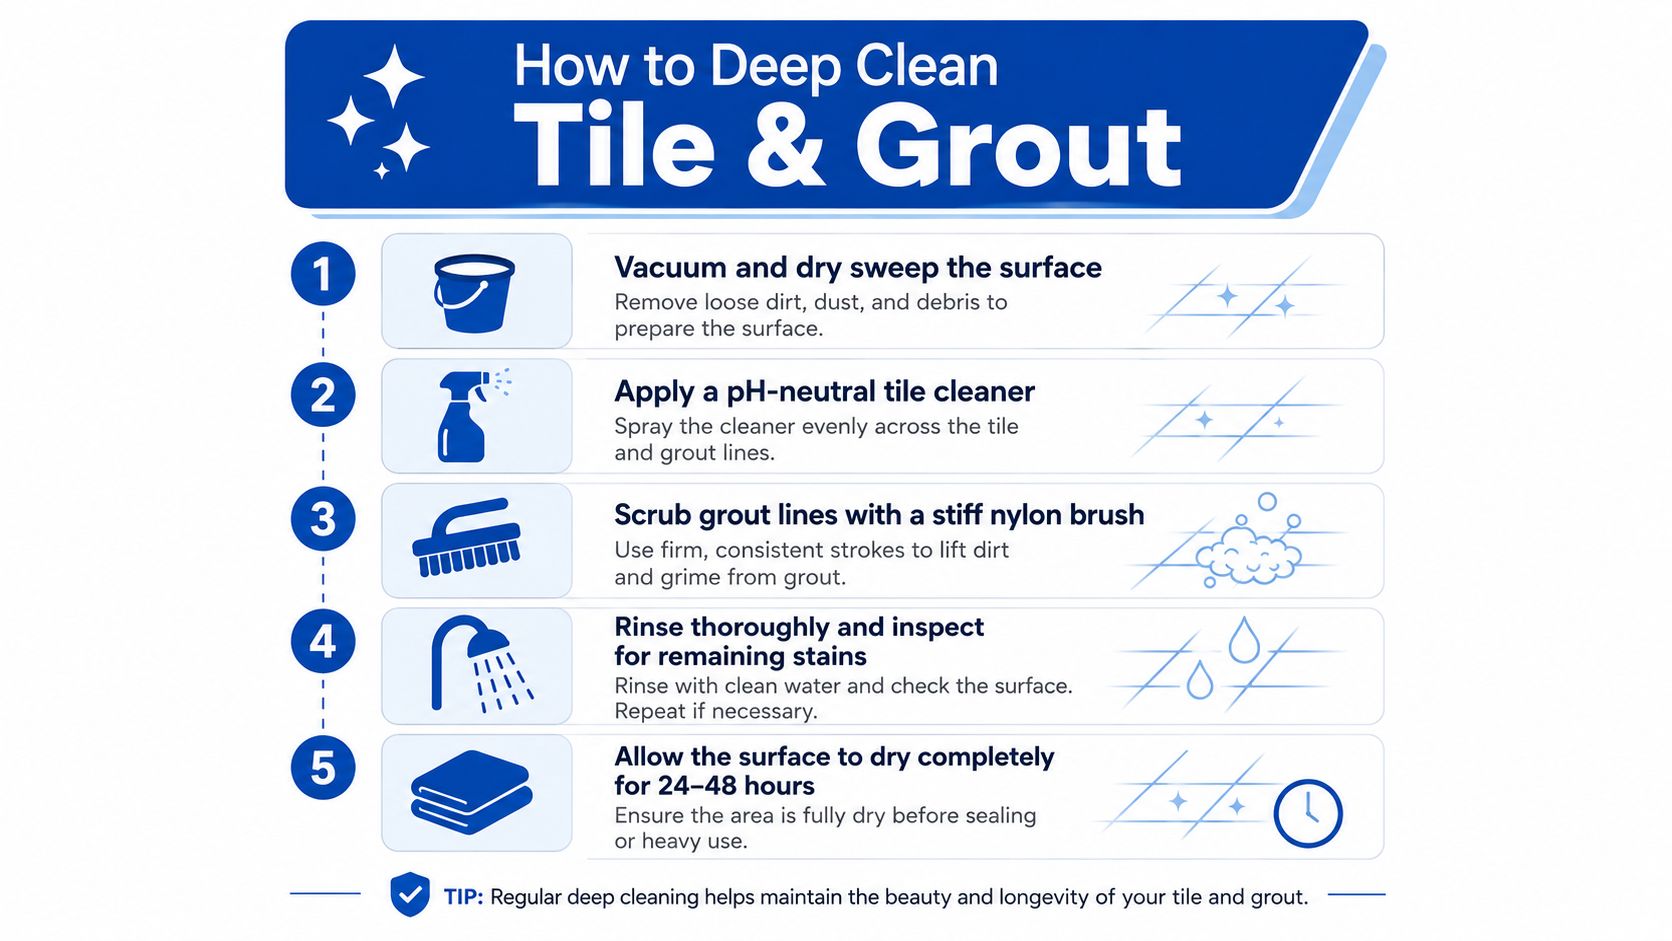
The first pass is dry cleanup. Sweep or vacuum before anything else so abrasive debris does not get dragged into the grout lines. On tile, that matters more than people think, because a lot of dullness is really fine grit sitting in the texture and joints.
After that, use a pH-neutral tile-safe cleaner and give it the dwell time the label calls for. One tile-care guide specifies a dwell period of 3 to 5 minutes, followed by agitation with a sponge, soft-bristle brush, or floor-scrubbing machine, then mopping up the solution tile-care guide. That short soak matters because cleaner that flashes off too fast never gets under the grime. For a closer look at the cleaning process itself, see our guide on how to clean tile and grout.
Avoid acid-based products on cement or sensitive grout. Independent care guidance for cement tile warns against acidic or alkaline products such as vinegar, ammonia, or bleach because they can damage the surface or its protective treatment cement tile care guide. In bathrooms, the risk is worse because people often combine aggressive chemistry with too much water and assume the rinse will fix everything.
Dry time is where most DIY jobs fail
Rinsing is not optional, and neither is drying. After cleaning, the surface has to be rinsed with clean water and dried completely before any sealer goes down. Guidance for porous tile says the surface must be fully dry before sealing, and highly porous tiles may need 2 to 3 thin coats with 12 to 24 hours of cure time before moisture or foot traffic is allowed porous tile guidance.
Dry floor, clear joints, no residue. If you can still feel tackiness, see a damp sheen, or smell trapped cleaner, the tile is not ready.
High-humidity spaces need extra discipline. In a Massachusetts bathroom, the tile may look dry while moisture still sits in grout pores or under a vanity edge. That is why small sections, full rinse-downs, and enough open-air drying time matter more than rushing to seal before the room looks ready.
The Step-by-Step Sealing Process That Actually Works
A good sealing job looks uneventful. The work stays in small sections, the coat stays thin, and excess sealer comes off before it turns into a film on the tile. Most failed jobs start when someone tries to cover too much floor too quickly, then chases haze and sticky residue after the fact.
Work in sections and test first
Cement tile is a clear example of why a test spot matters. Manufacturer guidance calls for a small-area test before full sealing and then about 24 hours of cure time so you can judge the look and the result before committing across the whole installation cement tile sealing guidance. One test section can save an entire room from an unwanted finish.
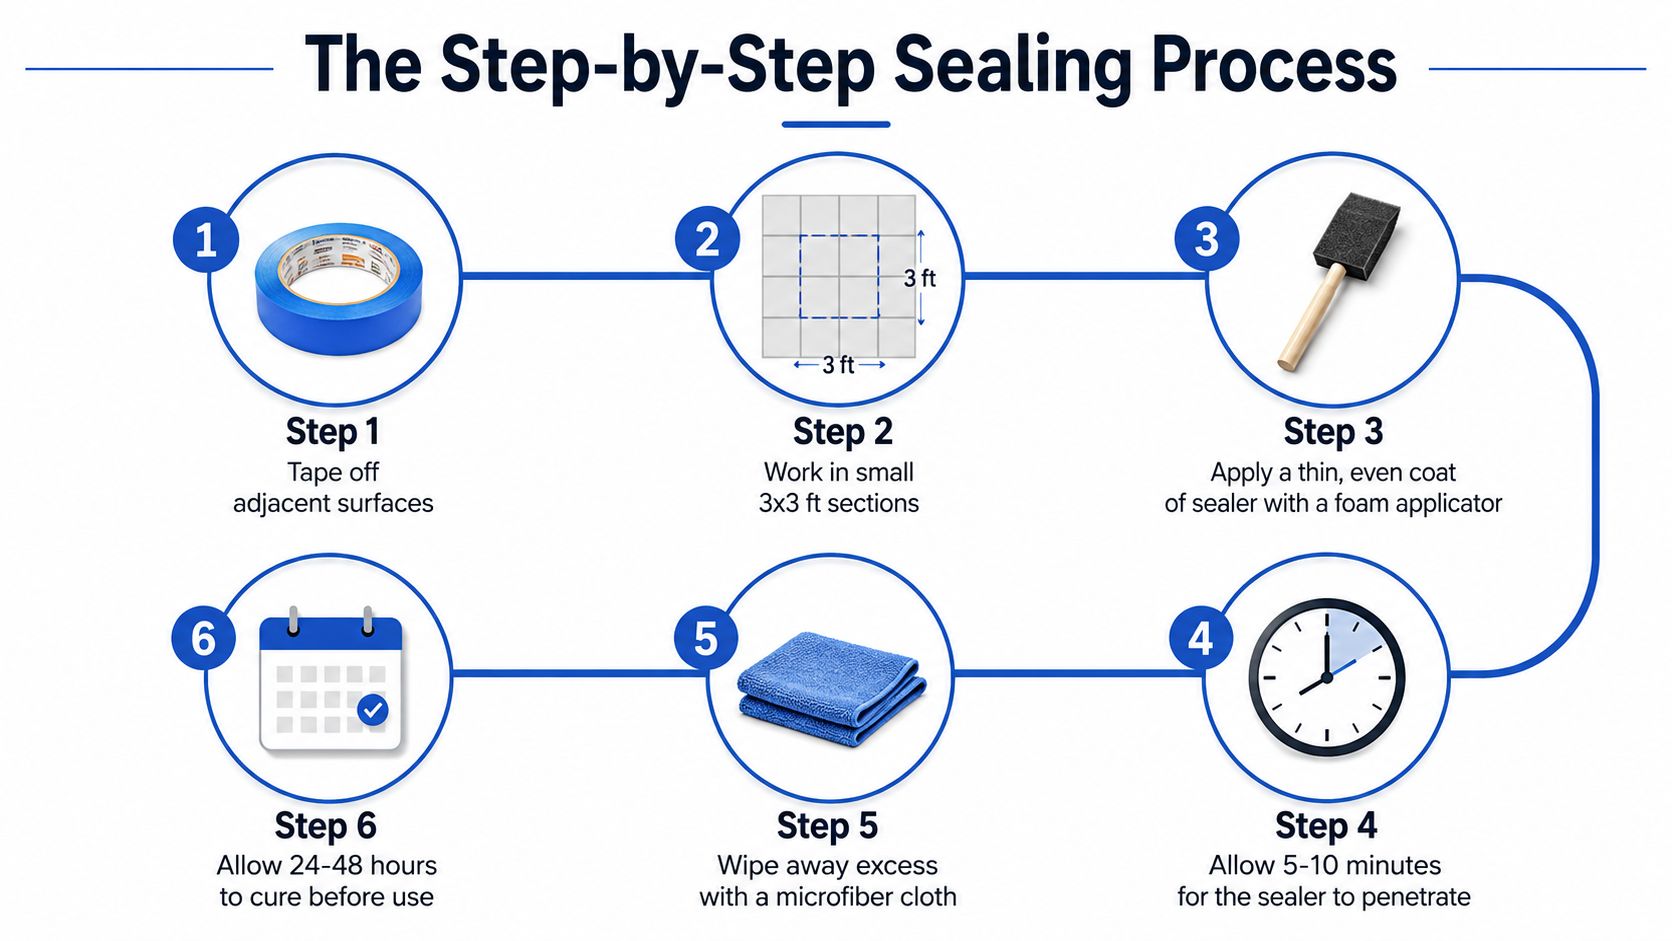
A practical workflow looks like this:
- Tape off adjacent surfaces that should stay sealer-free.
- Work in small areas instead of trying to finish the entire room in one pass.
- Apply a thin, even coat with a foam applicator or a similar tool.
- Let the sealer penetrate into the tile and grout.
- Wipe off any excess before it dries on the surface.
- Give the floor full cure time before foot traffic or water exposure.
The dwell time still matters. One industry guide says to wait 5 to 7 minutes for sealer penetration before wiping off the excess cement tile cleaning guide. Porous tile guidance also notes that heavily porous surfaces may need 12 to 24 hours of cure time before use, which is why room conditions and substrate type change the schedule from job to job porous tile guidance.
Read the surface, not the clock alone
A floor can hit the recommended time and still be wrong for another coat. If the grout reads darker in spots, the room feels damp, or the sealer still looks wet after the dwell time, wait. The finish should look even, feel dry to the touch, and leave no cloudy residue at the joints.
Some cement tile systems are sealed before grouting and then sealed again after installation. That is one reason maintenance schedules vary by material and traffic. A maintenance guide says that schedule is usually enough for the first 1 to 2 years, then calls for an annual topcoat refresh in kitchens and other high-traffic areas and about every 2 years in lower-traffic spaces cement tile maintenance guidance. That is a maintenance rhythm, not a one-and-done fix.
If the sealer flashes into haze, the coat was probably too heavy or the excess stayed on the tile too long. If the finish still feels tacky after cure time, the room needed more drying or the application was overbuilt. The fix is the same in either case, keep the process thin, dry, and controlled.
DIY Tile Sealing vs Hiring a Professional Service
A small bath with evenly porous grout is a manageable DIY job. A basement floor with mixed tile, old sealer residue, or patchy dry time is not. The choice is usually less about pride and more about how much control you have over moisture, surface prep, and cleanup.
Costs are only part of the equation
Professional tile and grout cleaning often starts with a minimum service charge, and the final price depends on the floor's condition, the tile material, and whether sealing or grout repair is added Angi pricing guide. That is the part many homeowners miss. The quote is not just for labor, it reflects the time needed to correct staining, residue, and uneven absorption before a sealer ever goes on.
DIY lowers the cash outlay, but it shifts the burden to the person doing the work. You need the right cleaner, enough dry time, and a steady hand when the surface is porous in some spots and resistant in others. Professional service usually makes more sense when the floor is large, the grout is heavily stained, or the tile shows haze quickly if the coating is applied unevenly.
A local service such as Sunny Day Pro Services can handle tile restoration, cleaning, and related surface work for homeowners who want the prep and sealing done without trial and error on a floor they use every day.
Know when the job crosses the line
Some floors are simple enough for a careful homeowner. Others need a trained eye before the first coat goes down.
- Large-format stone or mixed-material floors: The wrong cleaner or sealer can leave one section darker or glossier than the rest.
- Heavily stained grout: Deep discoloration often points to restoration work, not just another pass with a store-bought product.
- High-humidity bathrooms: Dry time is harder to control, and trapped moisture can turn a good product into a cloudy mess.
- Floors that were previously sealed badly: Old residue and haze usually have to come off before a new finish will bond and look even.
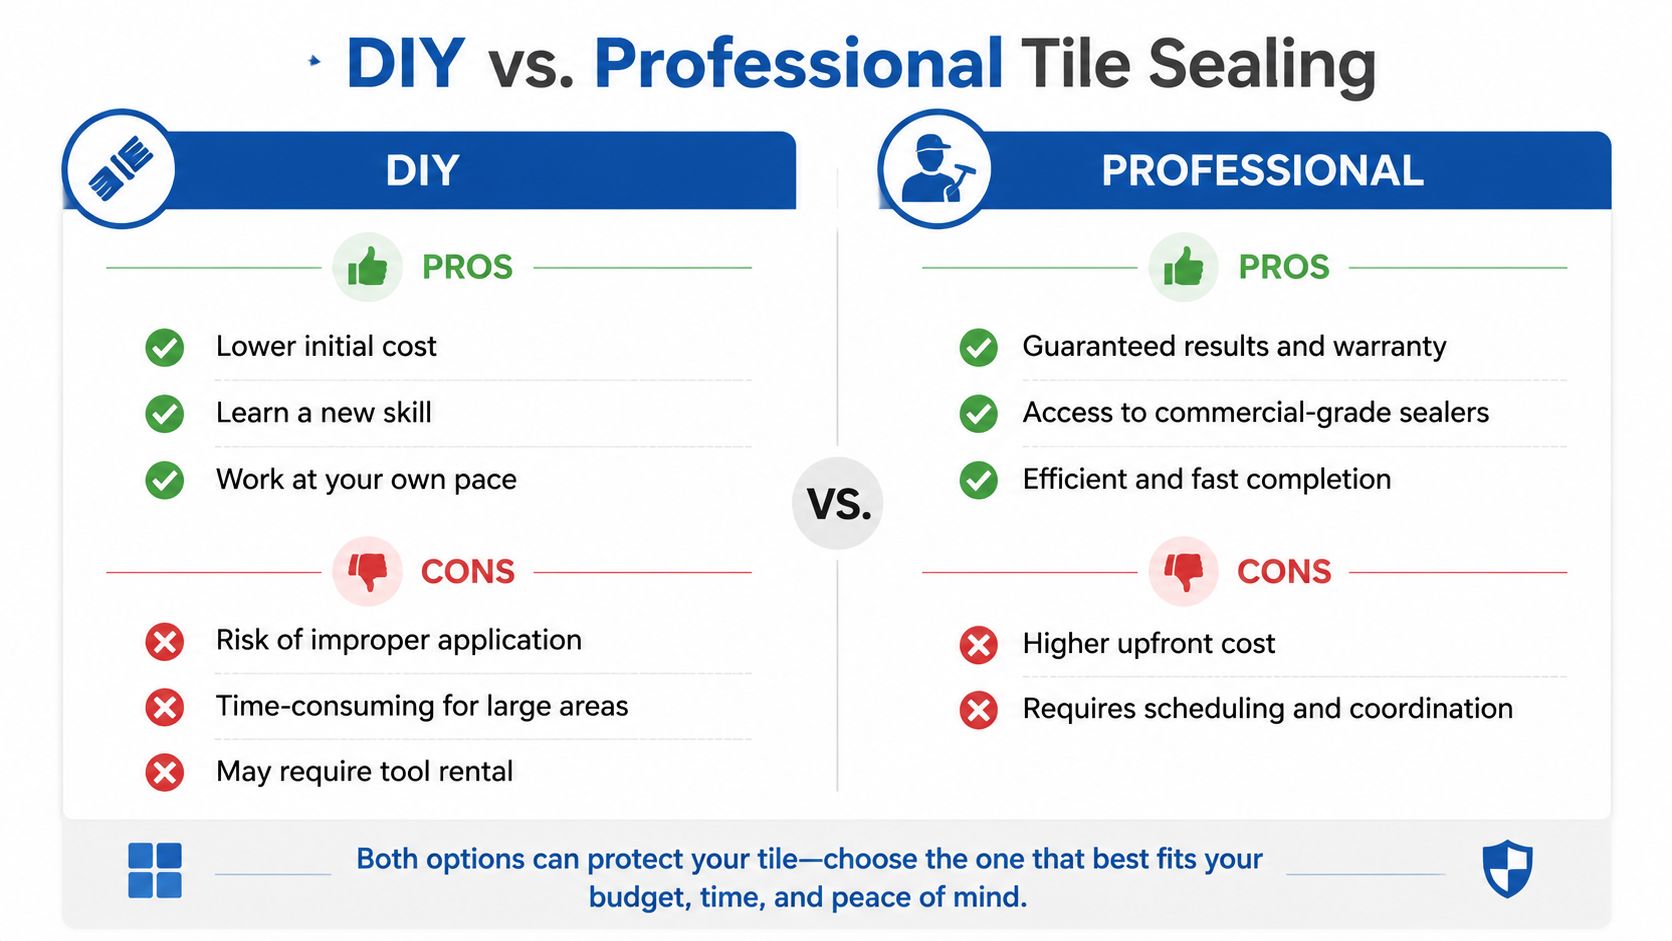
DIY works when the surface is predictable and the room gives you enough time to prep, dry, and apply the sealer cleanly. Professional service works when the floor is unforgiving, the humidity stays high, or the cost of one failed attempt is higher than paying for the right equipment and experience upfront.
Common Tile Sealing Mistakes and How to Avoid Them
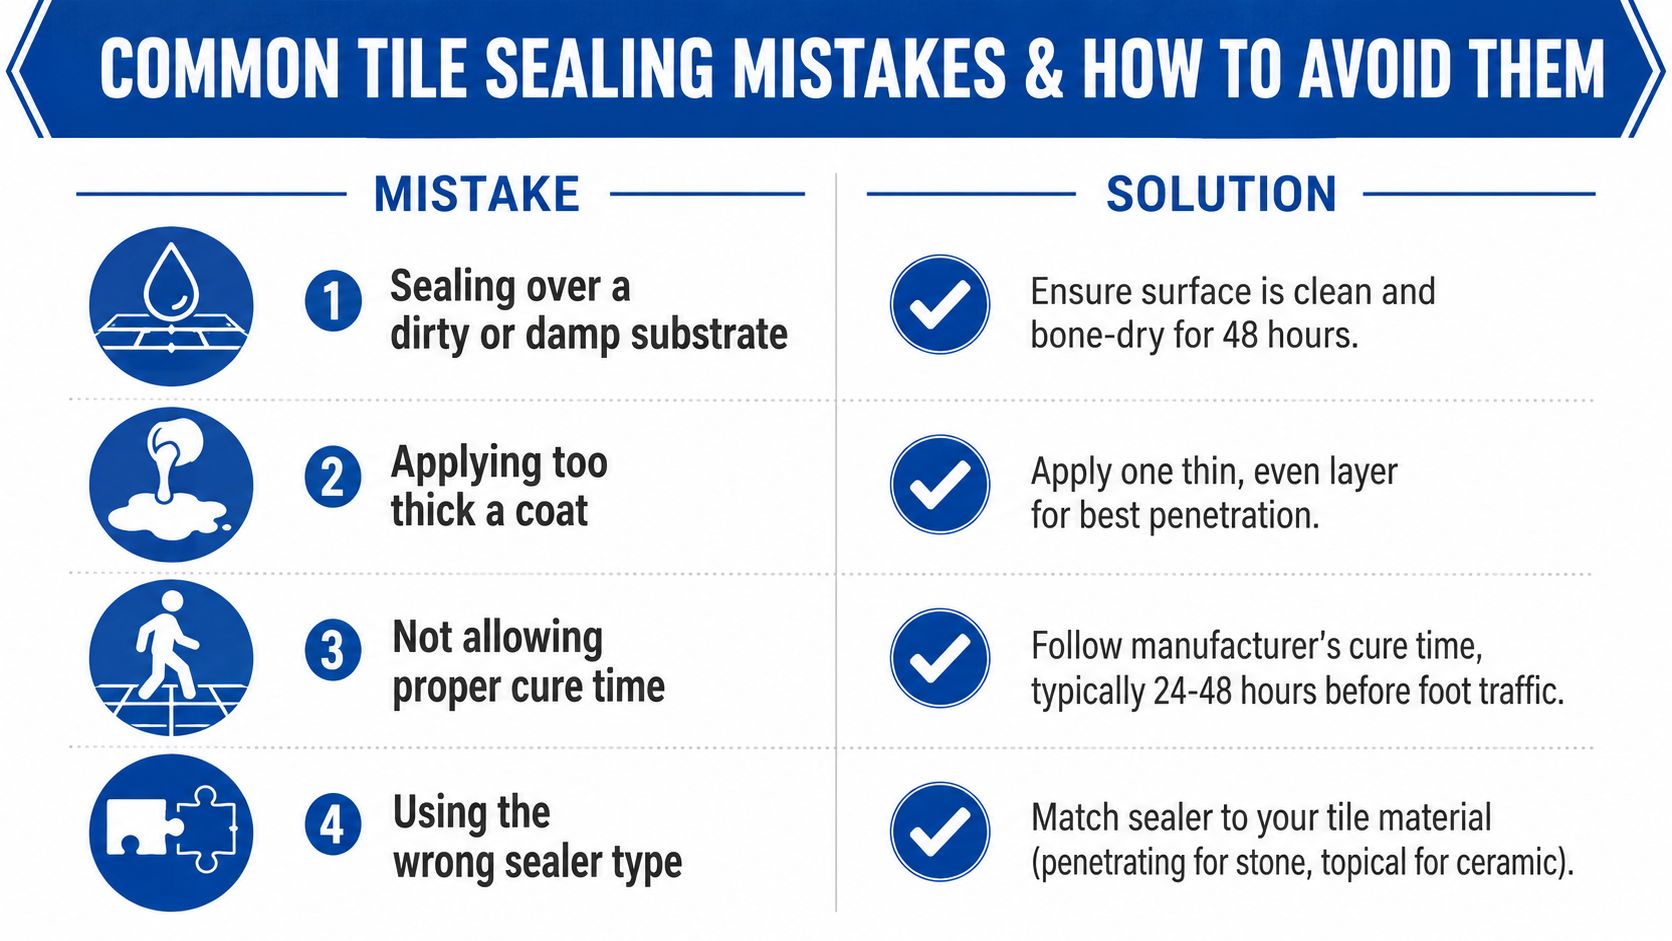
Most bad sealing jobs don't fail because the product is bad. They fail because the substrate was wrong, the coat was too heavy, or the room wasn't ready. That's why the most expensive mistakes are often the simplest ones.
The failures that show up later
Sealing over a damp substrate traps moisture. In practice, that means white haze, streaking, or a finish that never feels quite cured. The fix is plain, the floor has to be clean and bone-dry for 48 hours before sealing when moisture is part of the equation, especially in bathrooms or after an aggressive wash.
Applying too thick a coat causes a different problem. Instead of sinking into the material, the product sits on top and dries into a tacky or cloudy layer that grabs dirt. The prevention is simple, one thin, even layer is better than chasing coverage with extra product.
If the goal is protection, excess product works against you. The sealer should disappear into the surface, not sit there as a shiny warning sign.
Skipping cure time is another common failure. A floor that gets walked on too early can pick up footprints, smears, or dull patches before the film sets. Follow the manufacturer's cure guidance, which is typically 24 to 48 hours before foot traffic in the sources above, and longer when humidity stays high tile sealing guidance.
Match the product to the surface
Wrong product choice creates the most frustrating kind of failure, because the floor may look sealed but behave badly. A penetrating sealer belongs on porous stone, while a topical approach may suit certain ceramic applications. That choice should follow the material, not the marketing label on the bottle.
The small-area test solves a lot of this. If the test patch changes the color too much, leaves a haze, or makes the surface look slick in a way you don't want, stop there and adjust before the full floor gets the same treatment. That's the cheapest mistake to make.
Your Tile Maintenance Schedule and Next Steps
The cleanest tile floors stay that way because their owners use a simple rhythm. Routine maintenance should rely on pH-neutral cleaners, not harsh residue-heavy products, and the surface should be checked periodically to see whether water still beads on the grout lines or whether the finish starts absorbing faster than before.
For many cement-tile and high-traffic installations, annual attention makes sense in kitchens, while lower-traffic spaces can often stretch longer between resealing events, as noted in the care guidance above. If the grout darkens quickly after mopping or the surface stops beading water, that's a sign the protective layer is wearing thin.
A practical rule for busy homeowners is this:
- Weekly: Use a pH-neutral cleaner and avoid aggressive scrubbing.
- Seasonally: Check grout color, water beading, and any dull spots.
- When needed: Reseal once the surface stops repelling moisture the way it should.
A floor doesn't usually fail all at once. It gives you warning signs first, and the earliest one is usually how it handles water.
For homeowners in Wayland, Newton, Needham, Wellesley, Weston, and nearby Massachusetts towns who want the job handled without guessing at porosity, dry time, or sealer choice, Sunny Day Pro Services is a local option for tile cleaning and sealing work. If the floor is stained, mixed-material, or in a humid room, getting a quote before the next DIY pass can save a lot of cleanup later.
A CTA for Sunny Day Pro Services.

