
Cleaning Blinds Easily: A Guide for Every Type
Learn cleaning blinds easily with quick methods for every type, eco-friendly supplies, a simple schedule, and fixes for streaks and dust.
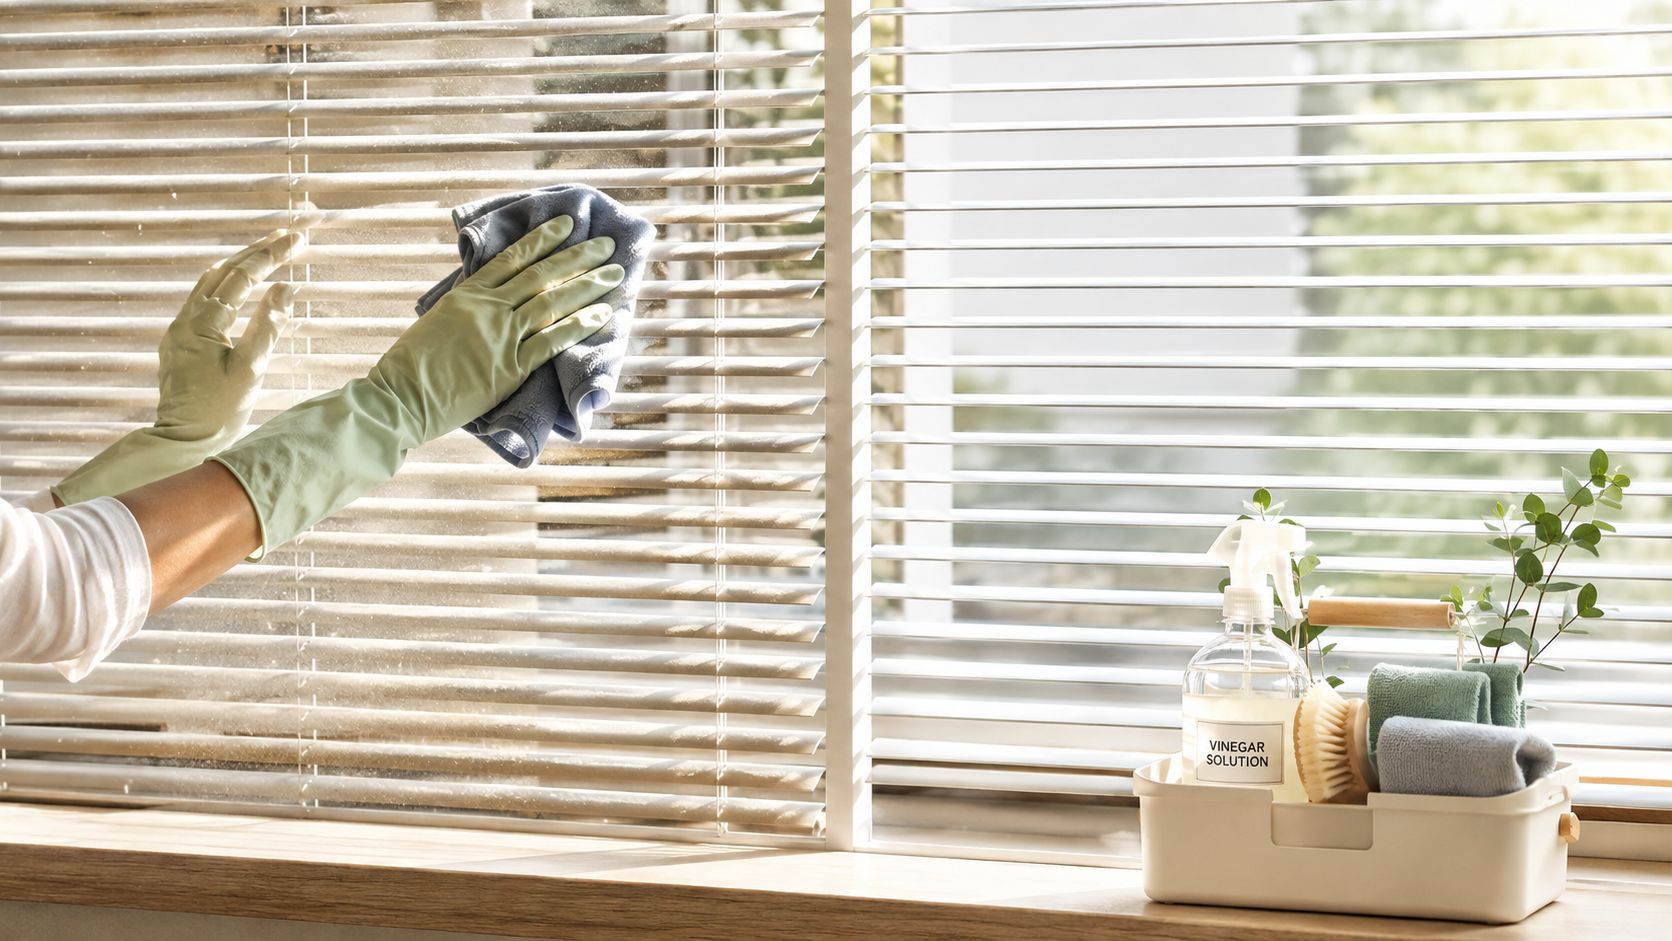
The afternoon sun hits the window, and suddenly every blind slat looks gray. You meant to clean them last weekend, but the job felt too fiddly, especially with several rooms, different materials, and dust hiding on both sides. Cleaning blinds easily doesn't require taking down every shade or turning the bathroom into a workshop. It requires a repeatable order of operations.
The fastest approach for most homes is simple: work on one window at a time, remove loose dust before adding moisture, clean both faces, and adjust the tool to the blind material. A dry microfiber cloth, a soft vacuum brush, and a barely damp cloth will handle most routine buildup. The method below also explains when vinegar is appropriate, when water creates risk, and when professional cleaning makes more sense.
Table of Contents
- The 20-Minute Blind Reset for Busy Weeknights
- Supplies Worth Keeping in Your Cleaning Caddy
- Close and dust the exposed face
- Clear the debris and clean the reverse
- Spot-clean without soaking
The 20-Minute Blind Reset for Busy Weeknights
A homeowner walks past a sunlit window after work and notices dust settled across every horizontal slat. The first instinct is to leave it for another weekend. That usually turns a small maintenance task into a sticky, time-consuming cleanup.
Treat the moment as a reset, not a deep-clean project. Choose one window, gather a dry microfiber cloth and a vacuum with a soft brush attachment, and protect the sill with a small towel or drop cloth. Close the slats fully in one direction, dust from the top down, clean the sill, then turn the slats and repeat. Finish only the visible smudges with a lightly damp cloth.
Practical rule: One finished window is better than a whole-house cleaning plan that never starts.
The timing works because the sequence prevents re-soiling. Dust falls downward as you work, and the second-side pass catches the surface you couldn't reach from the first angle. Avoid carrying dirty tools from room to room. A cloth that picks up kitchen grease can leave a film on bedroom blinds, so switch or rinse it before moving on.
For a broader fast-cleaning routine around the rest of the house, use this guide to cleaning a house fast as a companion process. The same principle applies here, divide the work into small completed zones rather than chasing every dusty surface at once.
This reset removes surface dust and light grime before buildup becomes bonded to the slats. It won't replace a material-safe deep clean for grease, smoke residue, water damage, or heavily soiled fabric. Those situations need the adjustments and escalation points covered below.
Supplies Worth Keeping in Your Cleaning Caddy
The right caddy is deliberately boring. You don't need a shelf full of specialty sprays. You need tools that trap dust, control moisture, and reach the top rail without forcing you to bend slats.
Keep these items together:
- Two flat microfiber cloths: Use one dry cloth for loose dust and one reserved for smudges or damp wiping.
- A lambs wool or microfiber duster: A long handle helps reach high windows without leaning over furniture.
- A soft brush vacuum attachment: Low suction removes debris from slats, cords, sills, and tracks without aggressive rubbing.
- A spray bottle: Fill it with equal parts white vinegar and water for suitable plastic or metal surfaces. Spray the cloth, not the blind.
- A microfiber mop pad: It makes quick, broad passes practical on larger rigid slats and vertical panels.
Reusable microfiber tools outperform disposable options for routine work because you can wash them and keep the same cleaning motion from one window to the next. If you need care instructions, follow this resource on washing microfiber cloths before putting them back into rotation.
| Keep on Hand | Skip or Use Sparingly |
|---|---|
| Flat microfiber cloths | Paper towels, which can leave lint |
| Soft vacuum brush | Feather dusters that scatter dust |
| Long-handle microfiber or lambs wool duster | Disposable dusting wipes for every session |
| Equal-parts vinegar and water in a spray bottle | Dryer sheets and Swiffer-style cloths as a regular habit |
Dryer sheets, dusting wipes, and Swiffer-style cloths can help in a pinch, but they cost more per use and create more waste. Paper towels often leave lint behind, while feather dusters move particles into the air instead of capturing them. In practice, one extra microfiber cloth and a refillable spray bottle replace most disposable products for pennies per session.
The Core Technique That Works on Most Blinds
Rigid horizontal blinds respond well to one consistent pattern. Close, dust, vacuum, flip, wipe, dry. The order matters because it controls where loosened debris lands.
Close and dust the exposed face
Close the slats fully in one direction. The overlapping slats create a broad exposed face and reduce the chance of pushing dust into the headrail or mechanism.
Start at the top rail. Run a dry microfiber cloth or lambs wool duster along each slat with firm, even pressure. Use long strokes from one end to the other, then move down. Don't scrub in circles. Let gravity carry the dust downward instead of flicking it back into the room.
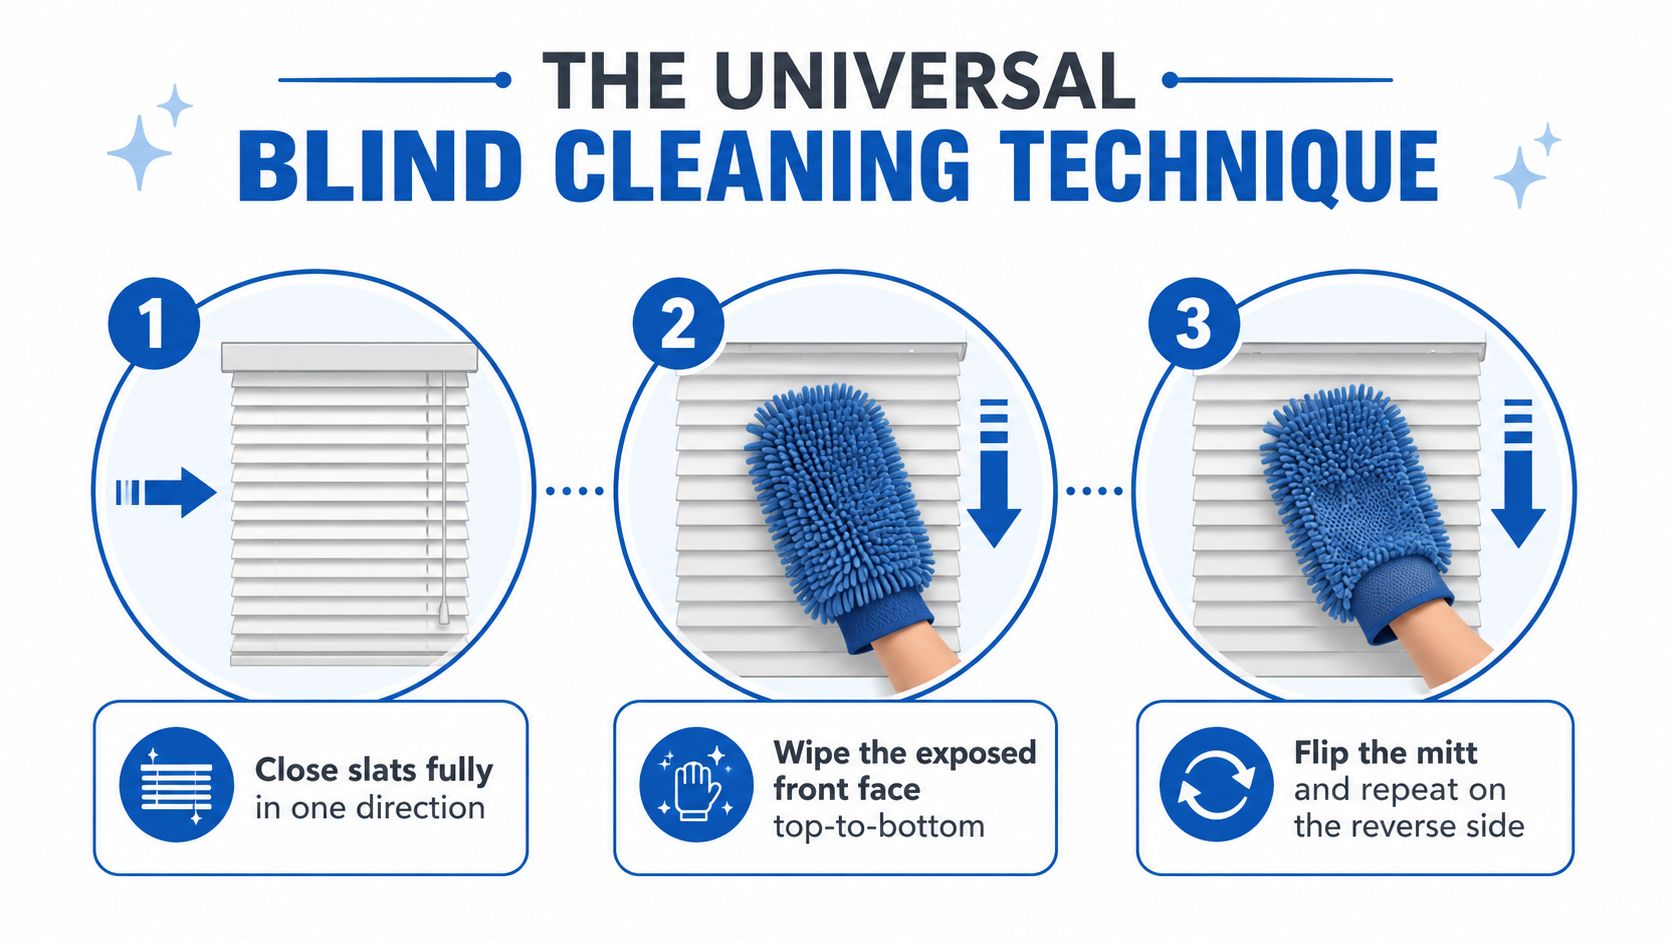
If the blinds are dusty rather than sticky, stop after the dry pass. Adding water too early turns loose dust into a smear and makes every slat slower to finish.
Clear the debris and clean the reverse
Vacuum the sill and floor. Use the soft brush attachment to collect what fell. This keeps the dust from resettling when you turn the slats.
Flip the slats and repeat. Work from the top down on the reverse face. Skipping this side leaves a substantial layer of dust behind, particularly on slats that remain angled during the day.
- Dampen the cloth, not the blind. Lightly mist a clean microfiber cloth with an equal-parts vinegar-and-water mixture, then wipe fingerprints, pollen lines, or remaining smudges. Follow the grain or length of the slat with long strokes.
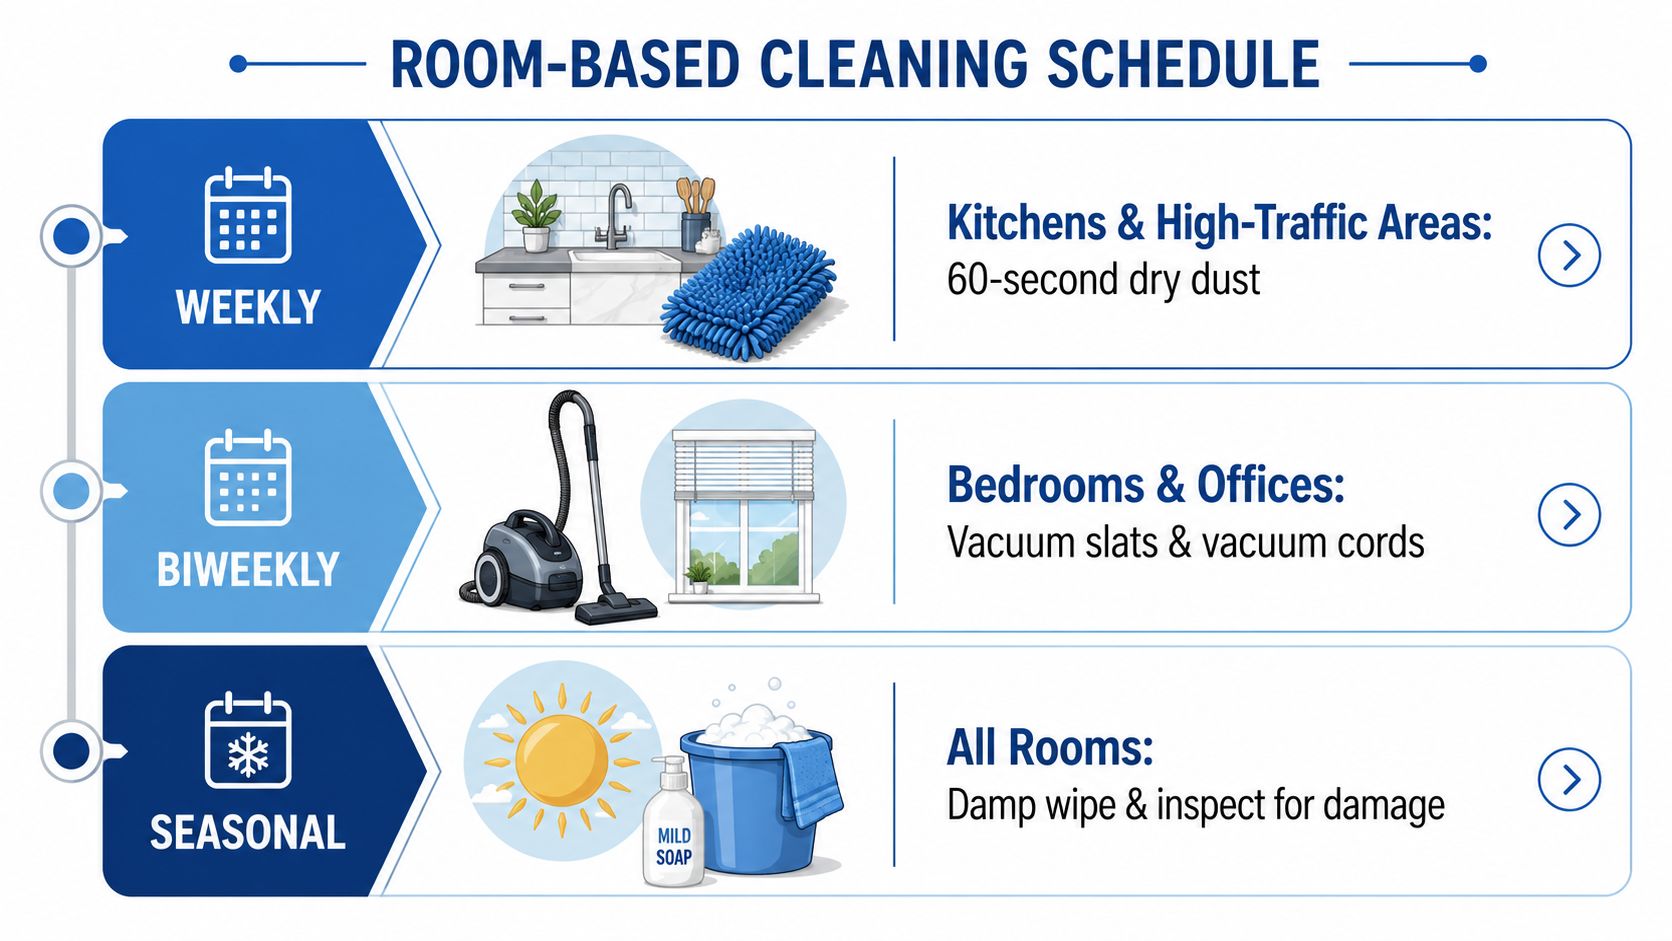
- Weekly: Give kitchen and high-traffic living-area blinds a quick dry microfiber pass. A 60-second sweep catches loose dust before it bonds.
- Every other week: Vacuum bedroom and office shades, including cords and accessible headrails.
- Monthly: Deep-wipe horizontal slats with the damp-then-dry method, especially near cooking areas.
- Every three to six months: Perform a seasonal deep clean, inspect hardware, and address material-specific stains. This tiered schedule is also recommended by Sparkling Homes Cleaning.
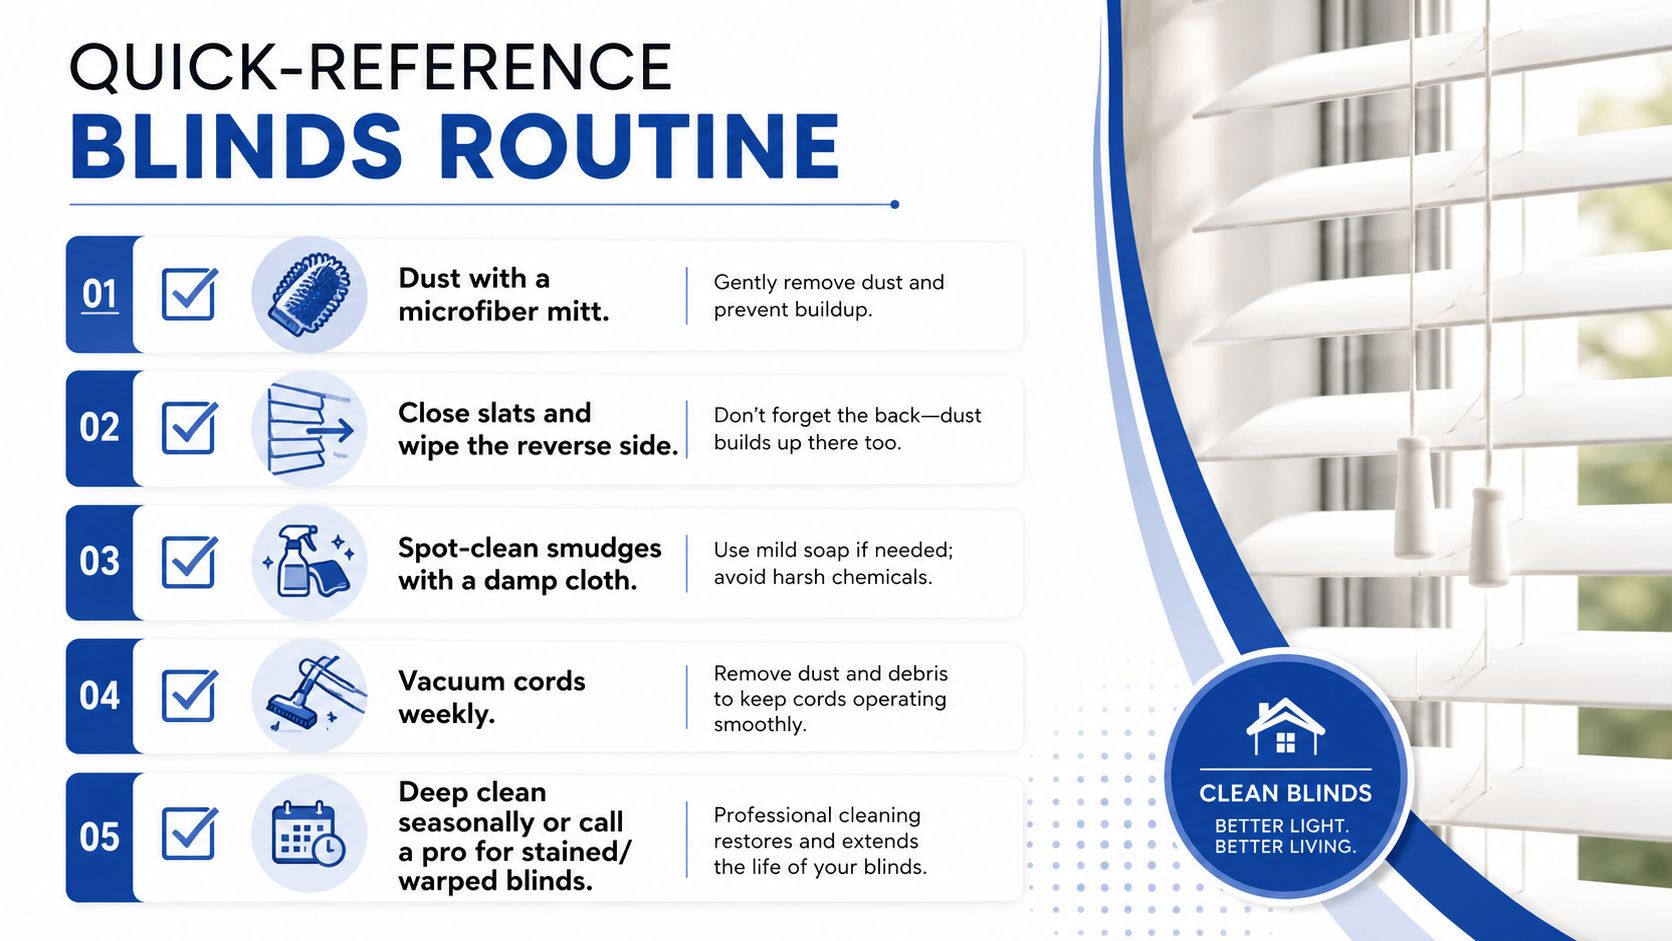
- Dry dust: Run a microfiber mitt across the exposed face from top to bottom.
- Turn the slats: Close or rotate them to expose the reverse side, then repeat.
- Spot-clean: Use a damp cloth for fingerprints, pollen lines, or light smudges.
- Vacuum cords: Use a soft brush attachment to remove dust from cords, headrails, sills, and tracks.
- Deep-clean by material: Follow the appropriate seasonal method, and never submerge a non-washable blind.
Spot-clean without soaking
The cloth should be damp, never wet. Oversaturation is the quickest way to warp wood, stain fabric, force liquid into mechanisms, or create water spots. For plastic or metal blinds, mild soap can handle greasy residue, but test any cleaner on an inconspicuous area first.
Adjusting the Method for Every Common Blind Type
The core technique stays useful, but the finishing tool changes with the material. Don't treat a washable vinyl blind like a wood slat, and don't use a damp wipe as the default for fabric.
| Blind Type | Best Tool | Key Motion | What to Skip |
|---|---|---|---|
| Aluminum and vinyl mini-blinds | Microfiber cloth | Top-to-bottom damp wipe, then dry pass | Heavy pressure that bends slats |
| Wood and faux-wood | Soft brush | Dry dusting, followed by barely damp spot cleaning | Soaking or prolonged wet wiping |
| Roman and cellular shades | Low-suction vacuum brush | Gentle surface passes | Scrubbing folds or spraying liquid directly |
| Vertical blinds | Microfiber mop pad | Top-to-bottom passes on each panel | Twisting or pulling fabric strips |
| Sheer and pleated shades | Cool-setting hair dryer | Blow loose dust away while gently shaking | Hot air or wet rubbing |
Aluminum and vinyl can usually take a lightly damp microfiber swipe after dry dusting. Follow with a dry cloth to prevent water spots. A soft brush is the essential tool for wood and faux-wood. Use a barely damp cloth only on a localized mark, and avoid saturating the finish.
For Roman and cellular shades, keep suction low and use a vacuum brush attachment. Lint-free surface wipes are safer than aggressive rubbing because fabric folds can hold moisture and distort. Vertical blinds need panel-by-panel work. Clean each panel from top to bottom, turn the louvres, and spot-clean stained fabric strips instead of dragging a wet cloth across the entire covering.
Sheer and pleated shades benefit from a cool-setting hair dryer and gentle shaking to dislodge loose dust. Don't use heat. For related household cleaning combinations, this guide to vinegar and baking soda cleaning is useful, but don't assume every mixture belongs on a window treatment.
When a manufacturer labels a shade non-washable, follow that limitation. Washable blinds may tolerate lukewarm water and mild detergent, followed by a complete rinse and air-dry. Wood, fabric, and other non-washable materials shouldn't be submerged.
A Realistic Weekly, Monthly, and Seasonal Schedule
A useful schedule follows the room, not an idealized calendar. Kitchen blinds collect cooking residue and steam, bathrooms deal with condensation, and bedrooms usually face a lighter dust load unless pets, smokers, construction, or open windows add more debris.
A maintenance guide recommends dusting most blinds every 7 to 14 days in dry rooms. Kitchen and bathroom blinds may need a damp cloth with mild dish soap every 2 to 4 weeks because grease, steam, and moisture create tacky buildup faster than ordinary dusting alone, as outlined by English Blinds.
A working rotation
Use a simple four-week rotation: kitchen and living areas in week one, bedrooms in week two, offices and less-used rooms in week three, then catch-up and spot cleaning in week four. A deeper clean twice a year fits the spring and fall routines recommended by The Spruce.
Add a calendar cue such as “blind dusting” to the same day you change bedding or clean floors. If recent construction, smoking, pets, or open windows increase residue, shorten the interval based on what you see.
Common Mistakes That Cause Streaks and Damage
A quick clean becomes risky when people use the same amount of water, pressure, or chemical on every blind. The safest shortcut is usually less product and more controlled motion.
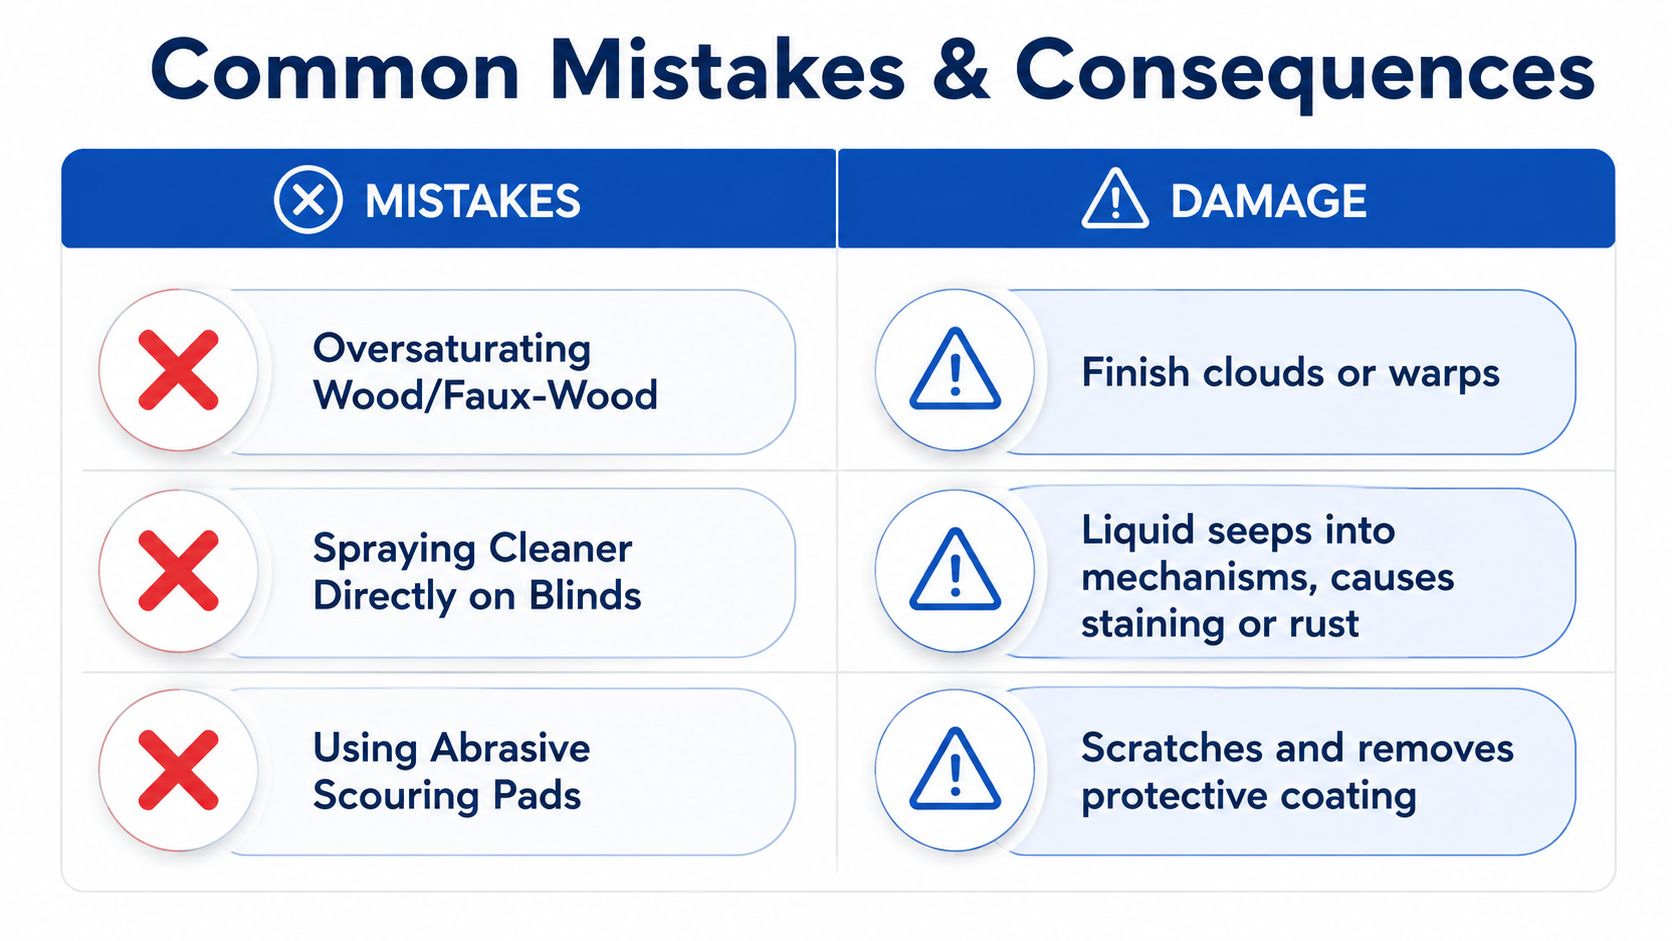
Oversaturating wood or faux-wood slats can cloud the finish or cause warping. Fix it by wringing the cloth hard and treating only the marked area.
Spraying cleaner directly onto fabric shades lets liquid travel into folds, cords, and mechanisms. Spray the cloth instead, and use a low-suction vacuum brush for routine dust.
Skipping the reverse-side pass leaves dust bonded to the other face of closed slats. Turn the slats and repeat the dry pass before deciding the job is finished.
Using ammonia, bleach, or abrasive pads can strip vinyl, scratch aluminum, or damage protective coatings. Choose a mild, material-compatible cleaner and test it first.
Dusting with the slats open pushes debris into the mechanism and makes it harder to reach the full surface. Close them fully in one direction before starting.
Closing blinds while they're wet traps moisture around cords and folds, encouraging water spots or mildew. Leave them open and let them air-dry completely.
Keeping blinds closed in strong daylight for months can allow grime to bake onto the surface and make later removal harder. Vary the position when practical and maintain a regular dry-dusting habit.
Damage prevention: If a cloth leaves visible moisture behind, it's too wet for the next slat.
Consumer Reports recommends the same basic safeguards, including working from the top, protecting the sill or floor, using a well-wrung cloth, and avoiding immersion for materials that aren't washable. Its blind-cleaning guidance also reinforces the central trade-off. More water may loosen grime faster on suitable plastic or metal blinds, but it creates unnecessary risk on wood and fabric.
Quick-Reference Routine and When to Call in Pros
For ordinary maintenance, use this compact checklist:
Two average windows can often fit into a short maintenance session when you use the dry pass first and reserve damp wiping for visible marks. A professional blind cleaning service becomes more practical when pet hair is embedded in fabric, smoke or grease has coated vinyl or aluminum, windows sit above stairwells, wooden slats have water damage, or yellowing persists after safe home cleaning.
The same judgment applies to oversized, motorized, or neglected blinds. You may spend more time protecting furniture, reaching hardware, and correcting previous damage than the cleaning itself is worth. Professional pricing is commonly set per blind, so ask for a clear estimate before booking and compare that cost with the time, access equipment, and replacement risk involved.
Indoor-allergen expectations also deserve care. Older clinical research on dust-mite avoidance reported improvement in 4 of 10 allergic rhinitis patients, while other measures did not clearly outperform conventional covers, as recorded in this PubMed clinical study. Cleaning blinds can remove visible dust and may support a broader indoor-air routine, but it shouldn't be presented as a standalone allergy treatment.
For homeowners in Wayland, Newton, Needham, Wellesley, Weston, and nearby Massachusetts communities, Sunny Day Pro Services offers house cleaning with a blinds detail-clean add-on priced at $10 per blind, along with deep cleaning that includes blinds and shutters. Visit Sunny Day Pro Services to request a quote and schedule help for dusty, stained, oversized, or hard-to-reach blinds.

