
How to Deep Clean an Apartment: The Complete Room-by-Room
Learn how to deep clean an apartment with a room-by-room workflow, eco-friendly products, and move-out tips. Perfect for busy renters and homeowners.
You're staring at a long apartment cleaning checklist, the kitchen still has grease on the range hood, the bathroom grout looks dull, and the vacuum hasn't reached under the bed in far too long. The problem usually isn't motivation. It's starting in the wrong place, using the wrong product, or spending limited time on surfaces that don't need attention yet.
Learning how to deep clean an apartment is mostly a matter of sequence. Dust high areas before floors, remove soil before disinfecting, and vacuum allergen reservoirs instead of making one fast pass through the middle of each room. The workflow below is designed for occupied apartments, move-out cleaning, and busy homeowners who need practical results without turning the whole weekend into a guessing game.
Table of Contents
Why Most Deep-Clean Checklists Fail Busy Homeowners
A generic checklist can make deep cleaning feel harder before you've even filled a bucket. It may include dozens of tasks, specialty tools, and room-by-room instructions, but it often fails to answer the question that matters most: what should happen first?
A homeowner might mop the kitchen floor, wipe the counters, and spray disinfectant across the bathroom sink, only to discover later that dust from the ceiling fan has settled everywhere again. Another common mistake is spraying disinfectant over grease, dust, or organic residue. Cleaning and disinfection aren't interchangeable. A disinfectant needs a reasonably clean surface and enough wet contact time to work as labeled, as explained in CDC guidance on disinfectant contact time.
Deep cleaning is a workflow problem
Think of skipped work as cleaning debt. Dust left on a vent moves into the room. Grease left on a cabinet top collects more residue. A bathroom drain overflow that gets ignored becomes harder to freshen later. Each missed area adds friction to the next reset.
The practical order is:
- Declutter and clear access. Remove laundry, dishes, toiletries, and items sitting on floors.
- Dry-clean from high to low. Dust ceilings, fans, shelves, vents, and cabinet tops before wiping lower surfaces.
- Vacuum thoroughly. Include upholstery, mattresses, edges, rugs, and areas beneath movable furniture.
- Pre-clean wet soil. Remove grease, soap film, dust, and visible residue.
- Disinfect where germ control matters. Keep the product visibly wet for the label's required contact time.
- Finish with floors. Vacuum or sweep again if needed, then mop or wash hard floors.
Practical rule: A surface that looks shiny isn't necessarily clean, and a surface that was sprayed isn't necessarily disinfected.
A correctly executed deep clean takes time. For a two-bedroom apartment, four to six hours is a realistic expectation when the work includes appliance interiors, hidden edges, fixtures, and careful vacuuming. That isn't a failure of efficiency. It's the difference between a cosmetic tidy-up and a genuine reset.
Gathering Supplies and Setting Up Your Workflow
The right supplies reduce interruptions, but you don't need a closet full of chemicals. Build one caddy around the work you'll perform, then add specialty products only for specific materials or buildup. A useful professional house cleaning supplies list can help you fill gaps without buying random products that sit unused.
Build a small, purposeful kit
For general soil
- Microfiber cloths, separated by zone or color
- A quality vacuum with a sealed system and HEPA filtration
- Crevice tool, upholstery tool, and soft dusting brush
- Stiff-bristle grout brush and small detailing brush
- Bucket, floor mop, non-scratch scrub pads, and nitrile gloves
- Plastic scraper for dried residue on compatible surfaces
For kitchen grease
- Plant-derived degreaser or a mild dishwashing solution
- Baking soda for range hood filter soaking
- Non-scratch sponge and a narrow brush for seams and vents
For mineral buildup
- Citric acid solution for compatible fixtures
- White vinegar for appropriate appliance maintenance
- Old toothbrush or detailing brush for showerhead openings
For disinfection
- An EPA-registered disinfectant when virus or bacteria control is required
- A hydrogen peroxide-based disinfectant if its label is suitable for the surface
- Clean cloths reserved for bathroom and high-touch areas
EPA explains the distinction between cleaning, sanitizing, and disinfecting in its guidance on products that disinfect, sanitize, and clean. Use a disinfectant for a disinfecting job, not a generic spray because the bottle says “fresh” or “clean.”
Follow the dry-to-wet, top-to-bottom order
Start with ceiling fixtures, fan blades, high shelves, vents, and the tops of cabinets. Move downward to walls, switch plates, doors, counters, furniture, and baseboards. Floors come last because dust and loosened debris naturally fall.
Pre-clean every surface before disinfecting it. The ASHP cleaning and disinfection guidance explains that disinfectants must remain visibly wet for their full label contact time, which can range from about 30 seconds to 10 minutes for many EPA-registered products. Dry rooms and absorbent materials may require a second application to maintain that wetness.
Keep one caddy with you rather than storing products in each room. Backtracking for glass cleaner or a fresh cloth breaks concentration and stretches the job. Set aside used cloths as you go, and never mix bleach with vinegar, ammonia, or other cleaning products.
Room-by-Room Deep Cleaning Tasks That Actually Matter
A deep clean should reach the places that collect residue, dust, and moisture but rarely appear on a daily checklist. Work around the apartment in zones, and give products time to soften buildup while you clean another compatible area.
Kitchen
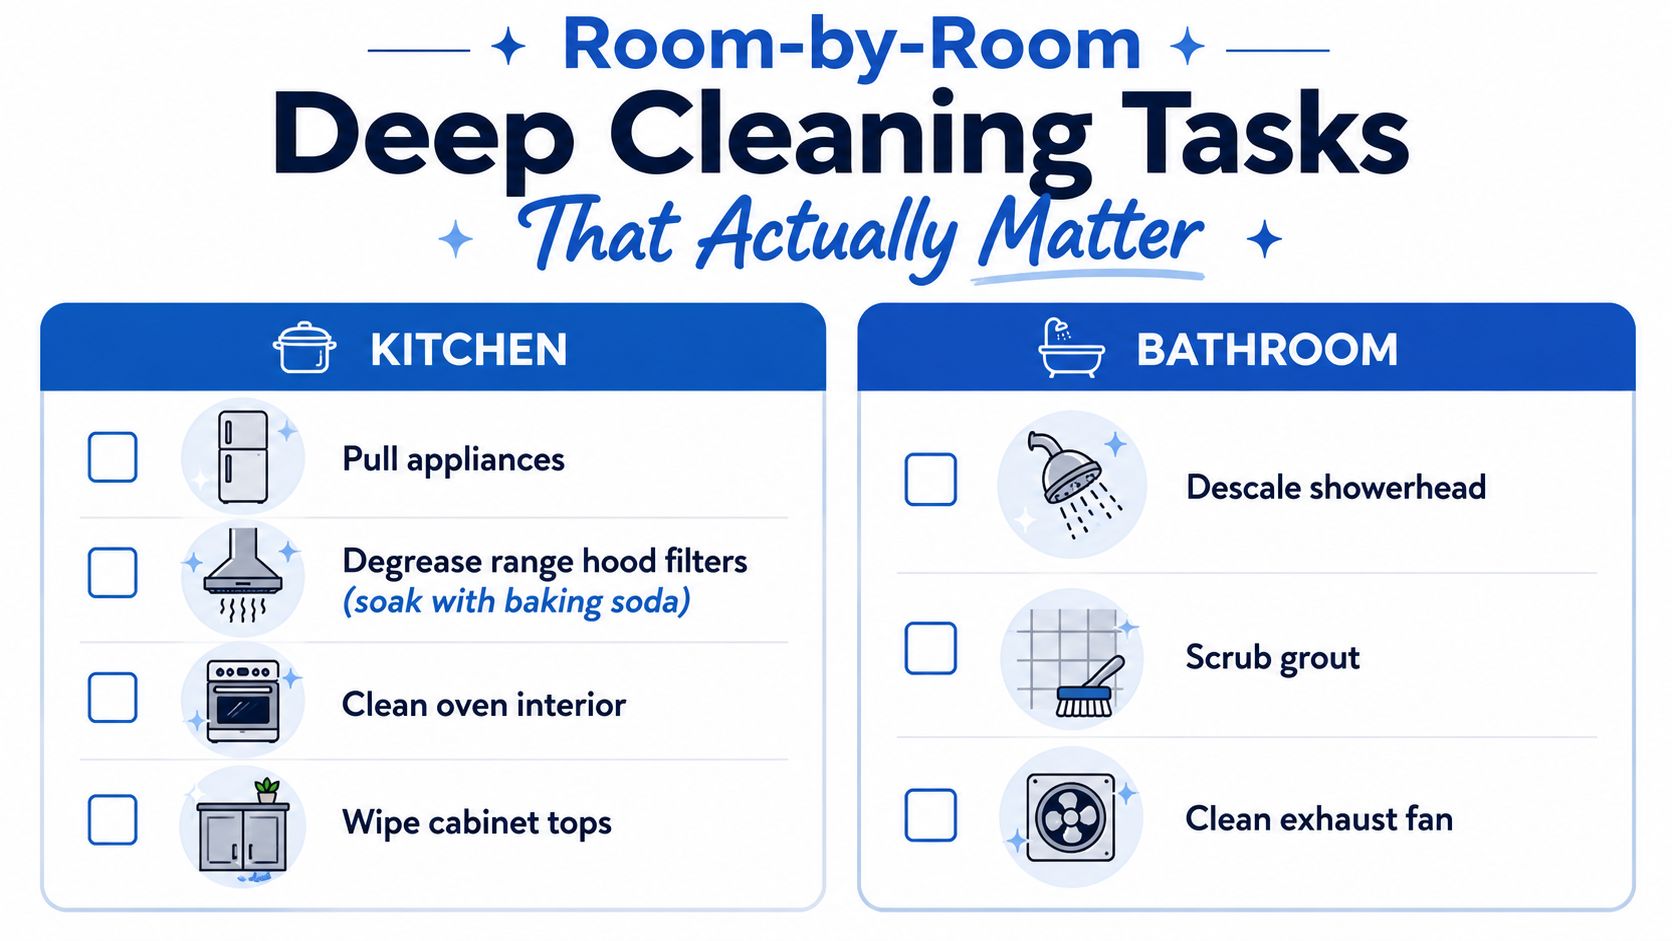
Start by removing loose items from counters and cabinet tops. Pull out appliances that can be moved safely, then vacuum crumbs and dust before wiping the wall, floor, and appliance sides. Don't drag a heavy refrigerator or range without checking the flooring and connections first.
Degrease the range hood and filters. A removable metal filter can usually soak in hot water with baking soda, followed by brushing and a thorough rinse. Check the manufacturer's instructions before using a strong degreaser or soaking a filter.
Clean the oven interior, racks, door glass, and the rubber gasket around the door. The gasket can hold grease and crumbs, but aggressive scrubbing may damage it. Use a soft cloth and an appropriate cleaner, then wipe away residue completely.
Other high-value kitchen tasks include:
- Wiping the top of the refrigerator, cabinet tops, and the inside of microwave vents
- Cleaning the dishwasher filter and descaling compatible parts with white vinegar
- Washing cabinet fronts, handles, backsplash seams, and the area behind small appliances
- Vacuuming refrigerator coils only when they're accessible and the appliance instructions allow it
Bathroom
Apply a compatible descaler to shower glass, faucets, and the showerhead. If the showerhead can be removed safely, soak it according to the fixture manufacturer's guidance, then brush the openings and rinse thoroughly.
For grout, use an oxygen bleach paste where the tile and grout manufacturer permits it. Work in small areas with a grout brush, rinse away residue, and dry the surface. Never assume a darker grout line is mold. Persistent staining may require an inspection rather than stronger chemicals.
Clean behind the toilet tank, around the toilet base, exhaust fan cover, and the drain overflow holes. The overflow openings can collect biofilm and should be cleaned carefully with a narrow brush before any disinfectant is applied.
For more detail on the process, use this guide to deep clean a bathroom.
Living areas and bedrooms
Vacuum upholstery slowly, including cushion seams and the backs of furniture. Clean window tracks with a brush attachment, wipe baseboards and door frames, and wash light switch plates and outlet covers after turning off power where necessary and keeping moisture away from electrical openings.
Vacuum HVAC vents and return grilles with a brush or crevice tool. Remove only covers that are designed to come off, and don't disturb ductwork or suspected contamination without professional advice. In bedrooms, vacuum mattress surfaces, under-bed edges, curtains where the fabric allows, and closet floors.
Move-out detail: Inspectors and landlords often notice the top of the refrigerator, ceiling fan blades, microwave vent areas, and front-load washer gaskets before they notice whether the middle of a floor was mopped twice.
The Science of Allergen Reduction and Proper Vacuuming
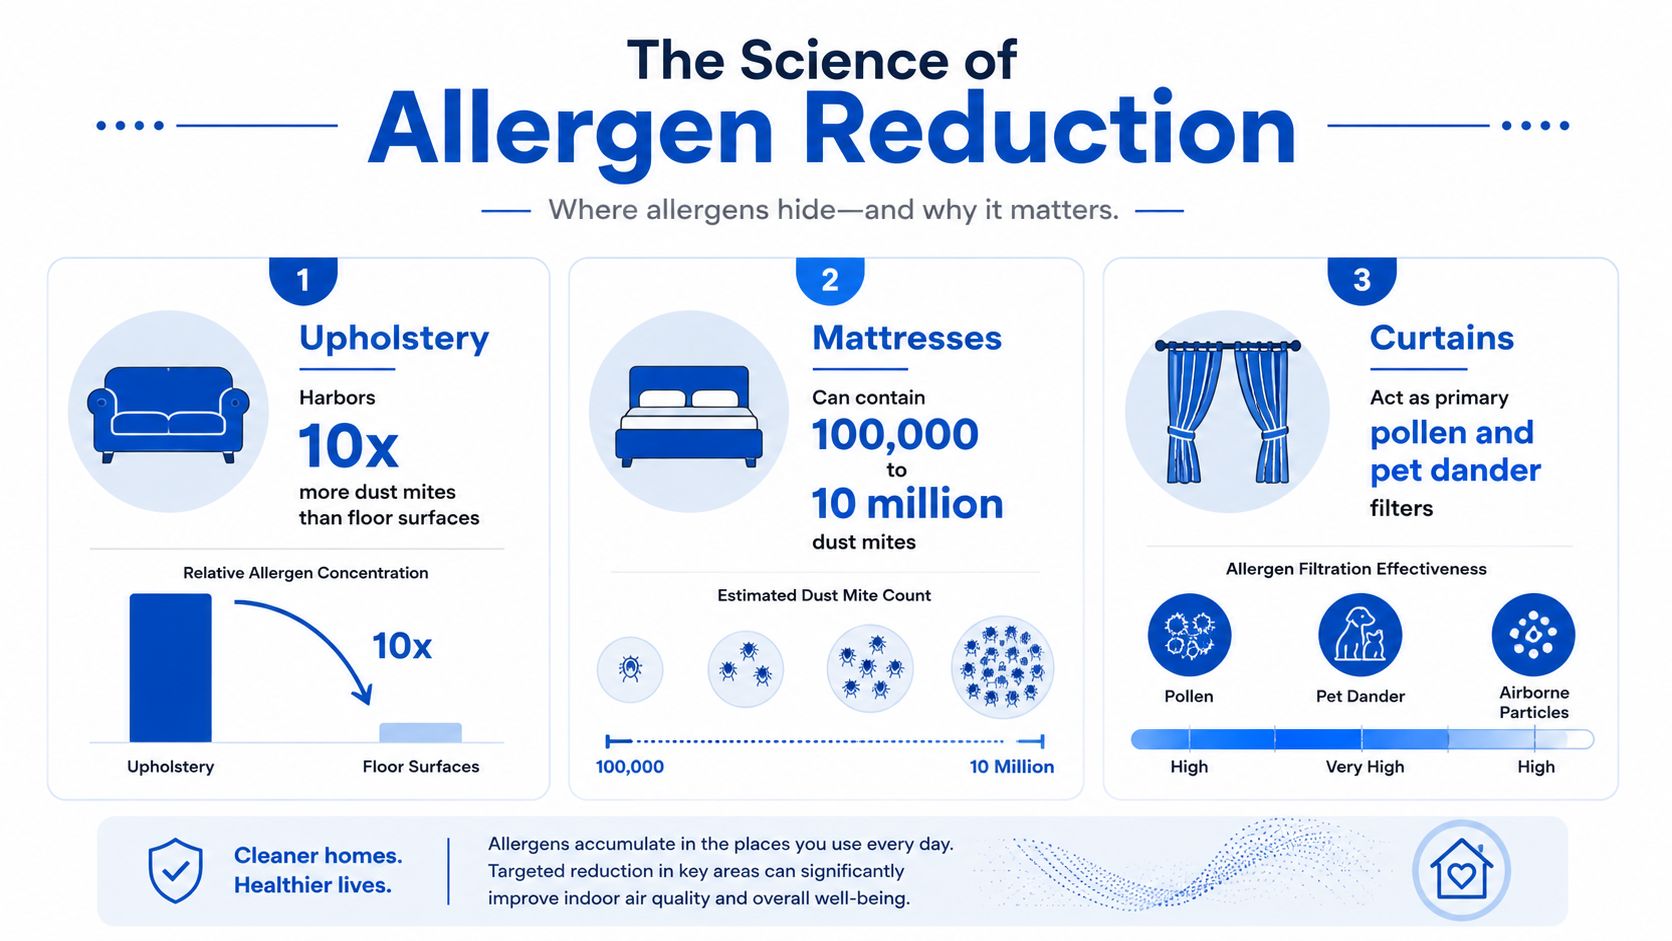
Vacuuming the visible floor area is maintenance. Allergen-focused vacuuming treats mattresses, carpets, upholstery, curtains, vents, and edges as reservoirs that need deliberate attention.
A 2012 study found that daily vacuum cleaning over 8 weeks reduced total house dust mite allergens in mattresses by 85.1%, endotoxin by 71.0%, and β-glucan by 75.7%. The study is available in the full PMC article on repeated vacuum cleaning and indoor allergens. A separate result in the same source reported that after 5 weeks of frequent vacuuming, Der p 1 concentrations fell from 4.47 micrograms per gram of fine dust to 1.83 micrograms, a 48.0% reduction, while measurements per square meter fell from 6.35 micrograms to 1.66 micrograms, a 68.5% reduction.
Technique matters more than speed
Move slowly over rugs and carpets, overlapping each stroke. Change direction on the second pass rather than repeatedly following the same track. Use the upholstery attachment on sofas and mattresses, and reduce suction or use a soft brush where fabric care instructions require it.
The Canadian housing study in this HEPA vacuuming protocol used approximately 1 minute per square meter on carpeted areas, 45 seconds per square meter on hard floors with area rugs, and 30 seconds per square meter on bare hard floors. Its homes required roughly 1.7 to 2.9 hours of continuous vacuuming, and dust levels generally didn't settle toward a lower steady level until three to four vacuuming sessions.
Those figures aren't a command to time every room. They're a useful correction to the common habit of rushing through high-traffic areas. Empty the canister or replace the bag before starting, check the filter, and keep the vacuum moving slowly enough to lift embedded dust.
A controlled comparison of weekly and monthly vacuuming found decreases in Der p 1 levels in 43% of homes with weekly vacuuming, compared with 15% with monthly vacuuming. For Der p 2, decreases occurred in 60% of weekly-vacuumed homes and 35% of monthly-vacuumed homes, according to the PubMed study comparing vacuuming schedules. Frequent cleaning also produced fewer homes with allergen increases than monthly cleaning.
Don't neglect ceiling fan blades, return grilles, curtain hems, and the tops of door frames. These areas release dust back into occupied rooms when air moves or doors close.
Time-Budgeted Cleaning Paths for Every Schedule
A full reset is useful, but it isn't the only valid version of deep cleaning. Choose the path that matches the apartment's condition and your deadline. The key is to complete one workflow completely rather than scattering half-finished tasks across every room.
| Time Budget | Best For | Key Tasks Included | Tasks Skipped |
|---|---|---|---|
| 8 hours | Move-outs and seasonal resets | Top-to-bottom dusting, full vacuuming, appliance interiors, grout, window tracks, upholstery, detailed floors | Only specialty repairs, restoration, and unsafe access work |
| 4 hours | Pre-guest cleaning and focused maintenance | Kitchen degreasing, bathroom cleaning, high-touch surfaces, visible living-area dusting, thorough main-floor vacuuming | Heavy appliance pulls, extensive upholstery extraction, low-priority storage areas |
| 2 hours | Overwhelmed renters and urgent resets | Bathroom sanitation, kitchen counters and grease zones, main living-area vacuuming, trash removal, floor touch-up | Window tracks, cabinet interiors, mattress work, detailed grout, behind-appliance cleaning |
The 8-hour comprehensive path
Declutter first, then dust every room from ceiling height downward. Vacuum fabric surfaces and floors before working on the oven, refrigerator, showerhead, grout, and window tracks. Apply products that need dwell time, then use that waiting period to work in another room.
The 4-hour focused path
Start with the bathroom and kitchen because buildup there is more visible and harder to fake with a quick wipe. While disinfectant remains wet, vacuum the living room and bedrooms, then return to wipe the treated surfaces and finish floors.
The 2-hour rapid path
Use one caddy and avoid specialty projects. Clean the toilet, sink, shower touchpoints, kitchen grease zones, and high-touch handles. Vacuum the main paths, sofa, and visible edges. Leave windows, appliance pulls, and low-priority detailing for a later session.
If you need multiple days, finish one room before stopping. Store clean supplies separately from used cloths, and photograph or note completed areas so you don't repeat work when the next session begins.
When to Call in Professional Deep Cleaning Services
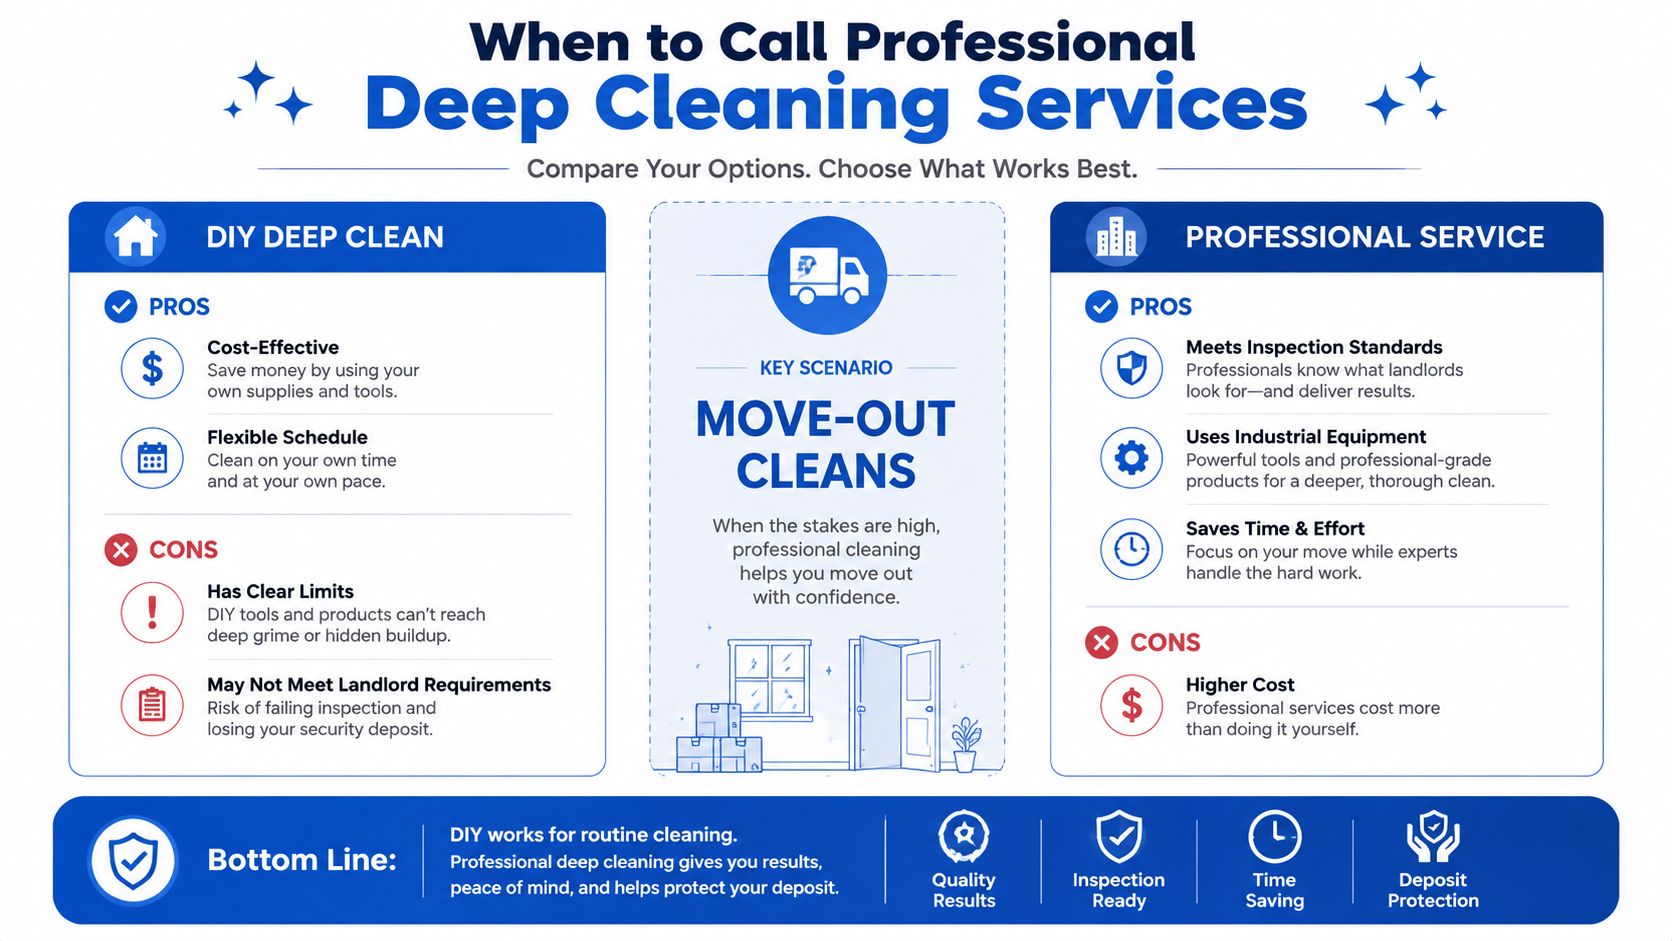
DIY cleaning makes sense when the apartment is accessible, the buildup is ordinary, and you can work safely. Professional help becomes more practical when the job has inspection consequences, specialized equipment needs, or contamination that household products can't responsibly address.
Move-out cleaning is a common tipping point. Landlord expectations may include oven degreasing, carpet extraction, hard-water removal, cabinet interiors, baseboards, and areas behind furniture. A consumer vacuum can remove loose debris, but it won't replace extraction equipment for heavily soiled carpet or upholstery.
Post-construction cleaning is another situation where ordinary tools struggle. Drywall dust, adhesive residue, and fine renovation debris can spread through vents and settle into seams. Using the wrong vacuum can redistribute dust instead of capturing it, while scraping residue from finished surfaces can cause permanent damage.
Use a simple decision test
Hire a qualified service when:
- The apartment is a move-out: You need consistent attention to landlord-visible details and a documented scope.
- Renovation has just finished: Fine dust and construction residue require controlled removal and surface-specific tools.
- There's persistent odor: If smell remains after fabrics, drains, trash areas, and vents have been cleaned, look for a hidden source rather than adding fragrance.
- You see suspected mold: Don't treat extensive growth as an ordinary scrub-down. The size, material, moisture source, and ventilation conditions determine the appropriate response.
- HVAC contamination is suspected: Avoid opening or disturbing ductwork without qualified guidance.
- Health and safety are concerns: Pest contamination, sewage residue, or unknown biological material calls for protective procedures beyond routine housekeeping.
Decision point: If the apartment needs restoration, remediation, or specialized extraction, it's no longer just a cleaning checklist.
Sunny Day Pro Services offers deep cleaning services that address detailed apartment work such as appliance interiors, cabinets, furniture edges, baseboards, vents, blinds, and interior windows. A professional quote is especially useful when you're comparing the value of your available time against the condition of the unit and the consequences of missing inspection details.
Sunny Day Pro Services provides apartment deep cleaning, move-in and move-out cleaning, recurring maintenance, and post-construction cleanup for homeowners and property professionals in Wayland, Newton, Needham, Wellesley, Weston, and nearby Massachusetts communities. Visit Sunny Day Pro Services to request a quote and schedule a detailed cleaning that follows the right workflow from high surfaces to finished floors.

