
How to Deep Clean Bathroom
Learn how to deep clean bathroom with our pro guide. Get step-by-step instructions for your toilet, shower, and grout for a sparkling, sanitized result.
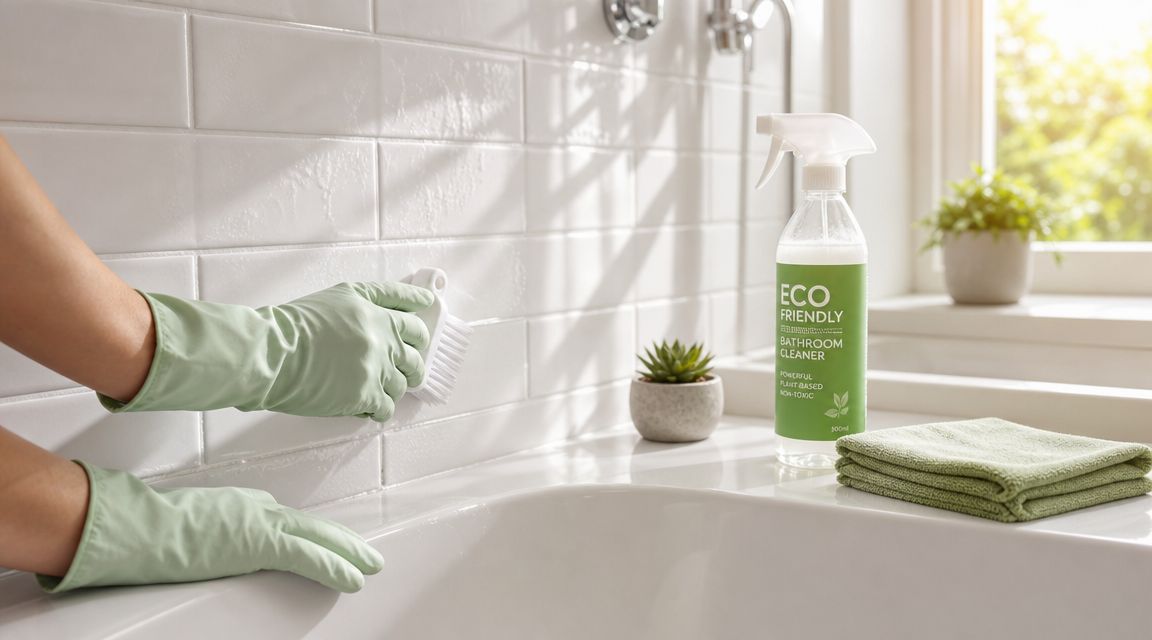
You walk into the bathroom after a long week, glance at the sink, and it looks fine at first. Then the light catches the shower glass. The faucet base has a chalky ring. The grout is darker than it should be, and the room carries that damp, used-air smell that never leaves after a quick wipe-down.
That is the difference between a bathroom that looks picked up and one that has been deep cleaned properly.
A true deep clean resets the room by following a specific workflow. Dry debris comes off before moisture turns it into sludge. High surfaces get handled before lower ones so dust, hair, and cleaner residue do not fall onto work you already finished. Professionals clean bathrooms from top to bottom and dry to wet for a reason. The order saves time, cuts down on rework, and gets better results on glass, grout, fixtures, and floors.
If you want a clear breakdown of what deep cleaning actually includes, it helps to start with the standard itself, not just the checklist.
In real homes, the trade-offs matter. Scrubbing every surface with the wrong product can dull stone, damage finishes, or leave streaks that make the bathroom look worse by morning. Using the right order and the right chemistry is what separates a fast clean from a professional one. That is the system we use at Sunny Day.
Beyond Tidy The Art of the True Deep Clean
A bathroom can look presentable at a glance and still fail a real inspection. The mirror is wiped, the counter is cleared, and the floor looks passable. Then you catch the soap film on the shower tile, the mineral ring at the faucet base, and the grime packed into the joint where the toilet meets the floor.
That gap is the difference between tidying and deep cleaning.
A true deep clean restores the room. It targets buildup, residue, and neglected edges that keep the space feeling dingy even after a regular wipe-down. If you want a clear definition of what separates routine cleaning from restoration work, this breakdown of deep cleaning services lays it out well.
The order matters as much as the effort. Professionals work top to bottom and dry to wet for one reason. It keeps you from dropping dust onto freshly cleaned surfaces or turning hair and lint into a paste once cleaners hit the room. Skip the sequence, and you spend extra time redoing work that should have been finished the first time.
In bathrooms, shortcuts show fast. Moisture holds residue on grout, caulk, trim, and hardware. Hard water leaves a film that dulls fixtures. Humidity grabs dust and sticks it to baseboards and exhaust covers. A quick pass improves the surface. A professional deep clean goes after the places that keep pulling the whole room down.
This is also where good judgment comes in. Some bathrooms need scrubbing and detail work. Others have etched glass, failing caulk, stained grout, or heavy mineral buildup that calls for stronger chemistry, better tools, and a technician who knows what each surface can handle. At Sunny Day, we treat that as part of the job: clean what can be restored, and flag what has crossed into repair, replacement, or specialist work.
Gather Your Supplies and Prep the Space
The prep is where most DIY deep cleans succeed or fail. If you start spraying before the room is cleared and dry debris is removed, you make mud. Then you spread that mud from one surface to the next.
Build a kit that matches the job
Use tools that let you scrub aggressively where needed and gently where finish damage is a risk.
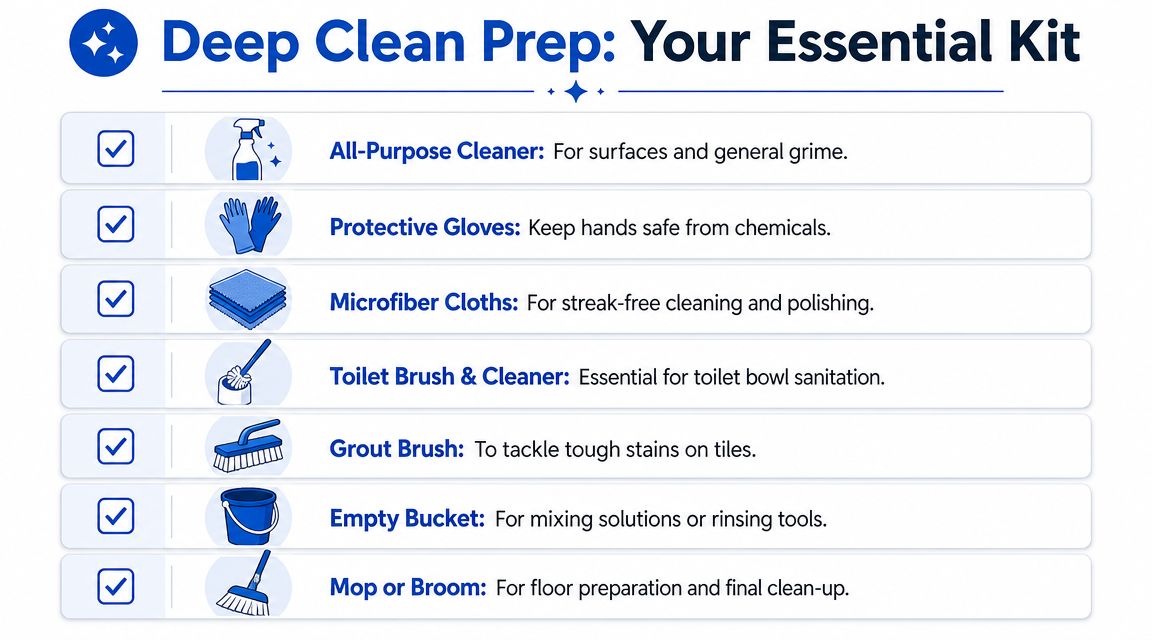
A solid bathroom deep-clean kit includes:
- Microfiber cloths: Use separate cloths for glass, fixtures, and dirtier surfaces. Microfiber lifts residue better than old cotton rags and leaves less lint behind.
- Rubber gloves: Bathroom cleaners can be harsh, and gloves let you work longer without rushing through the dirtiest parts.
- A grout brush or detail brush: Tight bristles matter for grout lines, faucet bases, caulk edges, and around hardware.
- A toilet brush: Keep one that still has firm bristles. A worn brush smears instead of scrubs.
- A non-scratch scrub pad or sponge: Good for tubs, sinks, and shower walls. Skip anything overly abrasive on delicate finishes.
- A bucket: Useful for rinsing cloths, carrying tools, or mixing simple cleaning solutions.
- Vacuum, broom, or dust tool: Dry pickup comes before mopping. Hair and dust are easier to remove before surfaces are wet.
- Squeegee: Helpful on shower glass and tile if you want a streak-free finish.
For cleaners, keep it simple and surface-appropriate. An all-purpose bathroom cleaner handles general soil. A dedicated toilet bowl cleaner stays where you apply it. Vinegar can help with mineral-heavy residue on some surfaces, and baking soda is useful as a mild abrasive paste. But “natural” doesn't automatically mean safe for every finish. Stone, specialty coatings, and some metals need more caution.
Prep before any cleaner hits the surface
Take everything out first. That means rugs, towels, trash can, toiletries, shower bottles, countertop organizers, and anything stored on the toilet tank. If you clean around objects, you haven't deep cleaned.
The workflow pros rely on is top to bottom and furthest corner to exit. Lowe's recommends cleaning walls and baseboards before fixtures, then vacuuming or sweeping, and mopping last so loosened dirt and rinse water don't re-soil areas you already cleaned, as outlined in its bathroom deep-clean sequence.
Practical rule: Do the dry work before the wet work. Dust, hair, and lint should be gone before you start scrubbing.
Before spraying anything, do this quick prep pass:
- Open ventilation if possible: Run the fan and crack a window if the room allows it.
- Dry dust high surfaces: Hit vents, light fixtures, wall corners, trim, and baseboards.
- Vacuum or sweep loose debris: Especially around the toilet base, vanity toe kicks, and corners.
- Spot-check finishes: If you're using a new cleaner, test a hidden area first.
- Pre-apply cleaner where dwell time helps: Shower walls, tub, toilet bowl, and heavily spotted fixtures can all benefit from sitting for a few minutes.
This is the stage that makes the rest of the work move faster.
The Professional Zone-by-Zone Attack Plan
A good bathroom deep clean doesn't bounce randomly from one task to another. It moves through the room in zones, with enough dwell time built in that chemistry does part of the work for you.

Start with the shower and tub
The shower is usually the heaviest labor because it combines soap scum, body oil, water spotting, and mildew-prone moisture. Spray shower walls, tile, tub surfaces, and glass first, then leave them alone for a few minutes.
Scrub in this order:
- Upper walls and tile first: Gravity matters. If you start low, dirty solution runs over what you just cleaned.
- Corners and grout next: Use a grout brush with controlled pressure. Let the bristles do the work. Grinding too hard can rough up grout and make it collect dirt faster later.
- Fixtures after the field surfaces: Faucet trim, valve plates, and showerheads often need detail brushing around edges.
- Glass last in this zone: Once residue is loosened, use a non-scratch pad if needed, then rinse and pull a squeegee from top to bottom.
Soap scum responds better to patience than brute force. If you're fighting cloudy shower walls, reapply cleaner and let it sit again instead of scrubbing harder. For more shower-specific methods, this guide on what is best to clean showers is a useful companion.
Clean the toilet like it has edges everywhere
Typically, toilets are cleaned where they are visible. A professional clean handles the places your eye skips.
Apply toilet bowl cleaner first and let it dwell while you clean the exterior. Then work in a full circle:
- Tank top and handle: Dust and residue collect here more than people expect.
- Seat top, underside, and hinges: Hinges are notorious dirt traps.
- Rim and outer bowl: Wipe front to back and switch cloth faces often.
- Base and floor line: Hidden grime, hair, and splash residue collect here.
Use a dedicated cloth or disposable towel for the base area. Don't carry that cloth to the vanity or mirror. Cross-contamination is one of the fastest ways to turn a deep clean into a smear job.
The toilet base is one of the clearest differences between a quick clean and a professional one.
Finish the bowl last. Scrub under the rim, work down the sides, and flush with the brush still low enough to rinse it.
Finish the vanity mirrors and touch points
The sink and vanity usually need more detail work than heavy scrubbing. Toothpaste haze, hand soap residue, and water spotting build around hardware and drain assemblies first.
Wipe the mirror before polishing it. If you spray cleaner directly onto glass, overspray lands on the countertop, backsplash, and faucet you may have already finished. Spray your cloth instead.
For the vanity area, focus on:
- Faucet bases and seams: Use a detail brush or folded microfiber edge to reach tight lines.
- Sink overflow and drain trim: These often hold odor and residue.
- Countertop corners and backsplash joints: Product residue collects where vertical and horizontal surfaces meet.
- Drawer pulls, cabinet faces, and switch plates: High-touch areas need attention even if they don't look dirty.
A polished bathroom also depends on the less obvious surfaces. Wipe wall splatter near the sink. Clean door handles. Dust baseboards if you loosened debris earlier. If you want the room to look hotel-clean, don't stop at the obvious fixtures.
Tackling Tough Stains and Problem Areas
Some bathroom problems don't respond to the same method as everyday grime. If you treat hard-water scale, rust, soap scum, and discolored grout as one category, you'll waste effort and may damage the surface.
Hard water soap scum and rust
Hard-water deposits usually show up as crusty white buildup on chrome, around faucet aerators, and on shower glass. Soap scum tends to look duller, filmy, and more spread out. Rust usually appears as orange or brown staining in tubs, sinks, or around metal hardware.
For these issues, technique matters more than aggression:
- For mineral deposits: Soak a cloth with an appropriate descaling approach for the surface, wrap or hold it against the buildup, then scrub after it softens.
- For soap film: Use repeated application and moderate agitation. One rushed pass rarely removes old residue.
- For rust marks: Start with the least abrasive method possible. Avoid random harsh scrubbing that can scar porcelain or coated finishes.
- For grout discoloration: Use a narrow brush and targeted cleaner rather than flooding the whole wall.
If your grout still looks blotchy after a careful scrub, this guide on how to clean tile grout can help you diagnose whether you're dealing with surface soil, absorbed staining, or grout that needs repair.
When the issue is no longer just cleaning
There's a point where the surface isn't dirty. It's worn, etched, cracked, or permanently stained.
That usually shows up as:
- Caulk that stays dark after cleaning
- Grout that remains uneven in color
- Pitting on metal finishes
- Shower glass that still looks cloudy after residue is removed
- Recurring mildew around failed seams
If a stain returns immediately after cleaning, the problem may be in the material, not on it.
In those cases, stronger chemicals often make things worse. You may need recaulking, grout restoration, hardware replacement, or tile work rather than another round of scrubbing. Knowing that line saves time and protects the bathroom from unnecessary damage.
Floors and Final Finishing Touches
The floor goes last for a reason. Every earlier step drops something onto it. Dust from trim, drips from fixtures, loosened hair, dirty rinse water, and cleaner overspray all land there.
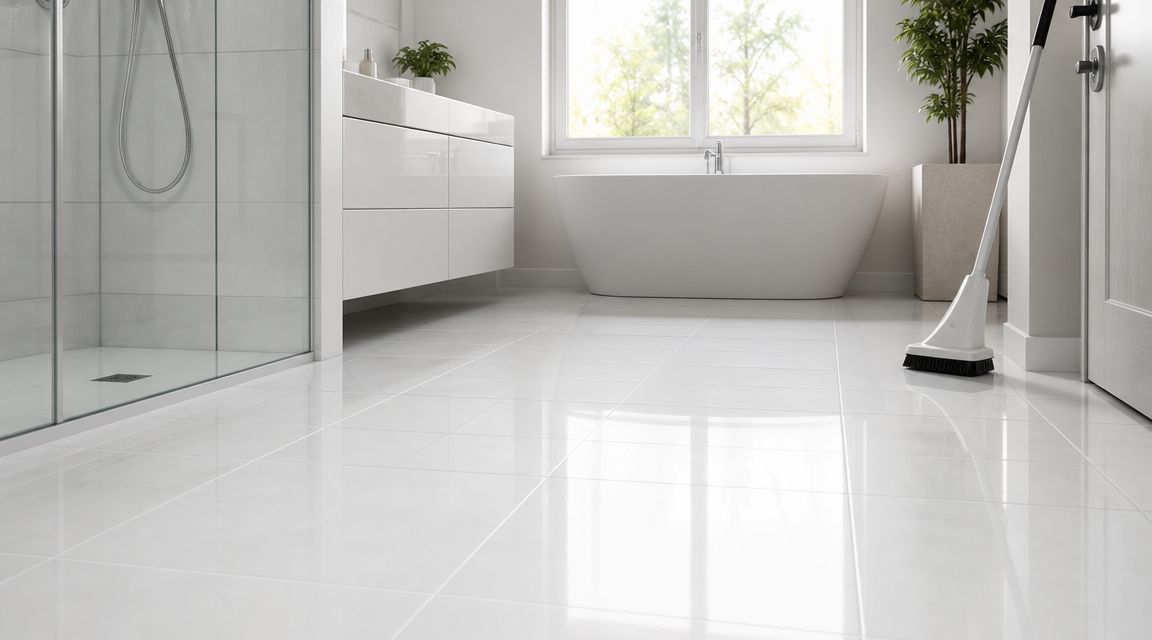
Why the floor is always last
Start with edges, not the open middle. Vacuum or sweep corners, behind the toilet, along baseboards, and around vanity legs or toe kicks. That's where dust packs in.
Then mop with the right cleaner for the floor material. Tile can usually handle more moisture than wood-look materials or sensitive vinyl, but no bathroom floor benefits from being flooded. Use a damp mop, not a soaking one, and work from the furthest corner toward the door so you don't trap yourself inside or leave footprints across the finish.
A few floor mistakes show up over and over:
- Mopping before dry pickup: That turns hair and dust into streaky residue.
- Ignoring the toilet perimeter: It's one of the dirtiest zones in the room.
- Using one dirty mop pass for the whole room: Change or rinse your mop often enough that you're cleaning, not spreading soil.
The details that make it feel professionally cleaned
Once the floor dries, put the room back together deliberately. Don't toss items in place.
Use these finishing touches:
- Fresh textiles: Put back clean towels and a clean bath mat only if it's clean and dry.
- Straight lines: Align hand soap, tissue box, tray items, and countertop accessories.
- Restocked basics: Refill toilet paper, hand soap, and any empty essentials.
- Final polish: Buff chrome, faucet faces, and mirror edges with a dry microfiber cloth.
This is the difference between “cleaned” and “ready.” People notice the overall feel before they notice any individual surface.
Keeping It Clean and When to Call for Backup
Monday morning, the bathroom still looks decent at a glance. By Thursday, the mirror has specks, the faucet has a chalky ring, and the toilet base is picking up dust again. That slide happens fast in a room that deals with moisture every day.
The easiest bathrooms to deep clean are the ones that never get too far away from baseline. In professional work, that is the goal. Maintain the room so the next reset is controlled, not corrective. Once soap residue hardens, mineral deposits set, and damp corners stay damp, the job gets slower and rougher on finishes.
A maintenance rhythm that works
A simple schedule beats occasional marathon scrubbing. Keep the weekly work light and consistent, then handle the detail items before they become restoration work.

Use this upkeep plan:
- Weekly quick clean: Wipe the vanity, sink, mirror, toilet exterior, and high-touch spots. Rinse or wipe the shower walls and tub before residue dries into a film.
- More frequent toilet care: In shared bathrooms, clean the bowl and touch the exterior up more often. That includes the seat hinges, flush handle, and the floor around the base.
- Monthly detail work: Remove mineral buildup from fixtures, scrub grout lines that are starting to darken, clear drains, and give shower glass a more thorough pass.
- Moisture control: Run the exhaust fan, spread towels so they dry fully, and keep damp bath mats or clothing off the floor.
If time is tight, stay consistent with the weekly reset. That does more to protect the room than letting buildup sit for a month and trying to fix everything in one session.
DIY versus hiring help
Some bathrooms respond well to a disciplined home cleaning routine. Others need labor, patience, and product control that go beyond a typical Saturday clean. The trade-off is simple. DIY saves money, but it costs time, setup, repeat passes, and a fair amount of scrubbing.
Professional deep cleaning earns its price in the details. The work includes dwell time, rinse control, edge work, and stain assessment. It also means knowing when to stop pushing a cleaner because the problem is no longer dirt. It is worn caulk, etched glass, failing grout, or damage around fixtures.
For busy households in Weston, Needham, or Wellesley, Sunny Day Pro Services is one practical option for residential deep cleaning when the bathroom has fallen behind or the calendar leaves no room to do it right.
FactorDIY Deep CleanSunny Day Pro ServiceTime commitmentYou handle setup, scrubbing, rinsing, and cleanup yourselfHandled by a cleaning team as a scheduled serviceTools and productsYou need to choose products, protect surfaces, and manage suppliesService arrives with its own cleaning system and suppliesDetail levelDepends on your time, stamina, and techniqueBuilt around a full deep-clean workflowBest use caseRoutine resets and homeowners who do not mind the laborHeavy buildup, pre-listing prep, move-related cleaning, and time-strapped households
Call for help when buildup is heavy, odor keeps returning after cleaning, or the room needs a true reset before guests, a move, or a listing. Bring in a specialist instead of a cleaning service when the job involves stain removal beyond normal cleaning, failing caulk replacement, grout repair, tile restoration, or hidden moisture damage.
Frequently Asked Bathroom Cleaning Questions
How often should you deep clean a bathroom
For most homes, weekly bathroom cleaning keeps the room under control, and shared bathrooms need more frequent touch-ups. A deep clean becomes necessary when regular wipe-downs stop restoring the room, or when buildup is obvious on tile, grout, fixtures, glass, and around the toilet base.
What removes mildew odor in a bathroom
The smell usually won't go away until you remove the source. Clean the affected surfaces, wash or replace damp textiles, dry out the room, and improve ventilation. If the odor keeps returning, inspect grout lines, caulk joints, shower curtains, bath mats, and hidden damp areas around the tub or vanity.
Persistent bathroom odor usually means moisture is lingering somewhere it shouldn't.
Is a steam cleaner good for bathroom deep cleaning
Steam can be useful on some bathroom surfaces because it loosens residue in tight areas and reduces heavy scrubbing. But it isn't universal. Heat and moisture can stress some caulk, finishes, and delicate materials. Check the surface first, and don't assume steam replaces detail cleaning, rinsing, or drying.
Can eco-friendly cleaners handle a true deep clean
They can handle a lot when the buildup is light to moderate and the product is matched to the surface. Where people get disappointed is expecting one gentle cleaner to solve soap scum, mineral scale, grout discoloration, and toilet buildup equally well. Sometimes the better approach is a lower-toxicity routine maintained consistently, not waiting until the bathroom needs restoration.
What's the biggest mistake people make when deep cleaning a bathroom
Cleaning in the wrong order. If you start wet, skip dust removal, or mop before all upper surfaces are finished, you re-spread dirt and make more work for yourself. The top-to-bottom, dry-to-wet method is what keeps the clean from unraveling halfway through.
If your bathroom needs more than a quick reset, Sunny Day Pro Services can help with deep cleaning for busy homeowners in Wayland, Newton, Needham, Wellesley, Weston, and nearby Massachusetts communities. Request a quote, choose the service that fits your home, and get the room back to a clean baseline without spending your weekend scrubbing.

