
How to Remove Kitchen Tile Backsplash Without Wall Damage
Learn how to remove kitchen tile backsplash safely step by step. Protect walls, handle mastic vs thinset, manage dust, and know when to call a pro.
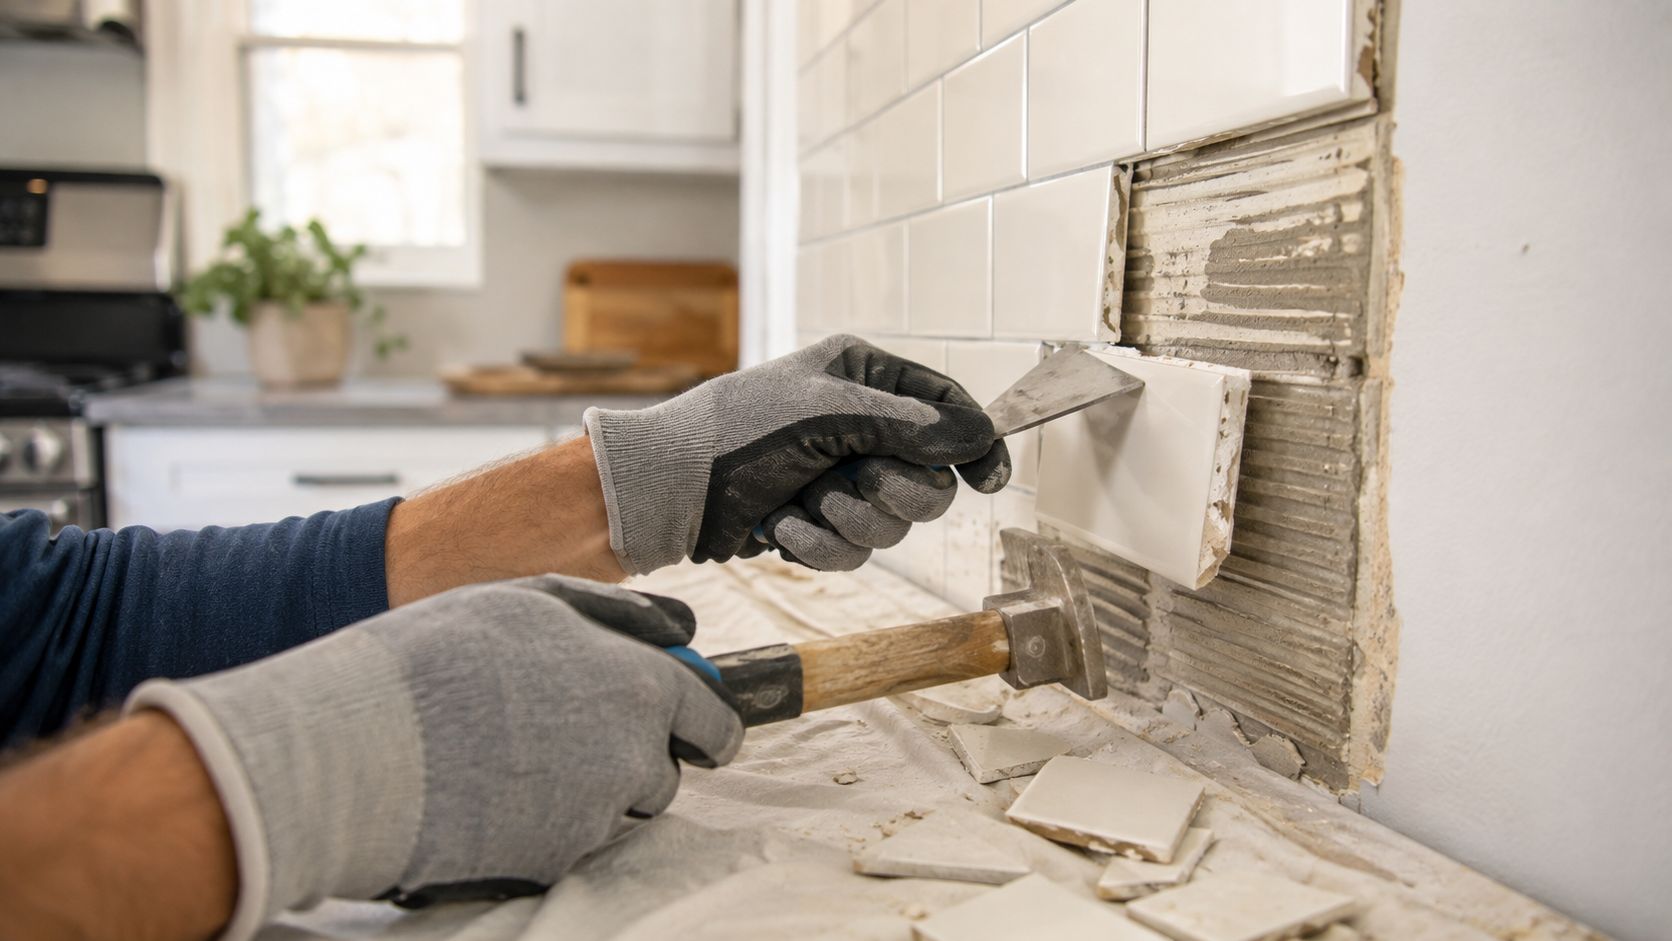
You start on a Saturday morning with a simple plan: loosen a few tiles, clean the wall, and install something newer. Then one tile refuses to release, the pry bar goes in too steep, and a sheet of drywall paper peels away with it. By lunchtime, the backsplash is partly demolished and the wall repair has become the larger project.
That outcome isn't inevitable. How to remove kitchen tile backsplash without wall damage depends less on force than on preparation, dust control, grout removal, adhesive diagnosis, and knowing when the drywall is no longer worth preserving. The finished job isn't a bare wall with tile missing. It's a clean, sound substrate ready for paint, tile, stone, or another finish. If you're planning the replacement as well, the kitchen backsplash installation guide helps you think through the next surface before demolition begins.
Table of Contents
- Build the work zone before demolition
- Shut down the electrical hazards
- Gather tools that control force
Why Backsplash Removal Is Really a Wall-Preservation Project
The first tile is usually the hardest tile. It has no neighboring opening to work from, its edges are often sealed with caulk or grout, and the adhesive bond is still distributing pressure across the wall. A homeowner who attacks that tile with a hammer and steep chisel angle can create a gouge before understanding why the tile wouldn't move.
A seasoned installer treats removal as a wall-preservation project first and a demolition project second. The useful benchmark isn't how quickly the tiles come off. It's whether the drywall remains intact enough to accept the next finish without extensive patching.
Practical rule: If the wall needs major repair after every few tiles, the removal method is costing more than the tile is worth.
The real cost of a shortcut
Tile, grout, and adhesive behave as a system. Perimeter caulk can hold the edge against a countertop or cabinet. Grout can lock neighboring tiles together. Adhesive can release cleanly, or it can pull the drywall paper with the tile. Skipping one part of that sequence transfers force into the substrate.
The most common failure looks harmless at first. A pry bar slips behind a tile, the tile cracks, and a broad flap of paper comes away. Near countertop edges and electrical outlets, small gouges are common even with careful work. Those damaged areas may require joint compound, sanding, sealing primer, skim coating, or a replacement drywall section before a new backsplash can go up.
What “done right” looks like
A controlled project has a clear progression:
- Prepare the room: Protect counters and floors, remove vulnerable items, shut off nearby power, and contain dust.
- Break the bonds: Score caulk, clear every grout joint, and expose a weak starting point.
- Lift gradually: Keep tools nearly parallel to the wall and work in small batches from the top down.
- Identify the adhesive: Mastic and thinset don't respond to the same removal strategy.
- Restore the substrate: Scrape residue, assess paper damage, patch or replace drywall where needed, then prime.
That process takes patience, but patience is cheaper than rebuilding a wall. If the backsplash sits over fragile drywall, surrounds several outlets, or uses a hard thinset bond, the right question may be whether the substrate is worth saving at all.
Preparing the Kitchen and Protecting Yourself
Before a utility knife touches the backsplash, make the kitchen a controlled work zone. Remove appliances, countertop items, small décor, and anything stored beneath the work area. Cover the countertop with a stable protective layer, then protect the floor with a drop cloth that won't slide when broken tile lands on it.
Backsplash demolition produces more than visible chunks. Fine dust from tile, grout, and thinset spreads quickly in a closed kitchen, settling on counters, sinks, vents, cabinet interiors, and food-preparation surfaces. Treat containment as part of the demolition, not as a cleanup task you can postpone.
Build the work zone before demolition
Use plastic sheeting or similar barriers to separate the kitchen from adjoining rooms. Close nearby doors where possible, cover vents that could distribute dust, and provide ventilation that moves contaminated air out rather than pushing it through the house. Keep food, cutting boards, and exposed dishes away from the area.
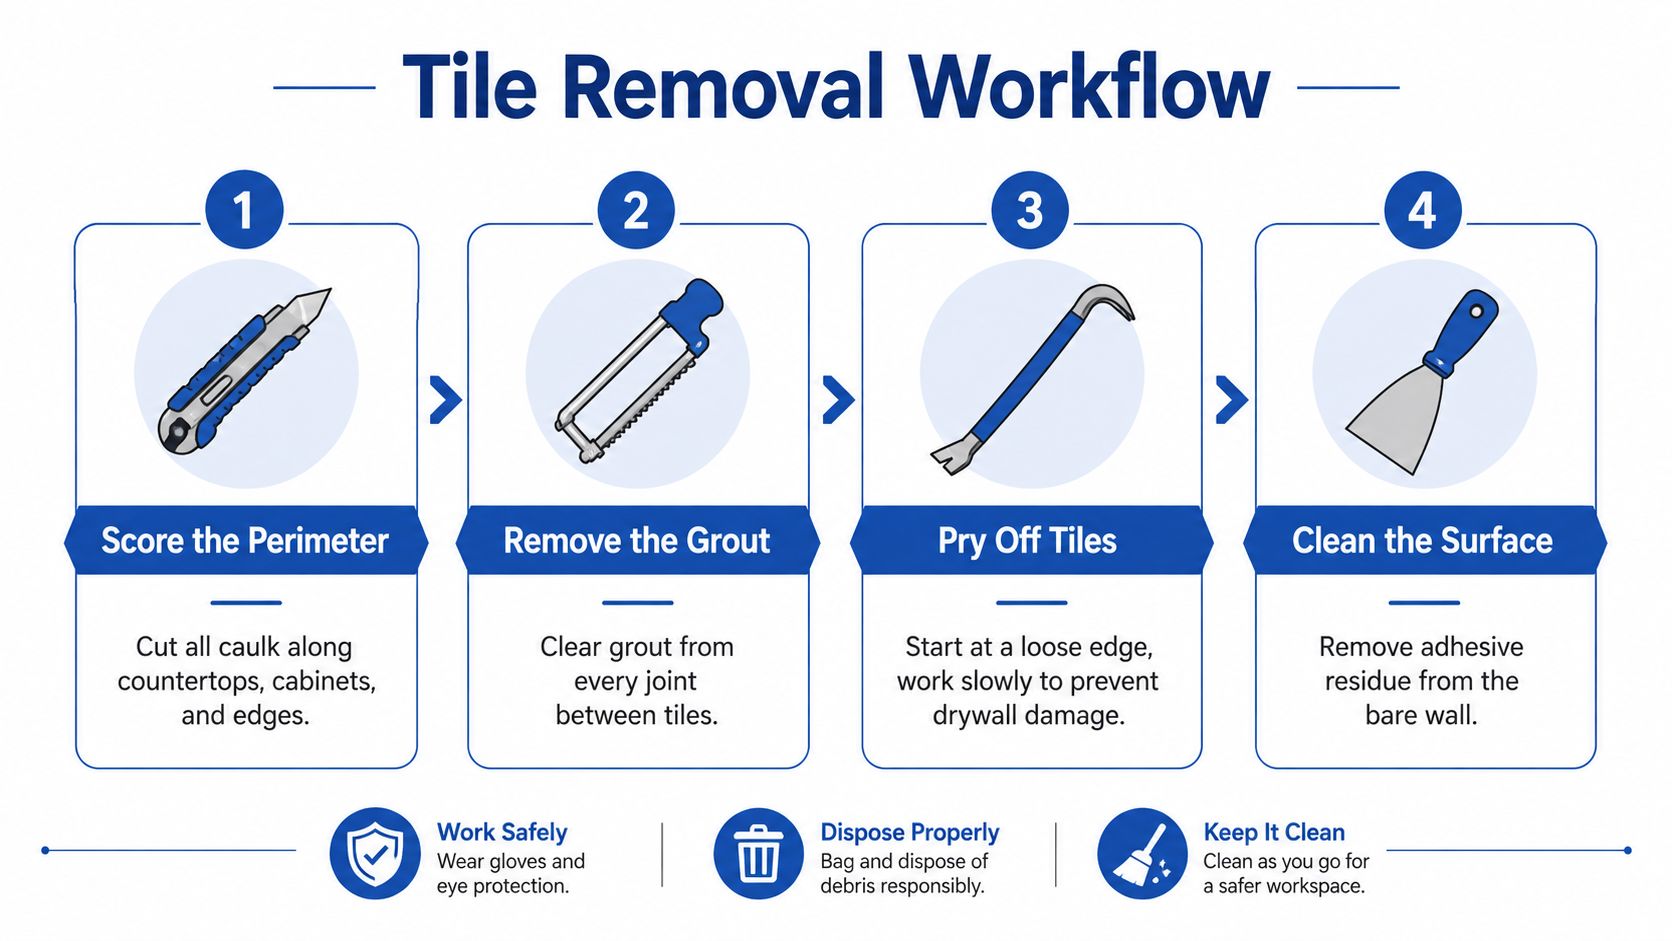
A basic dust mask isn't a substitute for proper respiratory protection. Wear respiratory protection suited to dusty demolition, along with safety glasses and durable gloves. Broken ceramic, porcelain, glass, and sharp grout edges can cut skin, especially when you're reaching behind partially loosened tiles.
Shut down the electrical hazards
Turn off power to the backsplash area at the electrical panel before removing outlet covers. Don't rely only on the outlet switch or a casual assumption about which breaker controls the circuit. Verify that the outlets are dead with an appropriate tester, and keep removed cover plates and screws in a container so they don't disappear under debris.
Wires may run behind drywall in the backsplash zone, exactly where a chisel or pry tool could enter. Work cautiously around every outlet opening, and don't drive a tool blindly into the wall. If an outlet box moves, wiring appears damaged, or you find an unexpected junction, stop and have an electrician assess it.
Gather tools that control force
You won't need every tool for every wall, but the useful kit usually includes:
- Utility knife: For cutting caulk and edge seals.
- Grout saw or oscillating tool: For severing grout between tiles.
- Putty knife or stiff scraper: For shallow-angle lifting and adhesive removal.
- Small chisel and hammer or mallet: For controlled tapping, not heavy striking.
- Oscillating tool: For stubborn joints and localized cutting.
- Heat gun: Only for brief, localized adhesive softening when appropriate.
- Bucket and cleanup materials: For collecting fragments and wiping settled dust.
Keep a second container nearby for sharp tile pieces. Don't leave fragments on the counter or floor where someone can drag a hand or step on them.
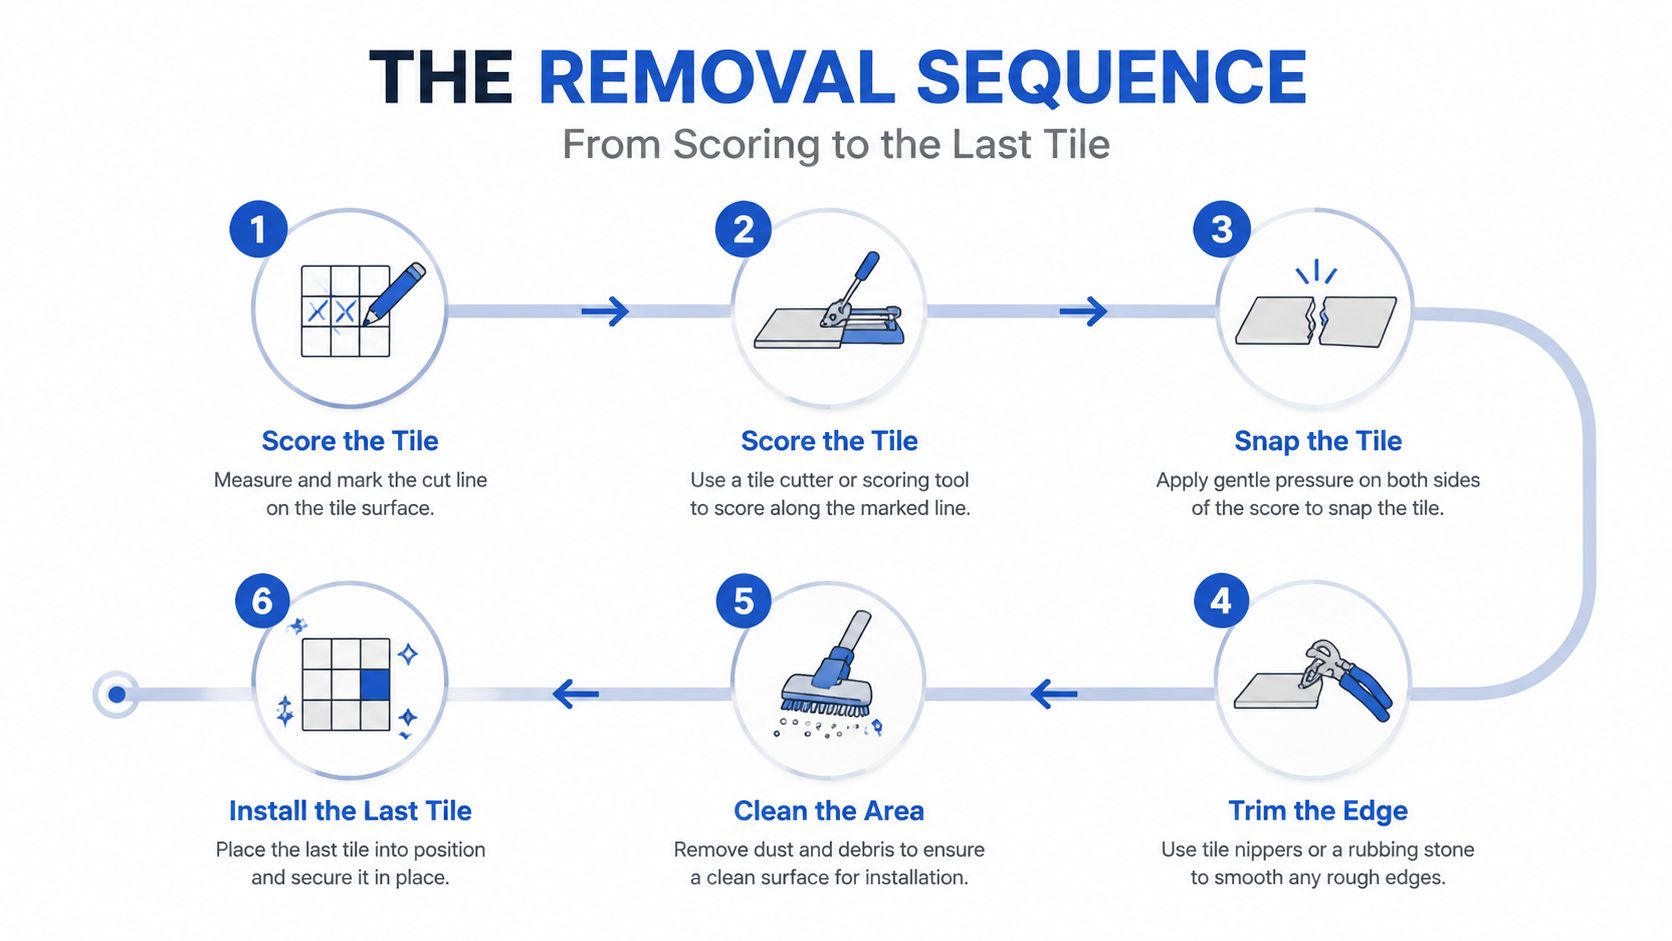
The Removal Sequence from Scoring to the Last Tile
Start by cutting every perimeter caulk line with a sharp utility knife. Follow the joint where tile meets the countertop, cabinets, side walls, windowsills, and any trim. Make several controlled passes rather than forcing the blade too far into the drywall or countertop seal.
Next, remove grout from every joint between tiles. A grout saw works for a small backsplash, while an oscillating tool with a grout-removal blade can make the job more manageable across a larger field. The purpose isn't cosmetic. Removing grout breaks the bond between adjacent tiles so pressure on one tile doesn't transfer directly into its neighbors.
Find a weak starting point at a top corner, exposed edge, or inconspicuous location such as behind an appliance. A top-down approach gives loosened material somewhere to move and keeps upper pieces from falling onto tools or partially detached lower tiles.
Breaking out the first tile
The first tile demands the most patience. Insert a stiff putty knife, painter's tool, or narrow chisel at the edge you created. Keep the blade nearly parallel to the wall, using a shallow angle rather than pointing the tool toward the drywall.
Tap lightly with a hammer or mallet. The tapping should help the blade advance behind the tile, not drive it into the wall. If the blade stops, withdraw it and clear more grout or try another edge. Increasing the striking force usually increases damage faster than it increases progress.
The mistake I see most often is a steep chisel angle. It feels powerful, but it turns the drywall into the target.
Once the first tile comes free, don't immediately swing into a broad pry-and-pull rhythm. Work in small batches, clearing the grout and adhesive interface as you go. Hold the blade flat, lift a little, reposition, and lift again. Removing tiles from the top down helps prevent loose pieces from wedging against the row beneath.
Keeping pressure out of the wall
If a tile shatters, stop and diagnose the cause. The grout may not be fully severed, or the tool may be bearing against the tile face instead of sliding behind it. Remove loose fragments carefully, expose the adhesive, and resume with a flatter tool position.
Don't pry laterally against the wall. Lateral force twists the tile and can pull the drywall paper in a wide area. Controlled force works through the tile and adhesive interface, while shallow-angle contact limits how far the tool can dig.
The goal isn't to save every tile. The goal is to save the wall. Accepting that some tiles will break is often the safer choice, provided the fragments come away without taking large sections of the substrate with them.
Mastic Versus Thinset and Why Adhesive Type Changes Everything
After several tiles come off, inspect what remains on the wall. Mastic is a premixed organic adhesive that may soften with gentle, localized heat. Thinset is a cement-based mortar that generally forms a harder, less forgiving bond. You don't need a laboratory test to choose a strategy, but the residue's appearance and hardness can give you a practical direction.
Mastic often looks more rubbery or tacky when softened and may scrape away in rolls or stubborn smears. Thinset usually feels hard and cement-like, and aggressive removal can take drywall paper with it. Neither adhesive guarantees a clean peel-off, particularly around outlets and countertop edges.
Compare the bond before increasing force
| Adhesive Type | How to Identify | Removal Approach | Wall Damage Risk |
|---|---|---|---|
| Mastic | Often appears dark or light, flexible, tacky, or gummy when worked | Use a stiff scraper at a shallow angle. Apply gentle, localized heat only if the adhesive resists, then scrape gradually | Can still pull paper from drywall if pried laterally or overheated |
| Thinset | Hard, cement-like residue that resists ordinary scraping | Remove tile carefully, then use controlled scraping or suitable mechanical removal while protecting the substrate | Higher risk of drywall paper tearing and larger repair work |
If mastic resists, apply heat briefly, for about 10 to 15 seconds, then test a small area before applying more. The purpose is to soften a localized patch, not heat the entire wall or make the adhesive dangerously hot. Excess heat can damage surrounding finishes and encourages rushed scraping.
For residual adhesive, hold the scraper at around a 30-degree angle to the wall. That position lets the edge shave residue instead of digging under the drywall paper. Keep the pressure light and change direction when the scraper catches.
Decide whether preservation still makes sense
Thinset bonded to fragile drywall creates a difficult trade-off. You can spend a long time trying to preserve a wall that will still need extensive patching, or you can remove and replace the affected drywall section cleanly. The better decision depends on the wall's condition, the planned finish, and how much surface damage has already occurred.
Don't sand aggressively just to make a hard adhesive disappear. Sanding can spread fine dust through the kitchen and remove more of the substrate around damaged areas. If the adhesive has fused to the drywall paper, stabilize the surface and plan the repair rather than turning a manageable patch into a broad wall reconstruction.
Cleanup, Disposal, and Repairing the Wall for Its New Finish
Once the final tile is off, demolition changes into restoration. Collect broken pieces with gloved hands or a suitable tool, place them in a sturdy container, and keep the work area isolated until loose fragments and dust are under control. Don't sweep dry debris across the kitchen if it will send fine particles back into the air.
Vacuum settled material with equipment appropriate for fine dust, then wipe counters, cabinet faces, the sink, nearby fixtures, and other exposed surfaces. Check vents and ledges where dust collects. A focused approach to cleaning drywall dust after construction matters because backsplash debris travels farther than the small demolition footprint suggests.
Inspect the substrate honestly
Run a broad drywall knife or straightedge across the wall. Look for raised adhesive, loose paper, shallow gouges, exposed gypsum, damaged corners, and areas where the wall flexes. Pay particular attention to outlet openings and the line above the countertop, where installers often work with limited clearance.
The repair choice should follow the damage:
- Light residue: Scrape carefully, seal the surface as needed, and confirm that the wall is flat.
- Shallow gouges and torn paper: Remove loose material, apply joint compound, let it dry, sand lightly, and prime.
- Widespread unevenness: Skim coat the affected area so the new finish doesn't telegraph every low spot.
- Soft, badly torn, or unstable drywall: Cut back to sound material and replace the damaged section.
A skim coat is appropriate when the wall remains structurally sound but has broad shallow irregularities. Section replacement makes more sense when the gypsum is compromised or the paper has been stripped extensively. New tile needs a flat, stable base, while paint needs a smooth, sealed transition that won't flash through under changing light.
Seal before installing anything new
After sanding, remove remaining dust and allow the repair to dry fully. Prime exposed joint compound and damaged drywall paper with a suitable sealing primer before applying a new backsplash or paint. Unsealed repairs can absorb adhesive or paint unevenly, creating adhesion and finish problems that appear after the installation looks complete.
The finish line is not the moment the wall looks bare. It's the moment the wall is flat, sound, clean, and sealed.
Troubleshooting the Problems That Derail Backsplash Demo
A backsplash usually tells you when the technique is wrong. Stop when the symptom changes, then correct the cause instead of adding force.
- Tiles shatter immediately: The grout lines probably weren't fully cut, so neighboring tiles are supporting one another. Clear the remaining grout around the working area and approach the tile from an exposed edge.
- Drywall paper peels in broad sheets: The tool angle is too steep, or you're pulling laterally. Flatten the blade, use lighter taps, and work behind the tile in smaller increments.
- Adhesive won't release: Identify whether you're facing mastic or thinset. If mastic is resisting, use brief localized heat, then scrape at a shallow angle. Don't keep heating the wall while hoping force will solve the problem.
- Dust overwhelms the kitchen: The containment plan failed before the removal did. Stop, seal adjoining areas, improve ventilation, protect food-prep surfaces, and use proper respiratory protection.
- Something appears behind an outlet: Treat the opening as an electrical hazard, not an invitation to pry harder. Keep tools away from wiring and have the circuit or box evaluated before continuing.
DIY doesn't always win. A project that begins as tile removal can become drywall replacement, electrical troubleshooting, surface preparation, and dust cleanup. If the wall is already gouged, repeated attempts to save it may only increase the repair burden.
When to Hire a Pro for Backsplash Removal and Replacement
DIY makes sense for a small, accessible backsplash with a relatively cooperative mastic bond, limited outlets, and drywall that's worth preserving. Professional help is the safer choice when hard thinset meets fragile drywall, the backsplash surrounds several electrical boxes, the wall has already begun tearing, or the replacement includes detailed cuts and a custom finish.
For Massachusetts homeowners in Wayland, Newton, Needham, Wellesley, Weston, and nearby communities, Sunny Day Pro Services backsplash work combines installation for porcelain, ceramic, marble, granite, and custom backsplashes with post-construction cleanup. The process is straightforward: request a fast quote, choose a schedule, and use a team that backs its work with a satisfaction guarantee.
Before deciding, check four things:
- Substrate: Is the drywall still stable?
- Adhesive: Are you dealing with manageable mastic or stubborn thinset?
- Electrical zone: Can you work safely around every outlet?
- End result: Can you prepare the wall and install the replacement finish cleanly?
If any answer is uncertain, request an estimate before the first tile comes down.
Sunny Day Pro Services can handle backsplash removal, wall preparation, custom tile installation, and the post-construction cleanup that keeps fine dust out of your kitchen. Visit Sunny Day Pro Services to request a fast quote and choose a schedule for a cleaner, wall-conscious renovation.

