
A 2026 Guide to Your Kitchen Backsplash Cost
Get a full breakdown of your kitchen backsplash cost. Learn per-square-foot pricing for materials, labor rates, and budgeting tips for your 2026 remodel.
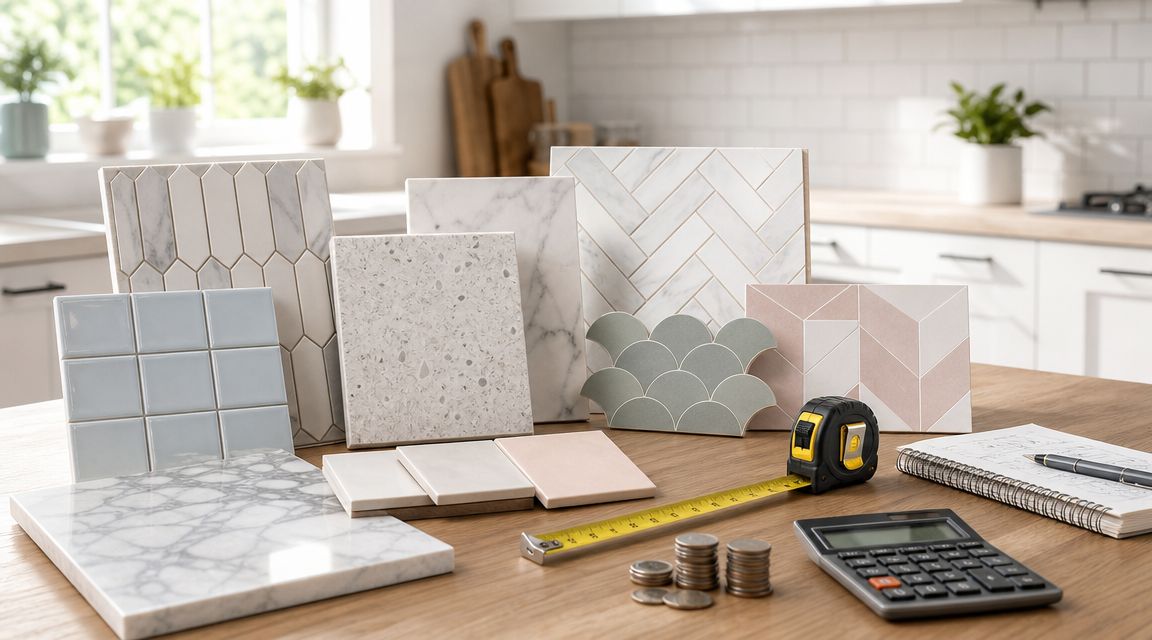
A new kitchen backsplash is one of those projects that delivers a serious "wow" factor. It can completely change the personality of your kitchen without the dust and disruption of a full-scale remodel. But what's it actually going to cost?
Most homeowners can expect to spend around $1,000 on a new backsplash, with the majority of projects falling somewhere in the $480 to $1,500 range. For a standard 30-square-foot area, that works out to a price of about $15 to $40 per square foot, which includes both the tiles and professional installation.
Table of Contents
- Comparing Kitchen Backsplash Materials by Cost and Features
- Affordable and Timeless Choices
- Mid-Range and Specialty Materials
- High-End and Luxury Selections
- How Much Time Does a Typical Backsplash Installation Take?
- Can I Save Money by Tiling Over My Old Backsplash?
- What Is the Most Durable and Easy-to-Clean Backsplash Material?
- How Can I Get an Accurate Project Estimate in My Area?
Understanding Your Kitchen Backsplash Cost
Before you fall in love with a particular tile, it helps to know what goes into the final price. The total cost really comes down to a mix of three things: the material you choose, the labor needed to get it on the wall, and just how fancy you want your design to be.
Think of it this way: a classic, clean ceramic subway tile backsplash is like a dependable family car—it looks great, does its job perfectly, and is friendly on the wallet. On the other hand, a custom-cut marble mosaic is more like a luxury convertible—it's a stunning statement piece that requires premium materials and specialized craftsmanship, and the price reflects that. Both are great options, but they represent very different investments.
For those of us in Massachusetts communities like Wayland or Newton, where home values are strong, a thoughtful backsplash upgrade isn't just about looks. It's an investment that can genuinely add to your home's appeal and resale value, making quality materials and professional work a smart move.
To give you a better sense of what to budget, we've put together a quick overview of typical costs for a standard 30-square-foot kitchen backsplash. This should help you see how the numbers change based on the type of tile you choose.
Average Kitchen Backsplash Cost at a Glance
| Cost Tier | Material Cost (per sq. ft.) | Total Material Cost (30 sq. ft.) | Estimated Labor Cost | Total Estimated Project Cost |
|---|---|---|---|---|
| Budget-Friendly | $2 - $10 | $60 - $300 | $300 - $600 | $360 - $900 |
| Mid-Range | $10 - $30 | $300 - $900 | $450 - $900 | $750 - $1,800 |
| High-End | $30 - $100+ | $900 - $3,000+ | $600 - $1,500+ | $1,500 - $4,500+ |
As you can see, the material you pick is a huge part of the equation, but labor is always a significant factor. These numbers give you a solid baseline as you start planning.
A Quick Look at the Numbers
Let's dig into those costs a bit more. National data from sources like HomeAdvisor shows a typical range of $480 to $1,500 for a professionally installed backsplash, which aligns with that $1,000 average we see so often.
So, what pushes your project toward the lower or higher end of that spectrum?
- Your Tile Choice: This is the biggest variable. You can find simple ceramic tiles for just a few dollars a square foot. On the flip side, high-end natural stone, intricate glass, or handmade Zellige tiles can easily run $50 per square foot or more.
- The Size of the Job: It sounds obvious, but square footage is king. Tiling a small accent area behind your stove is a much smaller project than taking the backsplash all the way up to the ceiling.
- Design Complexity: A simple, running bond pattern with subway tile is straightforward for an installer. But if you're dreaming of a complex herringbone, chevron, or a custom mosaic, expect the labor cost to climb. All those extra cuts take time and skill.
- Local Labor Rates: The cost for a great tile setter varies. A highly experienced professional in a competitive market like Wellesley will naturally have a higher rate than a general handyman in a different area. Experience really counts when you want crisp grout lines and perfectly placed tiles.
How Your Material Choice Shapes the Final Price
When you're trying to nail down a budget for a new kitchen backsplash, the material you pick is, without a doubt, the biggest piece of the puzzle. It really sets the stage for your total Kitchen Backsplash Cost; everything else, from labor to layout, builds on that foundation. Your choice between classic tile, natural stone, or something more unique doesn't just define the kitchen's vibe—it locks in a major chunk of the final price tag.
Let's walk through the most common materials to see how they stack up, from budget-friendly workhorses to jaw-dropping luxury statements.
Comparing Kitchen Backsplash Materials by Cost and Features
To give you a clearer picture, it helps to see the main contenders side-by-side. Every material comes with its own price point, look, and set of practical considerations. This table breaks down the most popular options we see in Massachusetts homes.
| Material | Average Cost per Square Foot | Pros | Cons |
|---|---|---|---|
| Ceramic Tile | $2 – $10 | Highly affordable, endless design options, easy to clean. | Can be prone to chipping; grout lines require sealing. |
| Porcelain Tile | $4 – $15 | Extremely durable, dense, and water-resistant. | Slightly more expensive than ceramic; can be harder to cut. |
| Glass Tile | $15 – $40 | Reflects light beautifully, creating a bright and modern look. | Can be pricey; installation is tricky and requires a pro. |
| Natural Stone | $40 – $100+ | Each piece is unique, offering a high-end, organic feel. | Porous and requires regular sealing; can stain easily. |
| Custom Mosaics | $50 – $200+ | Completely bespoke and artistic; the ultimate statement piece. | Very expensive; installation is meticulous and time-consuming. |
As you can see, the range is huge. What you gain in one area (like the unmatched beauty of marble), you might trade off in another (like higher maintenance and cost).
Affordable and Timeless Choices
For homeowners looking for that sweet spot of style, durability, and value, you simply can't beat ceramic and porcelain tiles. They’re the undisputed champs for a reason, offering incredible design flexibility without breaking the bank.
Ceramic Tile: This is your go-to for a budget-friendly project, with material costs typically running $2 to $10 per square foot. It comes in a dizzying array of colors and patterns, from the ever-popular subway tile to intricate decorative designs. It’s plenty durable, though just a bit more porous than porcelain.
Porcelain Tile: Think of porcelain as ceramic’s tougher older sibling. It’s fired at higher temperatures, making it denser and far more resistant to stains and water. You’ll pay a little more, usually $4 to $15 per square foot, but it's an outstanding choice for hardworking kitchens where splashes are a daily occurrence.
Because these materials are so common, most pros are very familiar with them, which helps keep installation costs reasonable. If you're leaning toward this durable option, you can get a deeper understanding of what's involved by reading our guide to porcelain tile installation.
The infographic below shows how the decision to hire a pro versus tackling it yourself can affect the bottom line.
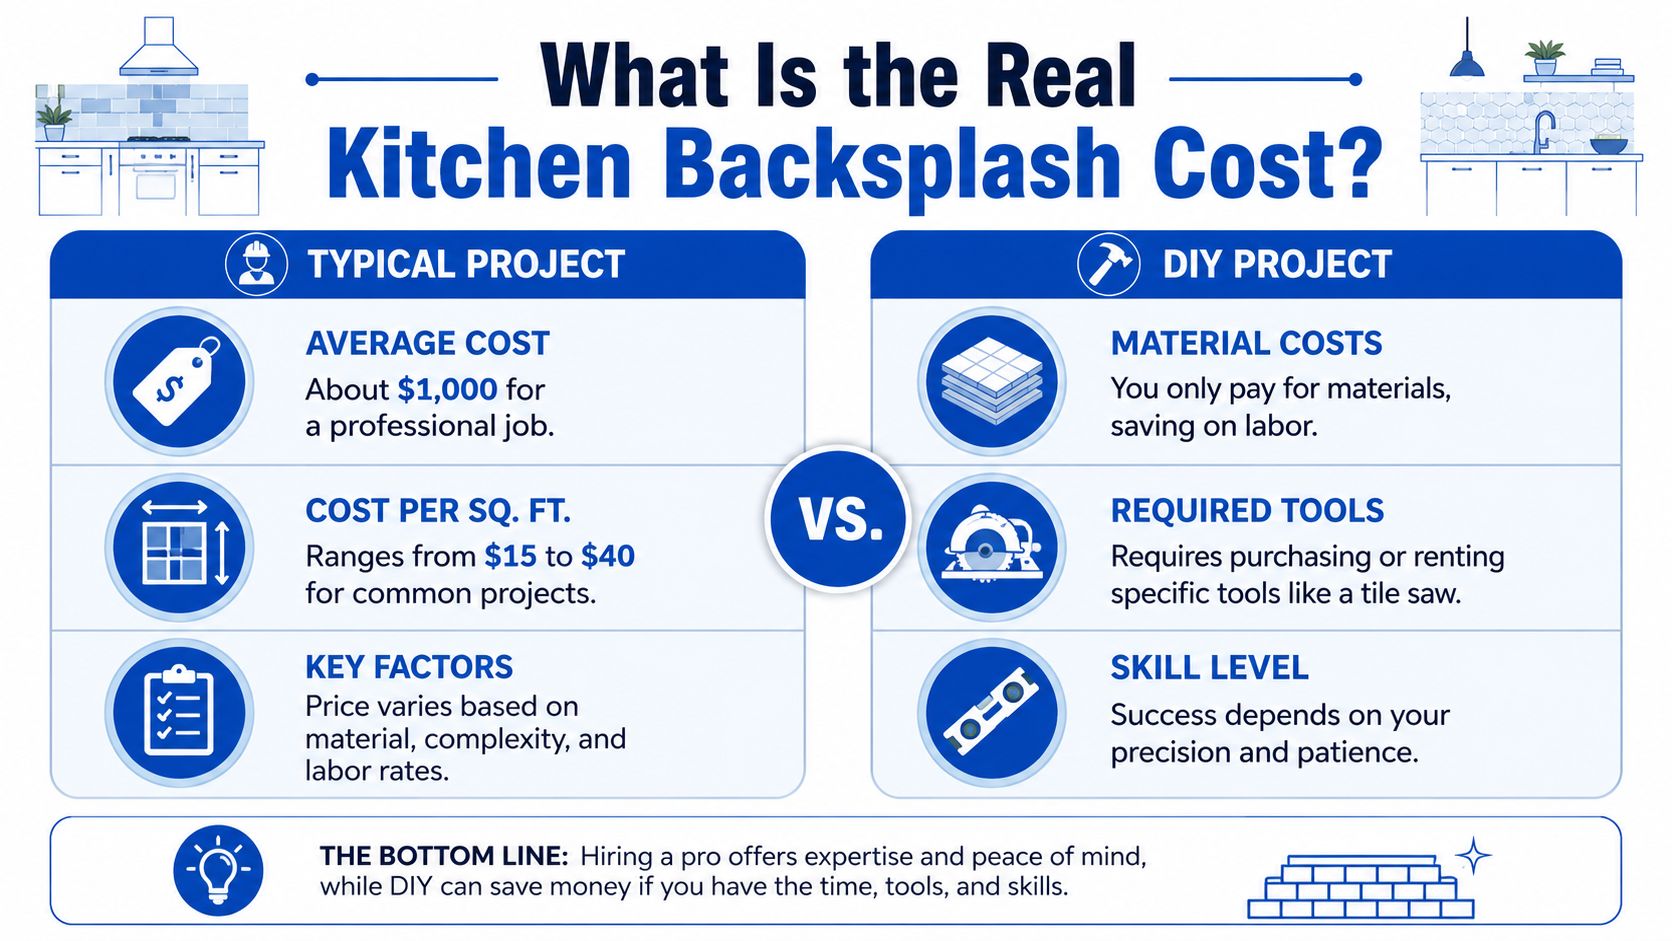
While a DIY project seems cheaper on the surface, don't forget to factor in the cost of tools, your time, and the learning curve. A professional's fee covers expertise that prevents costly mistakes.
Mid-Range and Specialty Materials
If you have a little more room in your budget, you can start exploring materials with more unique textures and a bit more personality. These options nicely bridge the gap between standard tile and high-end stone.
This is where you'll find materials like glass, certain natural stones like slate, and even some metals.
Glass tile, for instance, typically falls in the $15 to $40 per square foot range. It’s a fantastic choice for making a kitchen feel brighter by bouncing light around the room. But be warned: it requires a very skilled installer to hide the adhesive and get perfectly clean cuts.
Other materials in this category, like travertine or slate, bring an earthy, textured look that adds a lot of warmth and character.
High-End and Luxury Selections
For homes in communities like Weston or Wellesley, a luxury backsplash isn't just a functional element—it's a stunning focal point that adds real value. This is the realm of marble, granite, and one-of-a-kind custom mosaics.
Once you step into premium materials, the price can climb quickly. As noted by experts on Angi.com, while you can find basic materials for under $10 per square foot, a high-end marble can easily jump to $150 per square foot or even more.
Natural Stone (Marble, Granite, Quartzite): These materials deliver beauty that can't be replicated, with unique veining and color in every single slab. Marble is a classic for its elegant look, but its porous nature means it needs to be sealed regularly to fend off stains. Material costs often start around $40 per square foot and can easily sail past the $100 mark.
Custom Mosaics and Handmade Tiles: For a truly personal touch, nothing beats a custom-designed pattern or handmade tiles like Zellige. Here, the price is driven by pure artistry and complexity, often landing between $50 and $200 per square foot. The meticulous labor required for installation also adds significantly to the final cost.
Breaking Down Labor and Installation Costs
So, you’ve picked out the perfect tile for your kitchen backsplash. That’s a huge step, but it’s only half the story. The material itself is one thing; getting it on the wall correctly is a whole other ballgame. Professional installation is much more than just sticking tiles to a wall—it's a craft that ensures your backsplash looks stunning and lasts for decades.
When you start looking at quotes, you'll see that the labor cost for a backsplash installation usually lands somewhere between $10 and $30 per square foot. A simple job with standard ceramic tile will fall on the lower end of that range. But if you’ve chosen intricate tiles or have a more complex design in mind, the price will naturally climb.
What You're Really Paying for with Professional Labor
When you hire a pro, you’re paying for their experience and a meticulous, multi-stage process. Each step is absolutely crucial for a durable, high-quality finish. Here’s what a seasoned installer handles:
- Wall Preparation: This is the foundation for everything that follows. A pro will clean the surface, patch any dings or holes in the drywall, and make sure the wall is perfectly flat. Starting with a flawed surface is a recipe for disaster.
- Layout and Design: This is where the artistry comes in. A professional tile setter doesn't just start in a corner and hope for the best. They map out the entire backsplash, finding the centerline to create a balanced, symmetrical layout that avoids awkward, skinny tile slivers at the edges.
- Precise Cutting: Tiling isn't just about full tiles; it's about the cuts. Working around outlets, light switches, and window trim requires specialized tools and a steady hand, especially with brittle materials like glass or complex patterns.
- Setting the Tile: Applying the thin-set mortar and placing each tile is an art form. An experienced installer knows exactly how much mortar to use to get a solid bond while ensuring every tile is perfectly level and evenly spaced.
- Grouting and Sealing: The job isn't done until the grout is in. This final step involves carefully applying grout, cleaning off all the excess haze for crisp, clean lines, and then sealing the grout (and the tile, if it's porous) to protect it from future stains and moisture.
A common mistake homeowners make is underestimating the skill needed for a flawless layout. A professional installer's ability to plan for visually pleasing lines, especially with patterns like herringbone, is what separates an average job from a stunning one.
Factors That Influence Installation Costs
Not all backsplashes are created equal, and the labor cost reflects that. If the job is more time-consuming or requires more skill, the price will go up. For Massachusetts homeowners trying to budget, these are the main variables that will move the needle:
- Design Complexity: A classic subway tile in a standard running bond pattern is the most straightforward and affordable to install. But if you want a herringbone or chevron pattern, be prepared for labor costs to jump by 20% to 40%. All those angled cuts take a lot more time and precision.
- Tile Material: Some materials are just tougher to work with. Delicate glass tiles chip easily during cutting, while heavy natural stone slabs require a stronger adhesive and more muscle to set. That extra care and effort will be reflected in the labor bill. For a closer look at a specific material, our article on marble tile installation costs breaks it down further.
- Removal of Old Backsplash: Don't forget this! If you have an old backsplash, it has to go. This involves demolishing the old material and repairing the wall beneath it before any new tile can be installed. This demo and prep work typically adds $3 to $6 per square foot to your total project cost.
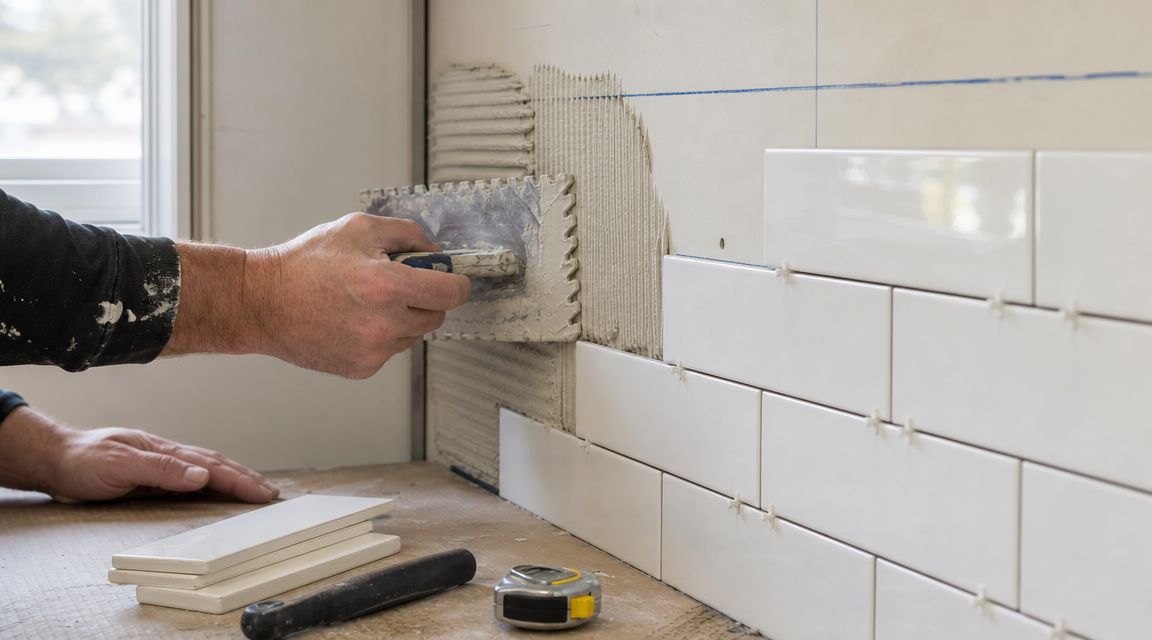
Ultimately, investing in professional labor is about protecting the investment you've already made in your beautiful new tiles. A perfect installation is what makes them shine for years to come.
Budgeting for Unexpected Project Expenses
Every home renovation project has its secrets, and they usually hide right behind the wall. While you can map out the cost of your tile and the basic installation, the final Kitchen Backsplash Cost often includes a few surprises. This is precisely why a contingency fund is non-negotiable.
We always advise clients to set aside an extra 10% to 20% of their total estimated budget. Think of it as project insurance. This cushion ensures that a small, unforeseen issue doesn't throw your entire plan off track or force you to cut corners on the beautiful finish you've been dreaming of.
Common Hidden Costs to Plan For
Even a backsplash project that seems simple on the surface can unearth a few hidden expenses. If you live in an older Massachusetts home, say in Wellesley or Needham, being prepared is key. Having these potential costs on your radar from the start is the best way to avoid budget-related stress down the line.
Here are a few of the most common surprises we run into:
- Old Backsplash Disposal: Tearing out the old tile is one thing, but getting rid of it is another. Some contractors build this into their quote, but many will list it as a separate disposal or haul-away fee. It's always best to ask.
- Unexpected Drywall Repair: This is the big one. Once the old backsplash comes off, you might discover the drywall behind it is damaged, crumbly, or has holes. Patching or replacing sections of drywall is a very common add-on, and it's impossible to know if it's needed until the demolition is done.
- Electrical Outlet Adjustments: Your new tile will be thicker than the old surface, so outlets and light switches need to be brought forward to sit flush. For safety and to meet building codes, this often requires a licensed electrician, which is an additional labor cost.
It's so easy to get focused on the main event—the tile itself—but those small, finishing details can really add up. Forgetting to budget for them is a surefire way to face frustrating decisions at the last minute.
Don't Forget the Finishing Touches
Beyond the major surprises, a handful of smaller items are absolutely essential for a polished, professional look but are frequently overlooked in the initial planning phase.
Trim Pieces: To get those clean, sharp edges you see in design magazines, you'll likely need metal trim, often called a Schluter strip. This isn't just for looks; it protects the tile edges from chipping. These are sold by the linear foot, so it's a material cost you'll want to account for.
Specialty Grout and Sealant: Not all grout is created equal. The tile you select will dictate the products you need. For instance, delicate glass tiles require a special non-abrasive, unsanded grout to prevent scratches. If you've chosen a porous natural stone like marble or travertine, a high-quality sealant is a must to protect it from kitchen splatters and stains. These specialty products will always cost more than the standard versions.
Deciding Between DIY and a Professional Installer
Tackling a project yourself can be incredibly rewarding, but when it comes to your kitchen backsplash, the choice between DIY and hiring a pro is a big one that affects more than just your budget. On paper, going the DIY route seems like a clear winner for saving money. After all, you're cutting out labor fees, which can easily be half the total cost of the project.
But that upfront saving often comes with hidden costs—your time, your sanity, and the very real risk of expensive mistakes. A truly successful DIY backsplash requires a whole set of tools you might have to buy or rent, like a tile wet saw, a notched trowel, and a grout float. More importantly, it demands a level of precision and patience that’s hard to appreciate until you’re halfway through the job.
The Reality of a DIY Backsplash Project
Without a lot of tiling experience, it's surprisingly easy to make small errors that can ruin the entire look of your beautiful new tile. We’ve seen it all before:
- Crooked Tile Lines: Even a slightly off-kilter first row can magnify across the wall, leaving you with a pattern that’s noticeably slanted.
- Poorly Spaced Grout Lines: Inconsistent spacing is one of the biggest giveaways of an amateur job. It creates a messy look that your eyes will be drawn to every time you walk into the kitchen.
- Improper Mortar Application: If you use too little thin-set, your tiles could eventually pop off. Too much, and you'll get a lumpy, uneven surface that's impossible to fix later.
- Failed Grouting and Sealing: This is a huge one. If your grout isn't mixed and applied perfectly, it can crack, stain, or—worst of all—let moisture seep behind the tiles, leading to a serious mold problem down the road.
What starts as a fun weekend project can quickly spiral into a frustrating and costly repair job. You could end up spending more to fix the mistakes than you would have paid a professional in the first place.
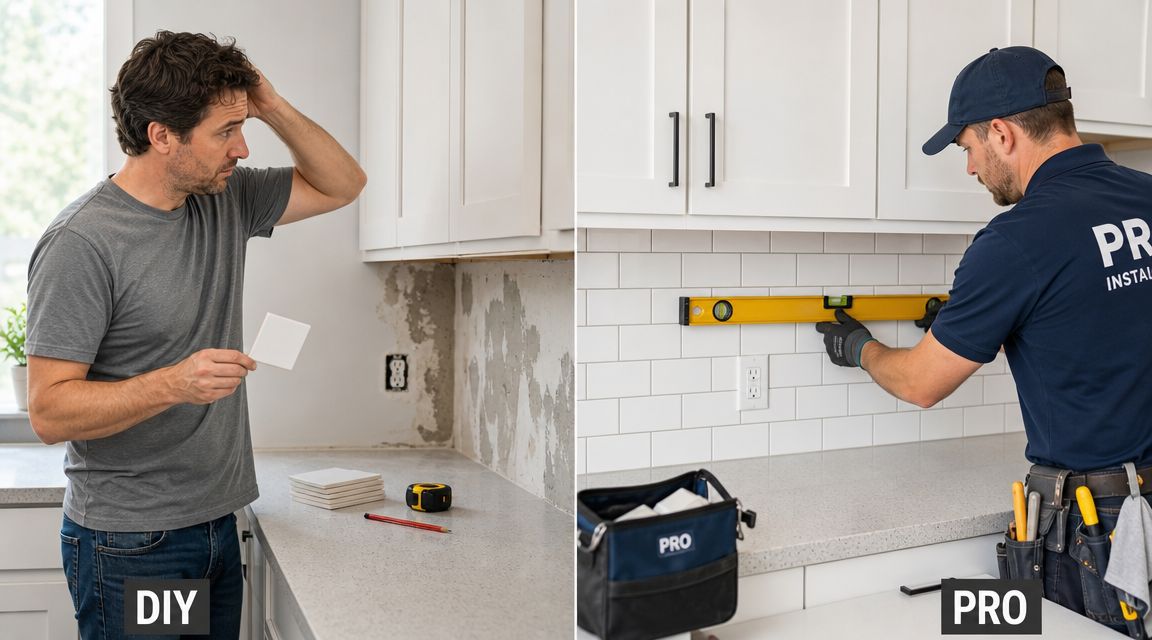
The Value of Professional Installation
Hiring an experienced installer is an investment in both a flawless finish and your own peace of mind. A pro brings years of hands-on experience, specialized equipment, and an expert eye for getting the layout just right. They handle every single detail, from prepping the wall correctly to making those tricky, perfect cuts around outlets and windows.
For many homeowners, the biggest benefit of hiring a pro is the guarantee. A reputable installer stands behind their work, ensuring that your beautiful new backsplash not only looks perfect but is also built to last for decades.
With a professional, you're paying for guaranteed quality, especially when working with delicate materials like glass or intricate patterns like herringbone. They know exactly how to handle different materials, ensure a rock-solid bond to the wall, and create those crisp, clean grout lines you see in design magazines. To get a better sense of what a professional brings to the table, check out our guide on expert backsplash tile services.
Ultimately, you’re not just paying for labor—you're buying a guaranteed, stress-free result that will elevate your home's value for years to come.
Frequently Asked Questions About Kitchen Backsplash Cost
Alright, as you start to nail down the specifics for your kitchen backsplash, you're bound to have some questions. It’s completely normal. Getting these details sorted out is what helps you move forward with real confidence. Let's dig into some of the most common things homeowners want to know about kitchen backsplash costs and the whole installation process.
How Much Time Does a Typical Backsplash Installation Take?
You might be surprised to learn how quickly a professional can get this done. For a standard-sized kitchen, a straightforward installation usually wraps up in just two to three days.
Here's how that time typically breaks down:
- Day 1: This is for prep. We'll carefully remove the old backsplash, check the condition of the wall behind it, and make any small drywall repairs needed for a perfect canvas.
- Day 2: The fun part begins! We'll start setting the new tile, making all the precise cuts for outlets and corners, and bringing your design to life.
- Day 3: It's all about the finishing touches. We’ll apply the grout, seal it to protect against stains, and do a thorough cleanup, leaving you with nothing but a beautiful new backsplash.
If you've chosen a more intricate pattern, like a herringbone or mosaic, or are using a delicate material, it's smart to plan for an extra day. Those details just take a little more time to get exactly right.
Can I Save Money by Tiling Over My Old Backsplash?
I know it sounds like a great time-saving shortcut, but tiling over an existing backsplash is almost always a bad idea. In fact, most reputable professionals will refuse to do it, and for very good reasons. New tile needs a perfectly flat, clean, and structurally sound surface to bond to for the long haul.
Tiling over old tile introduces a lot of problems. It adds significant weight and creates awkward bulk around cabinets and outlets. More importantly, you're gambling on the condition of the hidden wall and the integrity of the old installation. If the old tile fails, it will take your brand-new tile down with it. Starting with a properly prepared wall is the only way to guarantee a result that lasts.
What Is the Most Durable and Easy-to-Clean Backsplash Material?
When it comes to pure durability and low maintenance, porcelain tile is the clear winner. Porcelain is fired at incredibly high temperatures, which makes it extremely dense. This gives it fantastic resistance to scratches, stains, and moisture.
Because it’s non-porous, you never have to seal it or worry about cooking splatters soaking in. A quick wipe with your usual kitchen cleaner is all it takes to keep it looking pristine. For a busy kitchen, it’s the perfect, worry-free workhorse.
How Can I Get an Accurate Project Estimate in My Area?
The only way to get a truly reliable number is to have a local, trusted installer come out for an in-person look. An experienced professional can measure your space, help you weigh material options, and spot any potential issues—like the condition of your walls or any electrical quirks—that could affect the job. This gets you a detailed quote for both materials and labor, taking all the guesswork out of your budget.
Ready to see your kitchen transformed with a stunning new backsplash, but without the headache? The expert installers at Sunny Day Pro Services are here to help. We're known for our meticulous craftsmanship and transparent, upfront pricing for homeowners throughout the greater Boston area.

