
Mosaic Tile Installation How to Get a Flawless Finish
Master mosaic tile installation with pro planning, layout, bonding, grouting and sealing tips. Avoid pitfalls and get a flawless finish that lasts.
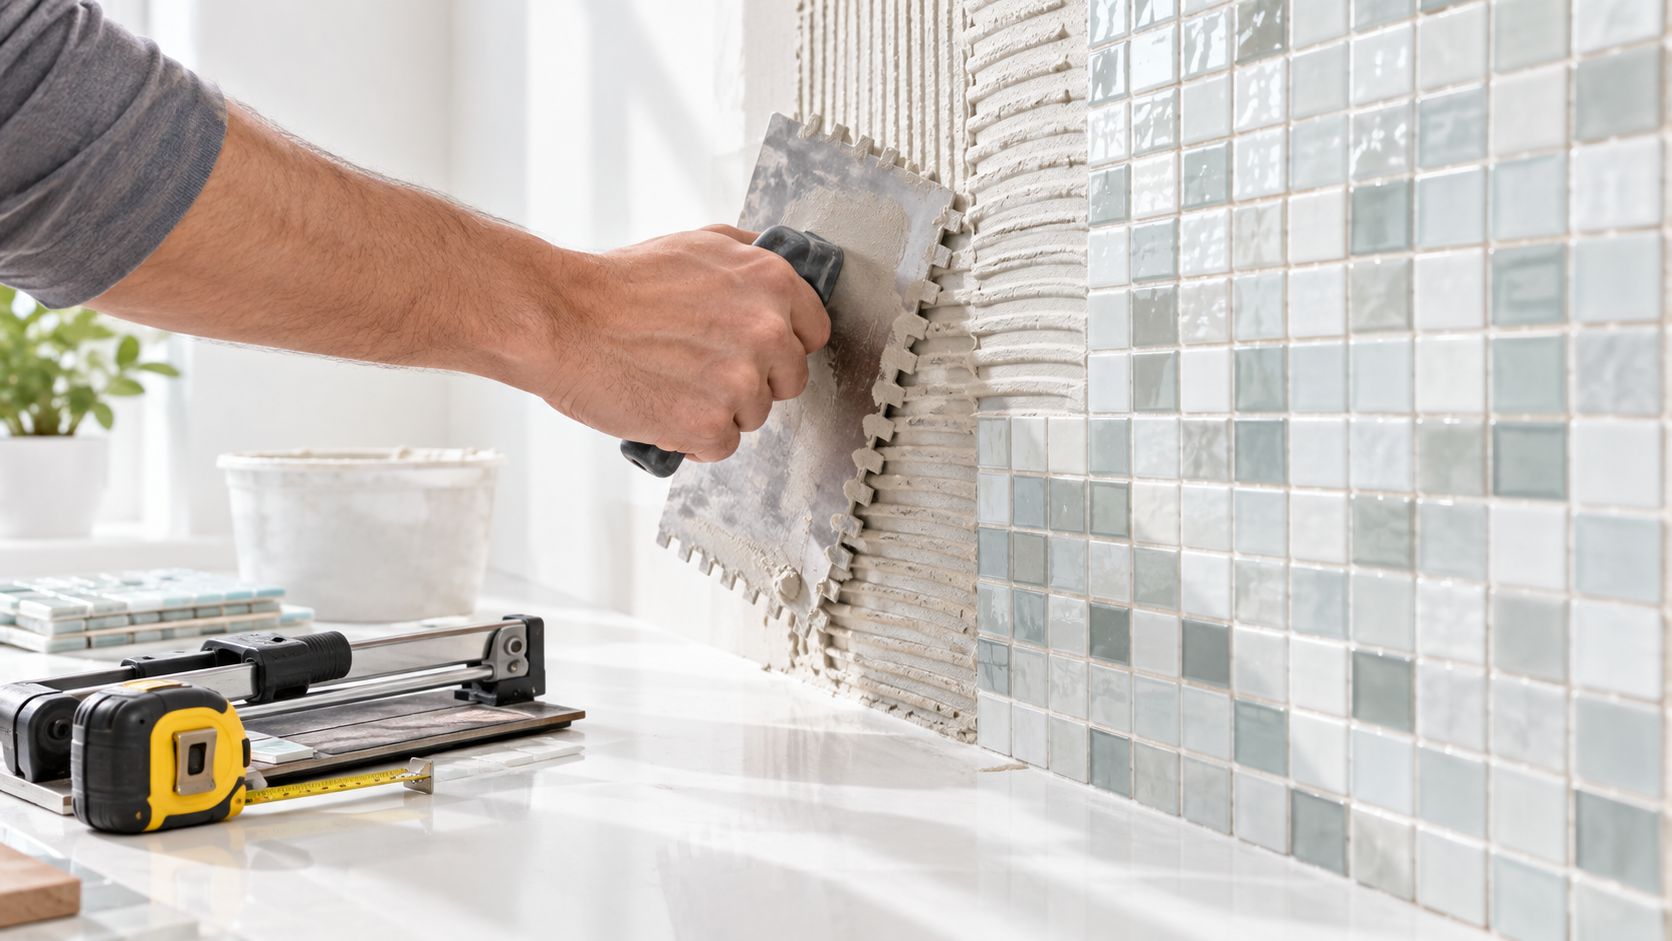
A dated backsplash can look like a small weekend project until the first mosaic sheet goes on crooked, the mortar squeezes through every joint, and the wall starts showing a visible grid. That's the point where many Massachusetts homeowners realize mosaics aren't just small tiles. They're a system of repeated pieces, mesh or paper backing, narrow grout joints, and a substrate that has to be flatter than it looks.
A successful mosaic tile installation feels continuous. You shouldn't be able to spot where one sheet ends and another begins, the grout should fill every joint without scratching the tile, and corners, outlets, niches, and edges should look intentional. Kitchens, bathroom walls, shower surrounds, and accent walls each bring different moisture and detailing concerns, so the right sequence matters.
Table of Contents
- Visible sheet lines
- Bulging pieces and lippage
- Cracked grout
- Mortar skin-over and debonding
- Scratched glass or stained stone
Introduction to Mosaic Tile Installation That Lasts
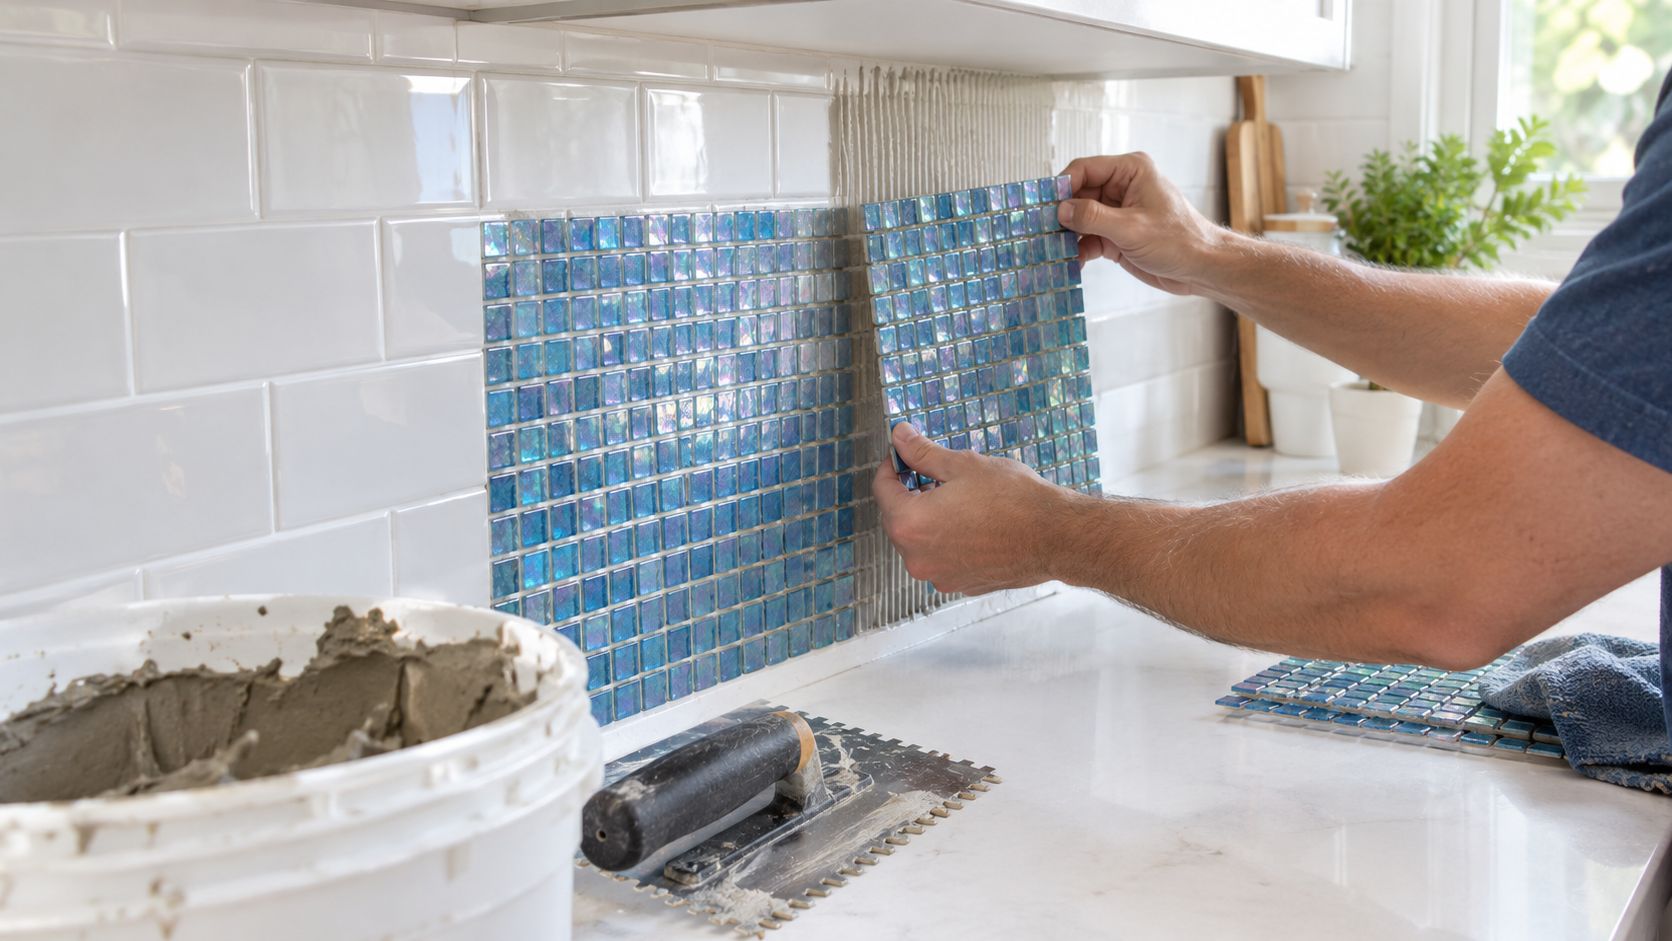
I've seen homeowners start with a beautiful glass or marble pattern, only to discover that a tiny variation in the wall becomes a row of uneven tiles. Large-format tile can sometimes bridge a minor imperfection. Mosaic sheets follow it. Every small piece can reflect a dip, bump, or inconsistent mortar ridge, and the repeated joints make defects easy to notice.
Mosaic work also has a long history. Early evidence reaches back more than 5,000 years, with examples in Mesopotamia around 3000 BCE. Greek makers later developed more precise geometric and figural designs, and Roman builders spread tesserae across floors and walls from Britain to Syria between the 1st century BCE and the 4th century CE. By the 5th century CE, Byzantine builders commonly used glass tesserae in more complex wall and ceiling installations, helping mosaics become a durable architectural system rather than a purely decorative craft. Traditional Building's history of mosaic design provides useful historical context.
Today, the work remains part of a substantial tile and renovation market. One industry report values the U.S. tile installers market at $16.8 billion in 2026 and counts 62,904 businesses, while its product analysis places the global mosaic tile market at $12.4 billion in 2025, with a projected $19.7 billion value by 2034. Those figures come from the mosaic tile market report, and they reflect how widely mosaics are used in kitchens, bathrooms, and decorative finishes.
Practical rule: A flawless result starts before thinset touches the wall. Measure carefully, flatten the substrate, dry-lay the sheets, and plan every visible edge.
Budget more time than you would for a simple backsplash, especially if the room has outlets, inside corners, a niche, or a pattern that must line up. A professional can also save the cost of replacement sheets and corrective work when the substrate is uneven, the shower waterproofing is questionable, or the material is expensive and difficult to cut.
Planning Measuring and Gathering Tools and Materials
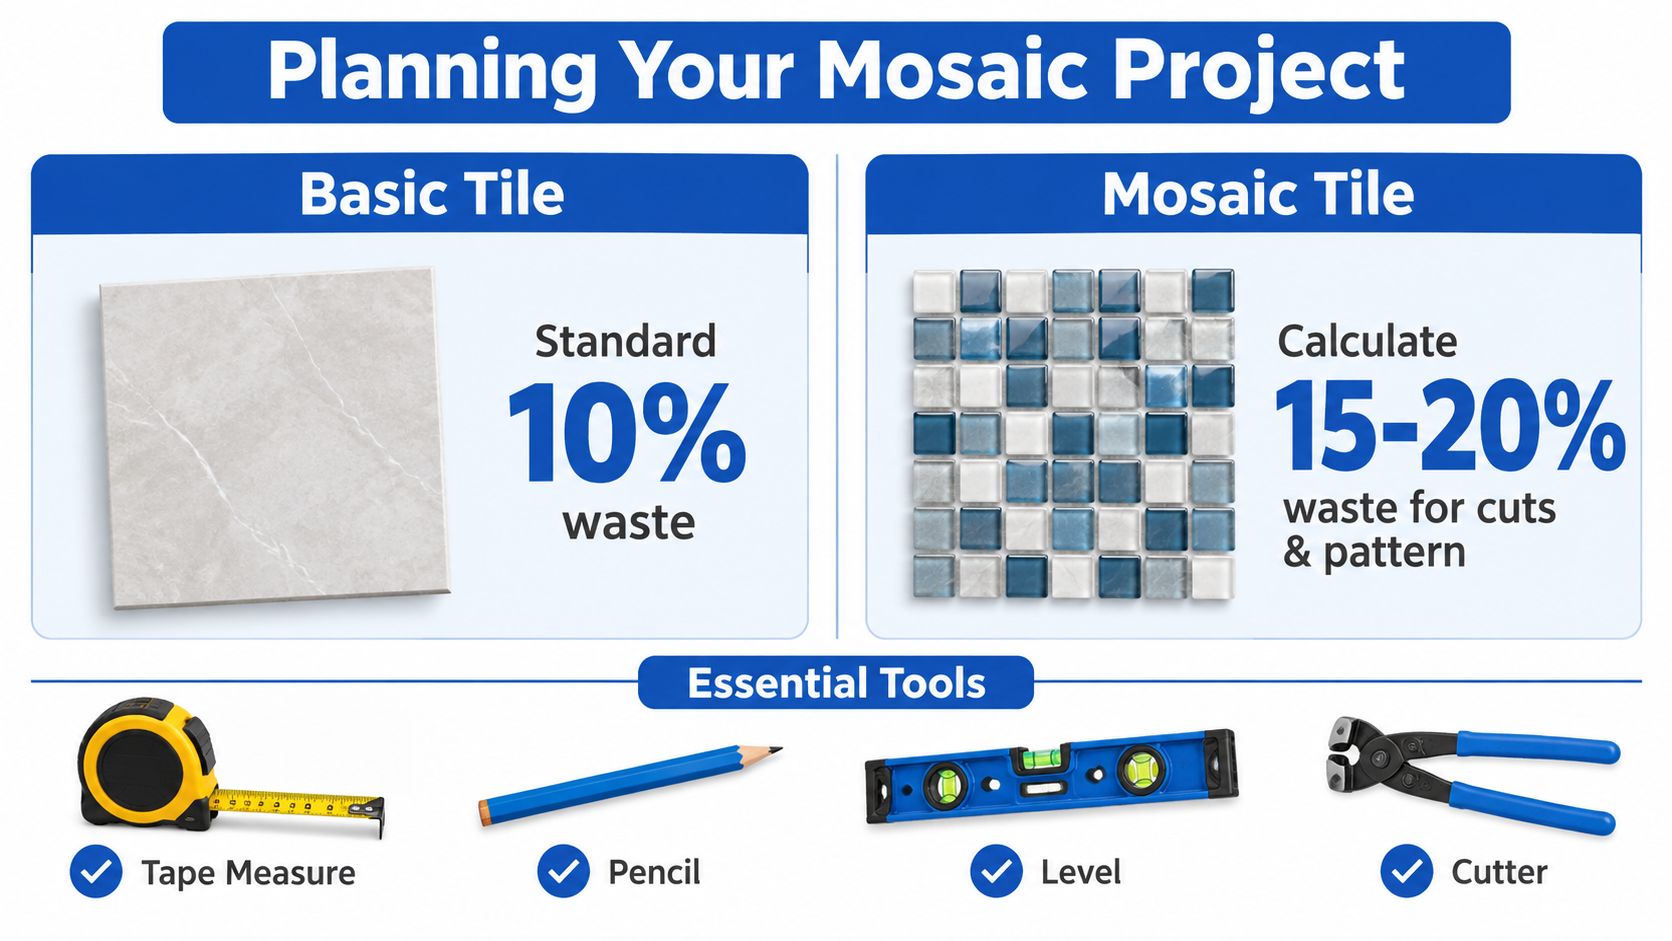
Begin with the surface, not the shopping cart. Measure the total width and height, subtract large openings, then calculate how many sheets cover the remaining area. Keep extra material for edge cuts, outlets, niches, pattern matching, and future repairs. Mosaic sheets often contain repeating patterns, so a cut from one sheet may not provide the same visual balance as a cut from another.
Open several boxes before installation and compare tone, veining, sheen, and pattern direction. This matters particularly with natural stone, where neighboring sheets can vary. For a backsplash, plan the most visible horizontal line first. In a shower, plan niches, plumbing penetrations, corners, and the transition to larger wall tile before ordering.
The infographic below summarizes the planning workflow and tool staging.
Build a material-specific shopping list
You'll usually need an approved mortar appropriate for the tile and substrate, a notched trowel, a flat trowel, a level, a straightedge, a utility knife, tile nippers, and a wet saw or glass-rated cutting blade when the material requires it. Add a grout float, mixing bucket, clean sponges, soft cloths, gloves, eye protection, and spacers or wedges for sheet joints.
For more detail on staging a tile project, use this tile installation tools checklist. It's easier to make one organized materials run than to stop halfway through a wall because the selected blade or grout isn't suitable for the tile.
| Option | Best For | Handling Notes | Grout Consideration |
|---|---|---|---|
| Sheeted mosaics | Backsplashes, shower walls, repeated patterns | Faster coverage, but sheet joints need blending and staggering | Match the built-in spacing and disguise boundaries |
| Loose mosaics | Borders, curves, detailed repairs, custom layouts | More control, slower placement, careful spacing required | Maintain a consistent joint by eye or with spacers |
| Glass mosaic | Backsplashes, shower accents, reflective walls | Use compatible mortar and a blade designed for glass | Narrow joints may call for unsanded grout; epoxy can offer a different performance trade-off |
| Natural stone mosaic | Floors, shower accents, traditional or textured designs | Protect the porous surface and blend sheets for color | Choose grout that won't scratch or stain the stone |
| Ceramic mosaic | Kitchens, baths, and decorative walls | Generally straightforward to cut and set | Select grout according to the actual joint width and finish |
For grout planning, remember that mosaic joints shouldn't be less than 1/16 inch, and the joint should follow the spacing already built into the sheet, as explained in this mosaic grout size guide. Very small pieces also consume more grout because they create more joint length. One installation guide gives example quantities of about 0.9 to 1.1 kg/m² for 50×50 mm mosaics and 1.5 to 2.0 kg/m² for 25×25 mm mosaics, at 2 mm by 3 mm joints. The grout quantity reference offers those examples.
Preparing Surfaces and Creating a Seamless Layout
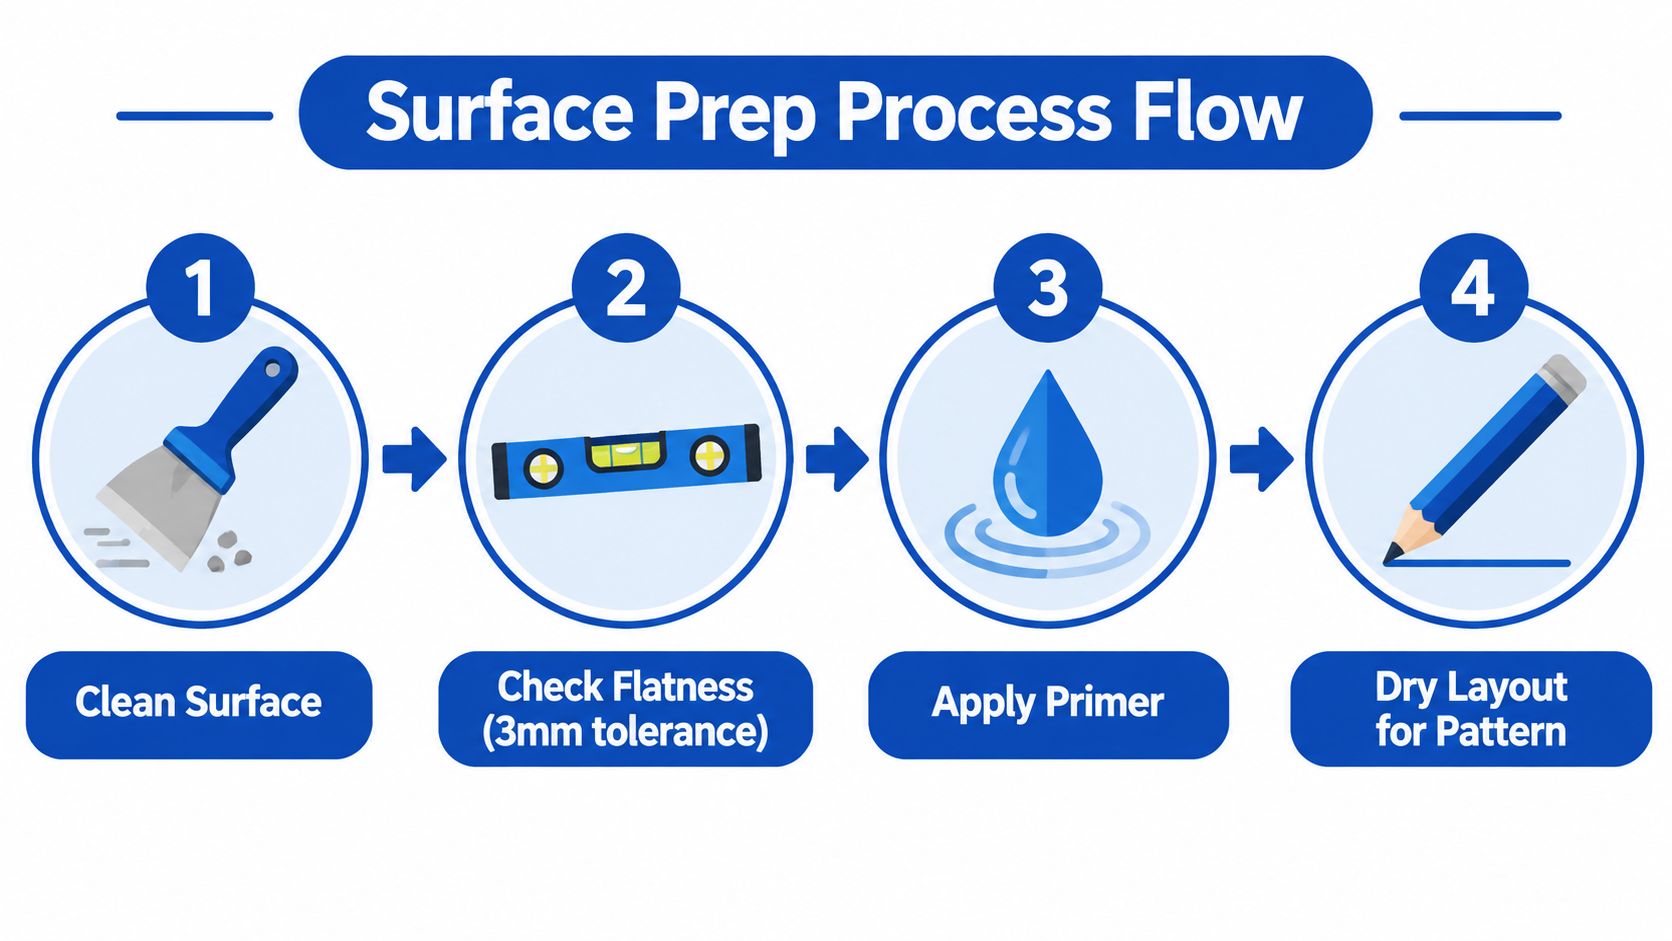
A mosaic can't hide a bad substrate. Remove dust, grease, loose paint, drywall compound, and anything that weakens the bond. The surface must be structurally sound, smooth, and flat. An AKDO installation guide cites TCNA guidance requiring flatness within 1/4 inch in 10 feet for tile and stone installations, as detailed in this stone mosaic installation guide.
In wet Massachusetts bathrooms, don't confuse tile with waterproofing. Tile and grout are finish materials, not a substitute for a properly prepared wet-area assembly. Address seams, corners, penetrations, and transitions according to the selected backer and waterproofing system. If the existing wall feels soft, swollen, or contaminated, stop and investigate instead of covering it.
The surface preparation sequence is easier to follow when you treat it as a separate inspection process.
Dry-lay before setting
Place sheets on the floor or hold them against the wall to see how joints, borders, and cuts will land. Don't let a prominent wall finish with a thin sliver at one end if shifting the layout can create balanced cuts. Mark a level horizontal line and a plumb vertical line from the most visible reference point, then work outward.
Mesh-backed sheets need special attention. If every sheet is installed edge to edge in the same orientation, the seams can form long vertical or horizontal lines. Rotate or stagger sheets where the pattern allows, and blend the loose pieces at the joint so the spacing continues naturally.
A sheet boundary is a layout problem first, not a grout problem. More grout won't make a repeated seam disappear.
Spread only the amount of mortar you can cover while it's fresh. Key mortar into the substrate with the flat side of the trowel, then comb it in one direction with the notched side. Flatten ridges that could telegraph through translucent glass, and avoid leaving excess mortar that will rise into narrow joints.
ANSI A108.5 requires at least 80% mortar coverage in interior dry areas and 95% coverage in exterior or interior wet areas, with no bare spots and at least 3/32 inch, or 2 mm, mortar thickness after full embedding. The ANSI coverage guidance also emphasizes support at corners and edges. Check coverage periodically by lifting a sheet before the mortar skins over.
For backer-board questions, this tile backer board installation guide can help you evaluate the wall assembly before setting mosaics.
Bonding Cutting and Grouting Mosaics Like a Pro
Mix mortar to the manufacturer's consistency and let it slake when the product requires it. Key a thin layer into the substrate, comb uniform ridges, and set the sheet while the mortar remains workable. Press with a grout float or beating block, using even pressure across the sheet rather than pushing individual pieces one at a time.
Lift an occasional sheet to inspect transfer. In a dry kitchen backsplash, the benchmark is 80% coverage. In a shower or another wet installation, target the required 95% coverage, including full support near edges and corners, as specified by ANSI A108.5 coverage guidance. If mortar skins over, scrape it away and apply fresh mortar. A sheet placed onto skinned mortar may look secure at first and later debond.
Make difficult cuts deliberately
For outlets and straight edges, cut the sheet when possible, then trim individual pieces for a cleaner fit. When the cut is complex, remove the backing mesh from the affected pieces and cut them separately. Glass needs a glass-rated blade, stone needs a blade intended for stone, and ceramic can often be handled with appropriate nippers or a wet saw.
Keep a small joint at changes of plane and around fixed obstructions according to the movement-joint requirements of the installation system. Don't fill a perimeter movement space with rigid grout just because the gap is visible. That shortcut often converts normal movement into cracked grout.
Select grout by material and joint
Joint width and surface sensitivity should drive the choice.
- Narrow joints: Unsanded grout is generally appropriate for narrow joints, and the Custom Building Products guide says the joint should be at least three times the tile's actual facial-dimension variance and never less than 1/16 inch. See the technical grout-joint guide.
- Polished glass and stone: Use a grout that won't scratch the face. Test a sample whenever the finish is delicate.
- Porous stone: Pre-seal natural stone with a compatible penetrating sealer before grouting, then remove grout residue promptly to reduce staining risk.
- Epoxy grout: Epoxy can provide strong stain and moisture resistance, but it's less forgiving to install and may require a longer cure strategy. Follow the product directions rather than treating it like cement grout.
Wait until the mortar has cured according to its manufacturer's instructions before grouting. Glass mosaic guidance often stresses longer cure consideration, particularly where moisture is present. The glass mosaic installation FAQs explain why grout choice, substrate condition, moisture, and cure timing must be considered together.
Work grout diagonally across the joints with firm pressure, then remove excess before it hardens on the tile face. Use a well-wrung sponge and clean water, changing the rinse water frequently. A soft cloth can remove the final haze after the surface firms up. Protect the installation from traffic, splashing, and heavy cleaning until the grout has cured.
Common Pitfalls and How to Fix Them
The most expensive mosaic mistakes usually become visible before the installation is complete. Stop when something looks wrong. Trying to disguise a structural or layout defect with extra grout rarely works.
Visible sheet lines
Cause: Sheets were installed in continuous rows, or the spacing at each sheet edge differs from the interior spacing.
Prevention: Dry-lay several sheets, stagger joints, and transfer individual pieces at the boundaries. Use only enough mortar to achieve coverage without forcing thinset through every joint. Installation guidance on decorative mosaic sheet placement specifically addresses staggered joints and avoiding continuous seams.
Fix: If the mortar is still workable, lift the sheet and reset the boundary. If it has cured, replacing the affected sheets is usually cleaner than filling a false seam with extra grout.
Bulging pieces and lippage
Cause: The substrate is uneven, the mesh has folded, or pressure was applied to individual pieces instead of the sheet as a whole.
Fix: Correct a loose sheet immediately with a flat block and even pressure. After cure, isolated high pieces may need removal and replacement. Don't grind finished glass or polished stone to solve a setting problem.
Cracked grout
Cause: Voids under the mosaic, movement at corners, moisture behind the assembly, or an unstable substrate.
Prevention: Verify mortar transfer, support edges and corners, and preserve movement joints. Regrouting won't solve movement or water-management failures.
Fix: Remove loose grout and inspect the bond. If tiles move, reset the affected area. If the substrate or waterproofing is compromised, repair that assembly before replacing the finish.
Mortar skin-over and debonding
Cause: Mortar remained exposed too long before the sheet was placed.
Fix: Scrape away skinned mortar and use fresh material. A tile that feels firm immediately may still have poor transfer underneath.
Scratched glass or stained stone
Cause: Abrasive grout on a delicate polished surface, or grout pigment left on unsealed porous stone.
Fix: Stop before the grout hardens, test cleaning methods in an inconspicuous area, and replace permanently damaged pieces when cleaning can't restore the finish. Material-specific grout and pre-sealing are cheaper than trying to correct staining afterward.
Final Results Care and When to Call a Professional
After the grout cures, remove residue with a manufacturer-approved cleaner and a soft tool. Avoid abrasive pads, harsh acids, and aggressive scrubbing that can dull glass, scratch polished stone, or weaken grout. Natural stone needs a compatible penetrating sealer, while dense glass and ceramic generally don't need face sealing. Grout care still matters, especially around sinks, showers, and cooking areas. This grout cleaning and sealing guide covers maintenance considerations.
Daily care is simple. Wipe backsplash splashes before they dry, ventilate bathrooms, and address cracked or missing grout instead of allowing water to reach the assembly. A small repair is easier when you still have matching tile and grout.
DIY makes sense for a small, dry backsplash with a flat wall, forgiving ceramic tile, and uncomplicated cuts. Hire a pro for shower work, waterproofing concerns, uneven walls, expensive glass or stone, complex niches, large floors, or a pattern where sheet lines will be highly visible. In Wayland, Newton, Needham, Wellesley, Weston, and nearby Massachusetts communities, confirm whether local permits or inspections apply to the broader wet-area renovation, and ask installers about substrate preparation, waterproofing, mortar coverage, cure timing, references, and written scope.
For search visibility, a service page can support Article schema, while a visible question-and-answer section can support FAQ schema. Schema should describe content users can read, not hidden claims.
Sunny Day Pro Services handles custom backsplash and tile installation work for kitchens, bathrooms, and other finished spaces, including porcelain, ceramic, marble, and granite applications. If your mosaic project needs careful substrate preparation, clean sheet transitions, precise cuts, or final tile cleanup, visit Sunny Day Pro Services to request an estimate and discuss the scope.

