
Porcelain Tile Floor Cleaning: A Complete Maintenance Guide
Master porcelain tile floor cleaning with expert techniques for daily care, deep cleaning, grout maintenance, and stain removal. Keep your floors pristine.
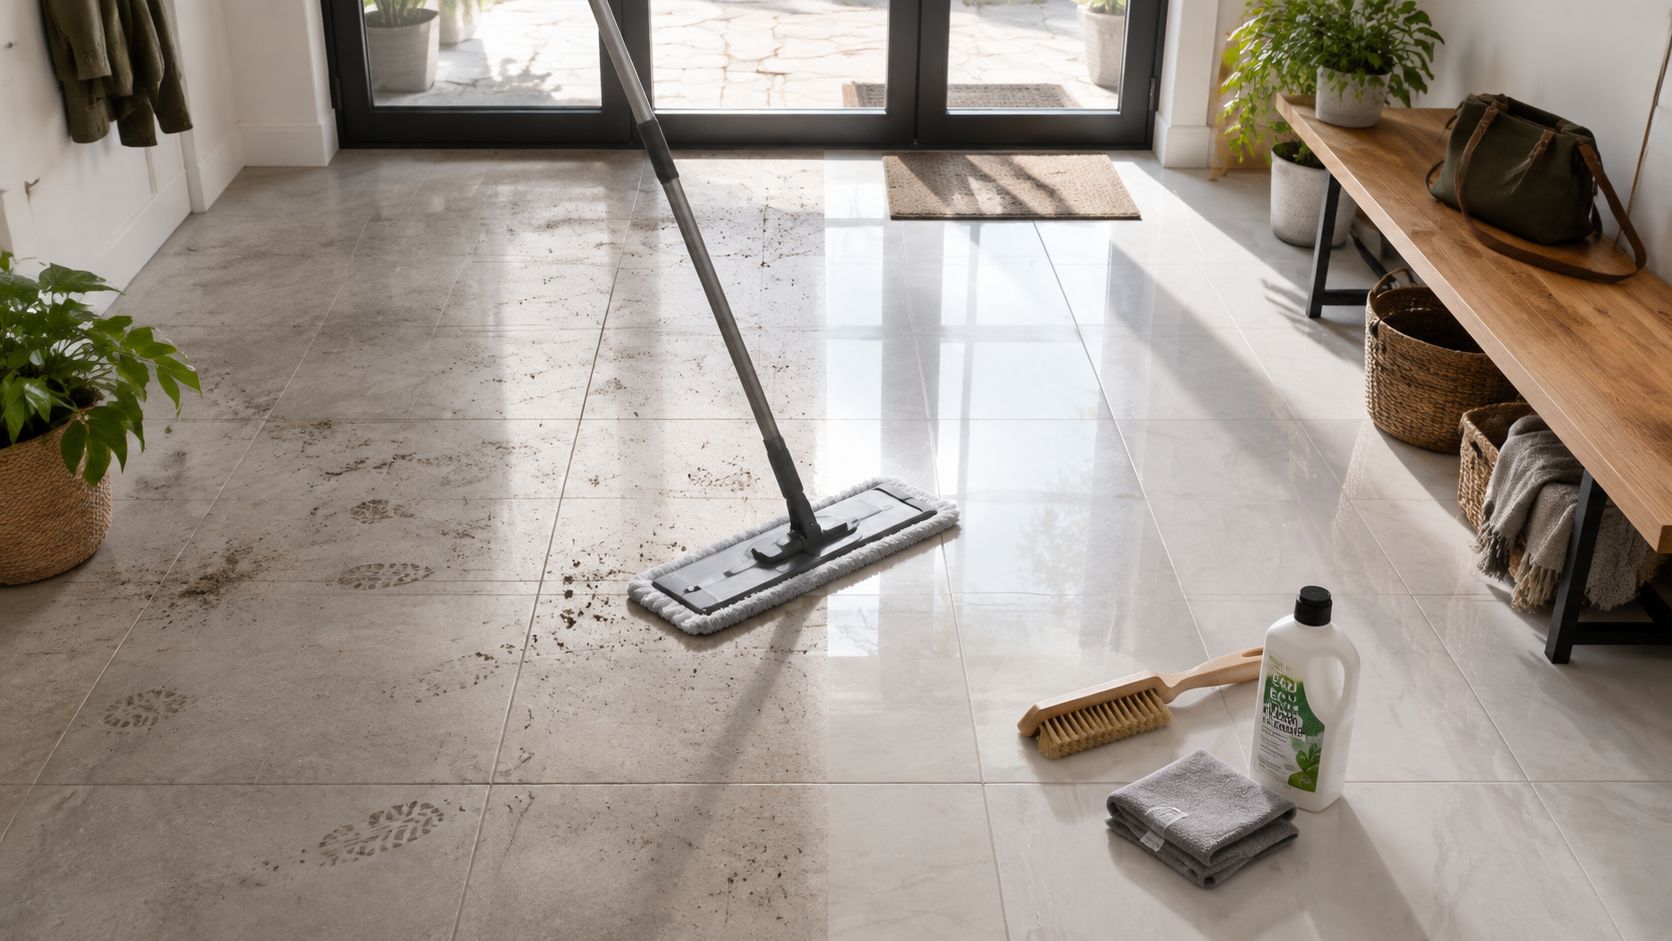
You mop the porcelain tile floor, admire the clean finish, and then notice the problem in the afternoon light. Streaks, footprints, and a dull film have appeared where the floor looked spotless an hour earlier. In most cases, the tile hasn't suddenly become dirty. The cleaning process left residue behind, or dirty rinse water dried back onto the surface.
Effective porcelain tile floor cleaning is less about stronger chemicals and more about controlling debris, cleaner concentration, moisture, and rinse water. The tile surface and the grout lines also need different care. Porcelain is dense and resistant to moisture, while cementitious grout can absorb liquids, discolor, and deteriorate when exposed to unsuitable products. Treating both materials the same way is one of the main reasons DIY cleaning produces disappointing results.
Table of Contents
Understanding Porcelain Tile and Why It Matters
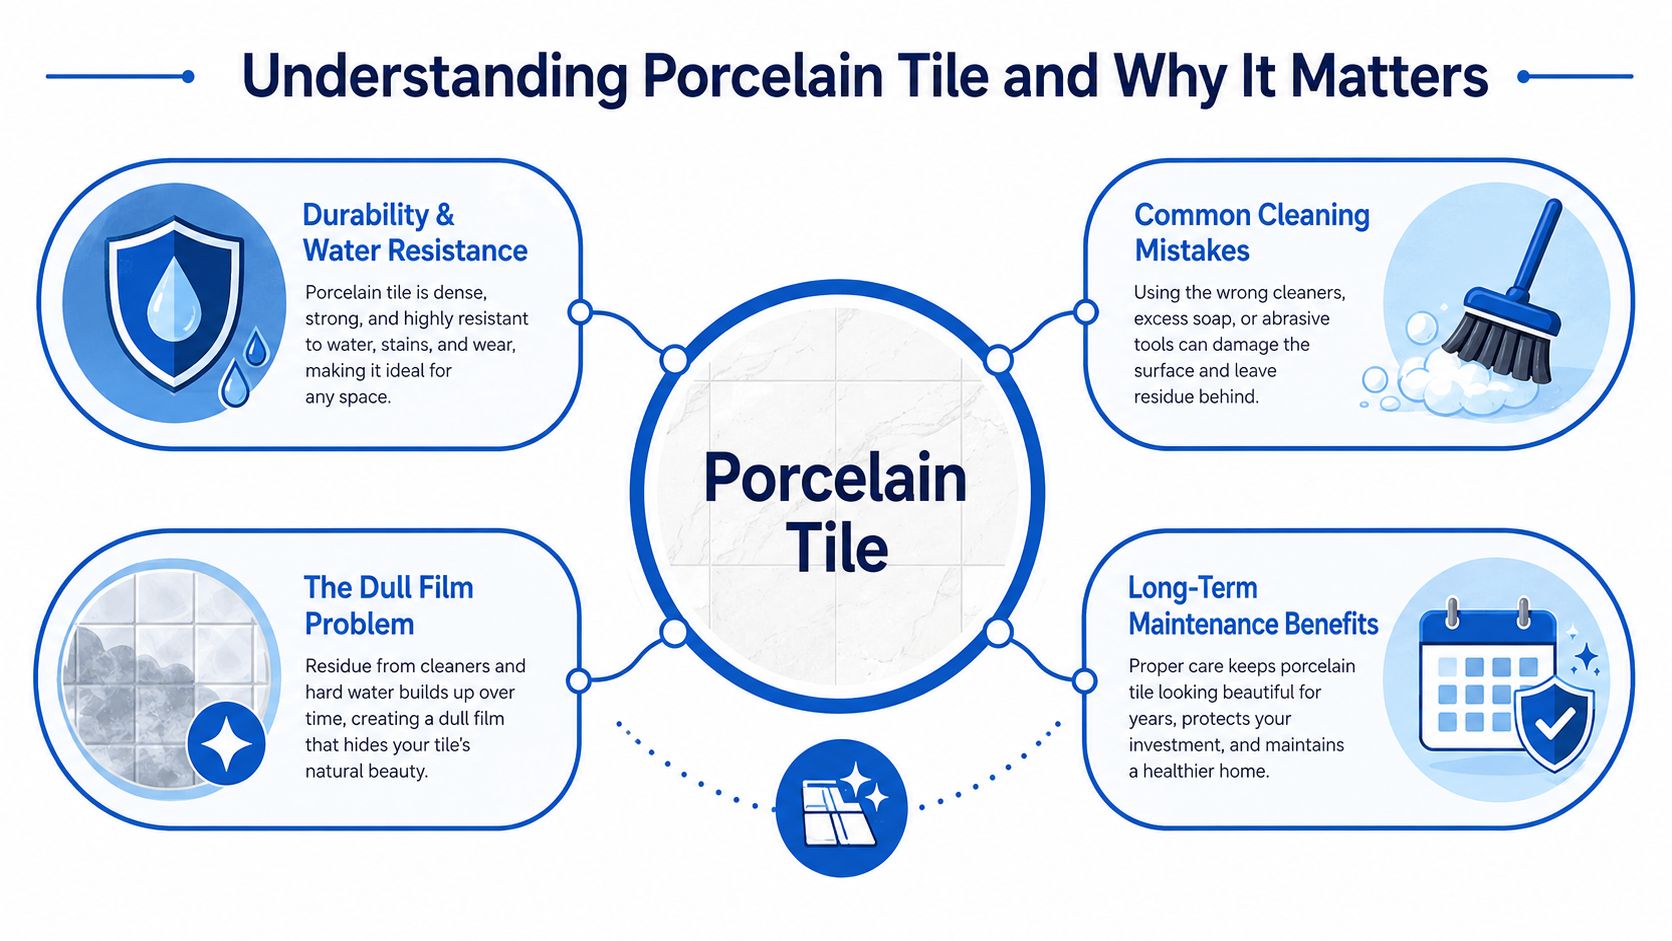
The tile can look clean after mopping, yet show a cloudy film once afternoon light hits it. That appearance usually comes from cleaner residue, minerals, oily soil, or rinse water drying on the surface. Porcelain is dense, but it is not resistant to visible buildup.
Porcelain tile has very low water absorption, below 0.5%, so routine care generally relies on dry-soil removal followed by controlled damp mopping with water or a pH-neutral cleaner. Tile-cleaning guidance from Magic Touch Carpet and Tiles links the material's low absorption with this maintenance approach.
The tile and the grout require separate decisions. Porcelain usually does not need sealing, especially when glazed, and it tolerates moisture better than cementitious grout. Grout can absorb liquids, discolor, and weaken when exposed to unsuitable products. A cleaner safe for the tile can still be too harsh for the joints, so keep strong chemistry away from grout unless the product label specifically allows it.
Why residue appears after mopping
Three cleaning faults create most streaks:
- Too much product: Extra detergent leaves more material to rinse from the floor.
- Dirty mop water: A loaded mop redistributes suspended soil instead of collecting it.
- No drying step: Water evaporates while dissolved residue remains.
Polished porcelain exposes haze because reflected light catches every line. Matte and textured finishes hide some marks, but their surface profile can hold soil and require thorough rinsing with suitable agitation.
Decades of technical development have improved porcelain tile. The field's progress is documented in Porcelain tile: Almost 30 years of steady scientific-technological progress. Modern products generally respond better to controlled, low-residue cleaning than to aggressive scrubbing or caustic chemistry.
Practical rule: Treat porcelain gently, then control detergent, rinse water, and drying. The tile may withstand moisture, while the grout and leftover film do not.
Installation also affects cleaning. Review this guide to porcelain tile installation for details on grout selection and post-installation cleanup, both of which influence long-term maintenance.
Daily Maintenance Routine That Works
A clean floor can look dull by the end of the day if grit is tracked across it. Entryway soil acts as an abrasive under shoes and mop heads, with polished porcelain showing the marks most clearly. Remove that dry soil before adding water.
Remove dry soil first
Use a soft-bristle broom, dust mop, or vacuum set for hard floors. A rotating brush made for carpet may be too aggressive on a polished finish. Select the hard-floor setting, or disable the brush roll when the vacuum allows it.
Give entryways and high-traffic paths more frequent attention than quiet rooms. Blot food, oil, and colored liquids as soon as practical. Dried material takes more agitation to remove and can spread into grout joints during mopping.
Damp mop with control
Use a clean microfiber mop with warm water and a pH-neutral tile cleaner mixed according to the label. Extra cleaner does not improve the result. It leaves more residue to rinse away and can create the dull film that many DIY cleaning attempts leave behind.
Keep the mop damp, not dripping. Excess water carries loosened soil into grout and makes it harder to control streaks. Porcelain tolerates moisture well, but grout can hold dirty solution and release it again as the floor dries.
Work in manageable areas. Remove loose debris first, mop with the diluted neutral cleaner, rinse with clean water, and recover the remaining water with a wet vacuum or clean dry towels. This sequence is recommended in Porcelain Tile Care and Maintenance.

Rinse and dry instead of chasing shine
A tacky feel usually points to excess cleaner or a mop that is redistributing soil. Rinse with clean water and a separate microfiber head. Dry areas that retain water marks, particularly on polished surfaces where reflected light reveals every streak.
Skip waxes, gloss enhancers, and oil-based products. They do not restore porcelain. They leave a surface film that attracts dust and may make the floor feel slippery. Keep the tile clean, the grout from absorbing dirty water, and the surface dry.
Deep Cleaning Process for Stubborn Dirt and Grime
Routine mopping won't remove every accumulated film. When grout lines darken, textured porcelain feels gritty, or traffic lanes remain dull after regular cleaning, use a controlled deep-cleaning process instead of increasing the strength of a household cleaner.
Prepare the floor and test the chemistry
Start by sweeping or vacuuming thoroughly. Remove furniture where possible, and test the selected cleaner in an inconspicuous area. Look for changes in gloss, color, or surface feel after the product has been scrubbed and rinsed.
Apply the cleaner in manageable sections. Don't cover the entire room and allow the solution to dry before you can recover it. Product instructions determine dilution, but the working principle is consistent: give the cleaner time to loosen soil, then agitate and extract it before it dries.
For stuck-on residue, expert maintenance guidance notes a 10 to 15 minute dwell time before scrubbing. GT Tile's porcelain tile care and maintenance guide includes this approach for stubborn material.
Agitate, recover, and rinse
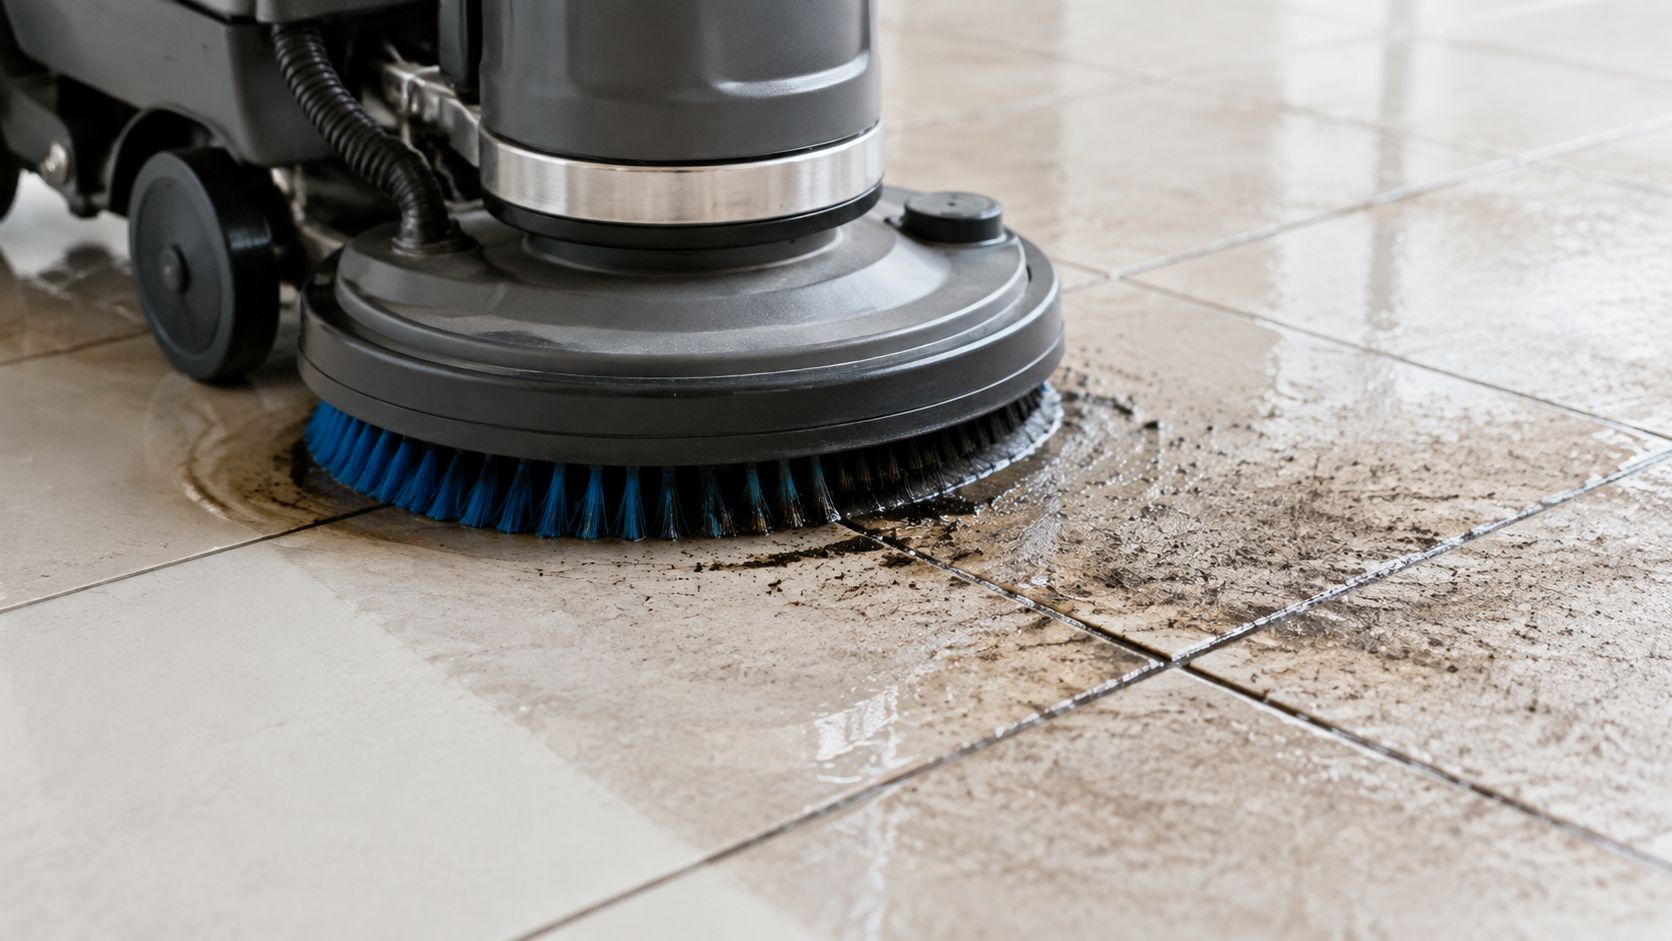
Use a soft or medium brush for grout and a non-abrasive pad or suitable rotary brush for the tile. A mechanical scrubber can make sense over a broad commercial area or a heavily soiled residential floor, but pressure and brush selection still matter. The objective is to lift soil, not grind against the finish.
Recover the slurry with a wet vacuum, then rinse with clean water. A second rinse may be needed when the cleaner was concentrated or the soil load was heavy. Dry towels can work in smaller rooms, but they must be changed as they become damp and dirty.
The most common deep-cleaning failure is incomplete rinsing. Loosened soil and detergent can dry back onto the tile, leaving the same dull film the cleaning was supposed to remove.
High-traffic lanes may need a second pass because embedded soil often releases gradually. Keep each section small enough that you can scrub and recover it while the solution remains workable.
Grout Care and Stain Removal Strategies
Porcelain tile and grout may share an installation, but they don't behave the same way. The tile has very low water absorption, while cementitious grout is more vulnerable to moisture, acids, strong alkalines, discoloration, and mechanical wear. A product that appears harmless on porcelain can still change the appearance or condition of the joint.
Use grout-safe chemistry
Technical flooring guidance warns against acid-, ammonia-, bleach-, and vinegar-based cleaners for regular maintenance because they can alter grout color or damage grout and surfaces. Manufacturer guidance on tile and grout care recommends neutral-pH hard-surface cleaning for periodic grout care and reserves professional-strength tile-and-grout products for situations that need deeper treatment.
Use a soft or medium grout brush and work along the joint rather than scrubbing broadly across the tile. Apply enough solution to loosen soil, but don't flood the installation. Extract or wipe away the dirty liquid, then rinse with clean water and dry the area.
Separate haze from embedded staining
Grout haze often appears as a pale film on the tile surface after installation or repair. General household mopping may spread it without removing it. Construction residue can require a product specifically intended for cementitious residue, and the product must be compatible with the tile, grout, and installation. Professional assessment is sensible when the haze is widespread or the grout is still curing.
For everyday darkening, neutral cleaner and controlled brushing are safer starting points. If the grout remains discolored after rinsing and drying, don't keep escalating randomly. Stronger chemistry can worsen color variation or weaken the joint.
Sealing requires a grout decision
Porcelain itself generally doesn't need sealing because of its low absorption. Grout is a separate question. Whether sealing is appropriate depends on the grout type, its condition, and the installation manufacturer's guidance. A professional can test an existing sealer and identify whether the problem is worn protection, embedded soil, or residue on the tile.
The distinction is covered in more detail in this guide to grout cleaning and sealing. The key is to clean and rinse thoroughly before applying any sealer. Sealing over dirt traps the appearance you're trying to remove.
Safe Cleaning Products and Tools to Use
A short shopping list beats a cabinet full of specialty bottles. For routine maintenance, choose a clear pH-neutral cleaner labeled for tile or hard surfaces, a microfiber mop, clean water, soft towels, and a soft-bristle brush for grout. Industry care guidance recommends a clear pH-neutral cleaner for everyday cleaning because it supports the finish materials and the installation over time. Laticrete's tile and stone care guidance makes that relationship explicit.
Compare the main choices
| Product Type | Safe for Porcelain | Safe for Grout | Best Use Case |
|---|---|---|---|
| pH-neutral tile cleaner | Yes, when used as directed | Generally the safest routine choice | Regular damp mopping |
| Warm water | Yes | Yes, when used with controlled moisture | Light soil and final rinsing |
| Mild soap solution | May be suitable when thoroughly rinsed | Use cautiously and avoid buildup | Light household soil |
| Acidic cleaner | Guidance varies by finish, avoid for routine use | Risky and may alter color | Specialized residue treatment only |
| Ammonia or bleach product | Not a routine choice | Can damage or discolor grout and surfaces | Avoid unless specifically approved |
| Wax or oil-based product | Can leave a dull, slippery film | Not appropriate for routine grout care | Avoid |
Microfiber works because it lifts fine soil without requiring abrasive pressure. Soft bristles are suitable for grout lines and textured surfaces. Steel wool, abrasive powders, and aggressive pads can scratch or dull finishes, especially when grit is caught beneath the tool.
For households trying to limit harsh ingredients, warm water and a properly diluted neutral cleaner are usually the simplest lower-residue option. If you want product-selection ideas for a broader home-cleaning routine, see low-VOC cleaning products. Sunny Day Pro Services also offers recurring cleaning, deep cleaning, move-in and move-out cleaning, and tile-related services in Massachusetts communities including Wayland, Newton, Needham, Wellesley, Weston, and nearby areas.
Common Mistakes That Damage Porcelain Floors
The most persistent mistake is assuming that a stronger cleaner produces a cleaner floor. Porcelain rarely needs aggressive chemistry for routine soil, and grout is less forgiving than the tile. Excess product, incomplete rinsing, and abrasive tools create the visible problems homeowners often try to solve with even more product.
Vinegar isn't a universal tile cleaner
Online advice about vinegar is inconsistent. Some guidance recommends vinegar-water for polished or glazed porcelain, while other guidance recommends neutral-pH or mild soap only and warns against acids or ammonia around grout and glazed surfaces. Porcelain care guidance showing this disagreement is a useful reminder that the tile finish and grout installation both matter.
For regular maintenance, neutral chemistry is the safer default. Vinegar may appear to clean the tile while gradually affecting grout color or a vulnerable finish, and repeated acidic cleaning makes it harder to identify the source of discoloration later.
Steam and all-purpose products need caution
Steam can loosen soil, but heat and moisture can reach grout joints, edges, or areas where the installation isn't fully protected. Use it only if the tile and grout manufacturer permits it, and don't treat steam as a substitute for removing dirty water.
All-purpose cleaners often contain ingredients that leave fragrance, surfactant, or oily residue. That film catches dust and creates footprints, particularly on reflective floors. Waxes and gloss products create a similar maintenance problem by placing a coating over the tile instead of removing soil.
Avoid these common errors:
- Skipping dry removal: Mopping over grit spreads abrasive soil.
- Using steel wool: Metal fibers and trapped particles can mark finishes.
- Over-wetting the floor: Excess water carries soil into grout and slows drying.
- Failing to rinse: Cleaner residue dries into haze and attracts new soil.
- Scrubbing without extraction: Loosened grime redeposits when dirty solution remains on the floor.
Maintenance Schedule and When to Call Professionals
A workable schedule should match the way the home is used. Remove dry debris from entryways and busy walking paths frequently, spot-clean spills promptly, and damp mop with a neutral cleaner whenever the floor begins to show soil rather than waiting for a heavy film to form. Check grout lines during routine cleaning so small discoloration doesn't become a neglected strip of embedded dirt.
Use a deeper process when ordinary mopping no longer changes the appearance, textured surfaces feel dirty, grout remains dark after rinsing, or residue continues returning. Professional help is also appropriate for construction haze, extensive film, deteriorating grout, or a home that needs reliable preparation for a sale or move.
Ask a cleaning provider what chemistry they use, how they protect grout, whether they extract dirty water, and how they test a finish before treating the full floor. A careful service should explain the difference between tile cleaning and grout cleaning rather than promising that one strong product will solve both.
Sunny Day Pro Services provides recurring house cleaning, deep cleaning, move-in and move-out service, post-construction cleanup, and tile and flooring installation for homeowners across Wayland, Newton, Needham, Wellesley, Weston, and surrounding Massachusetts communities. Visit Sunny Day Pro Services to request a quote and schedule porcelain tile or grout care that removes residue without trading short-term shine for long-term damage.

