
Professional Deep Cleaning Checklist: 8 Rooms in 2026
Use this professional deep cleaning checklist room by room, from kitchen degreasing to window tracks, with products, timing, and a printable format for homes.
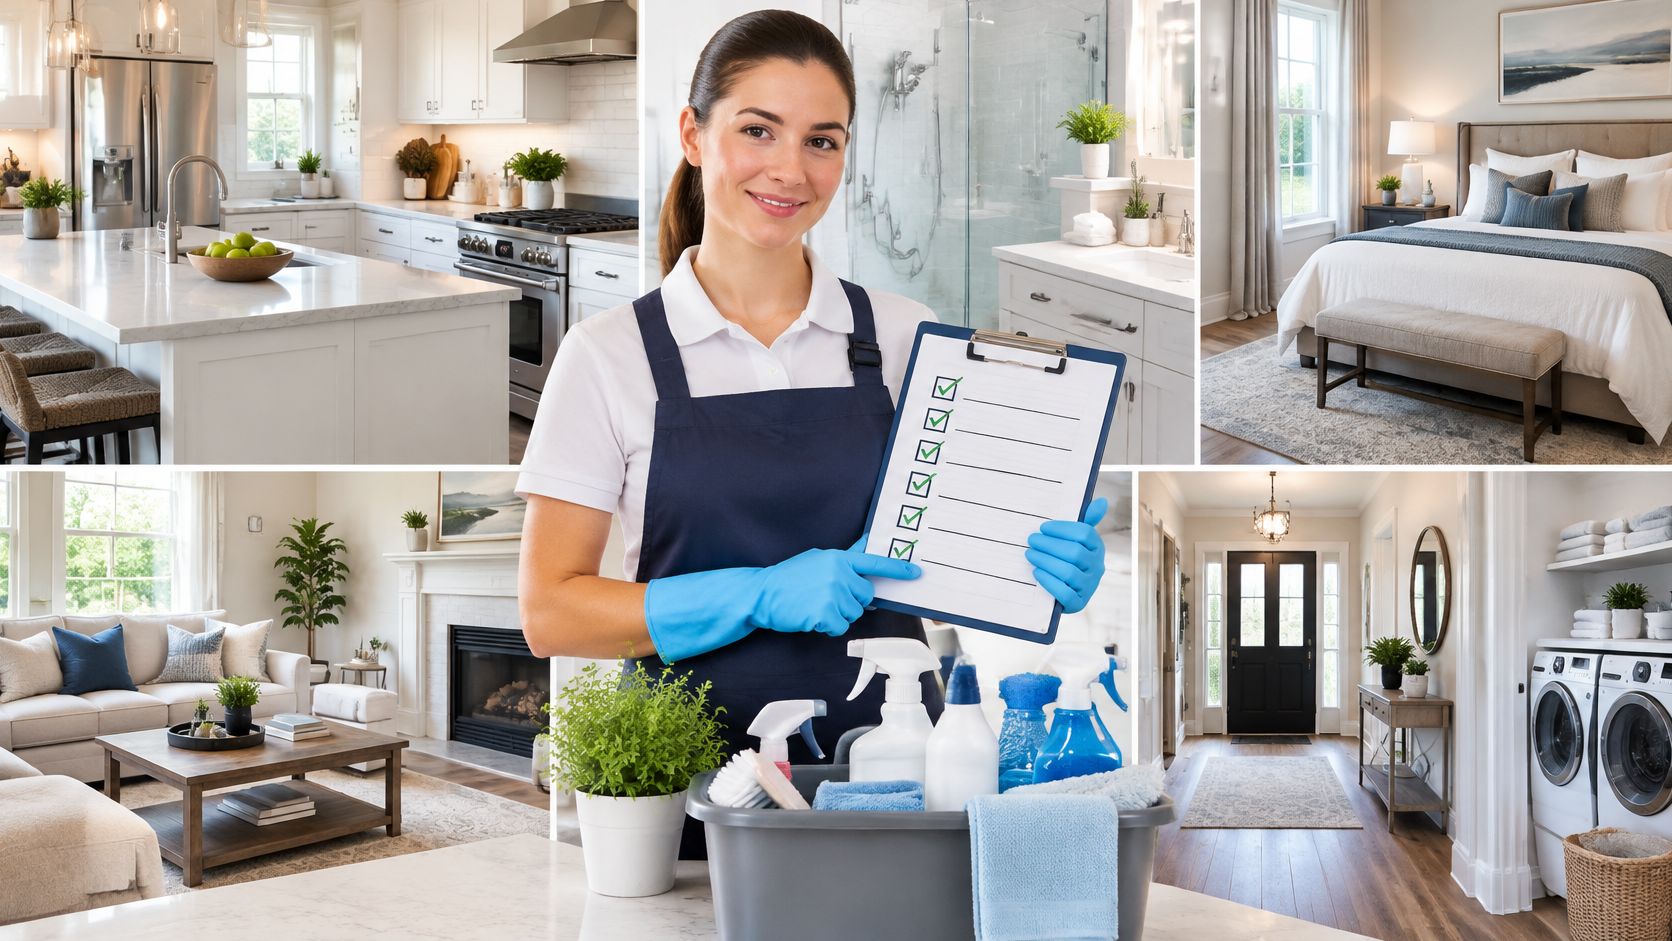
Your counters are clear, the beds are made, and the floors look presentable. Then you open the range hood filter, look into a window track, or move the sofa cushions. The grease, grit, and dust you find are why a quick sweep doesn't replace a professional deep cleaning checklist.
A thorough clean moves room by room, from high surfaces down to the floor. It includes the cabinet interiors, appliance edges, grout lines, and furniture crevices that routine cleaning often leaves behind. Just as important, it separates removable dirt from damaged finishes, worn caulk, and moisture problems that cleaning alone won't fix.
For busy homeowners in Wayland, Newton, Needham, Wellesley, and Weston, the best plan is one you can check. Print these lists, mark anything that doesn't apply, and flag delicate materials before work starts. Each room includes the sequence, tools, timing considerations, and risks that matter for occupied homes, rental turnovers, and pre-sale preparation.
Most of our clients book a deep clean once or twice a year, often in spring and fall. Our fully trained team follows the same top-to-bottom logic, with attention to the home's surfaces and priorities.
Before starting, gather microfiber cloths, a vacuum with detail attachments, non-scratch brushes, gloves, and surface-compatible cleaners. Clear clutter first so cleaning time goes toward removing buildup rather than relocating belongings.
Table of Contents
1. Kitchen Deep-Cleaning Checklist for Degreasing, Appliances, and Cabinet Interiors
A shiny countertop doesn't tell you whether a kitchen is clean. Open the cabinets, inspect the hood filter, and check the refrigerator gasket before deciding what needs attention.
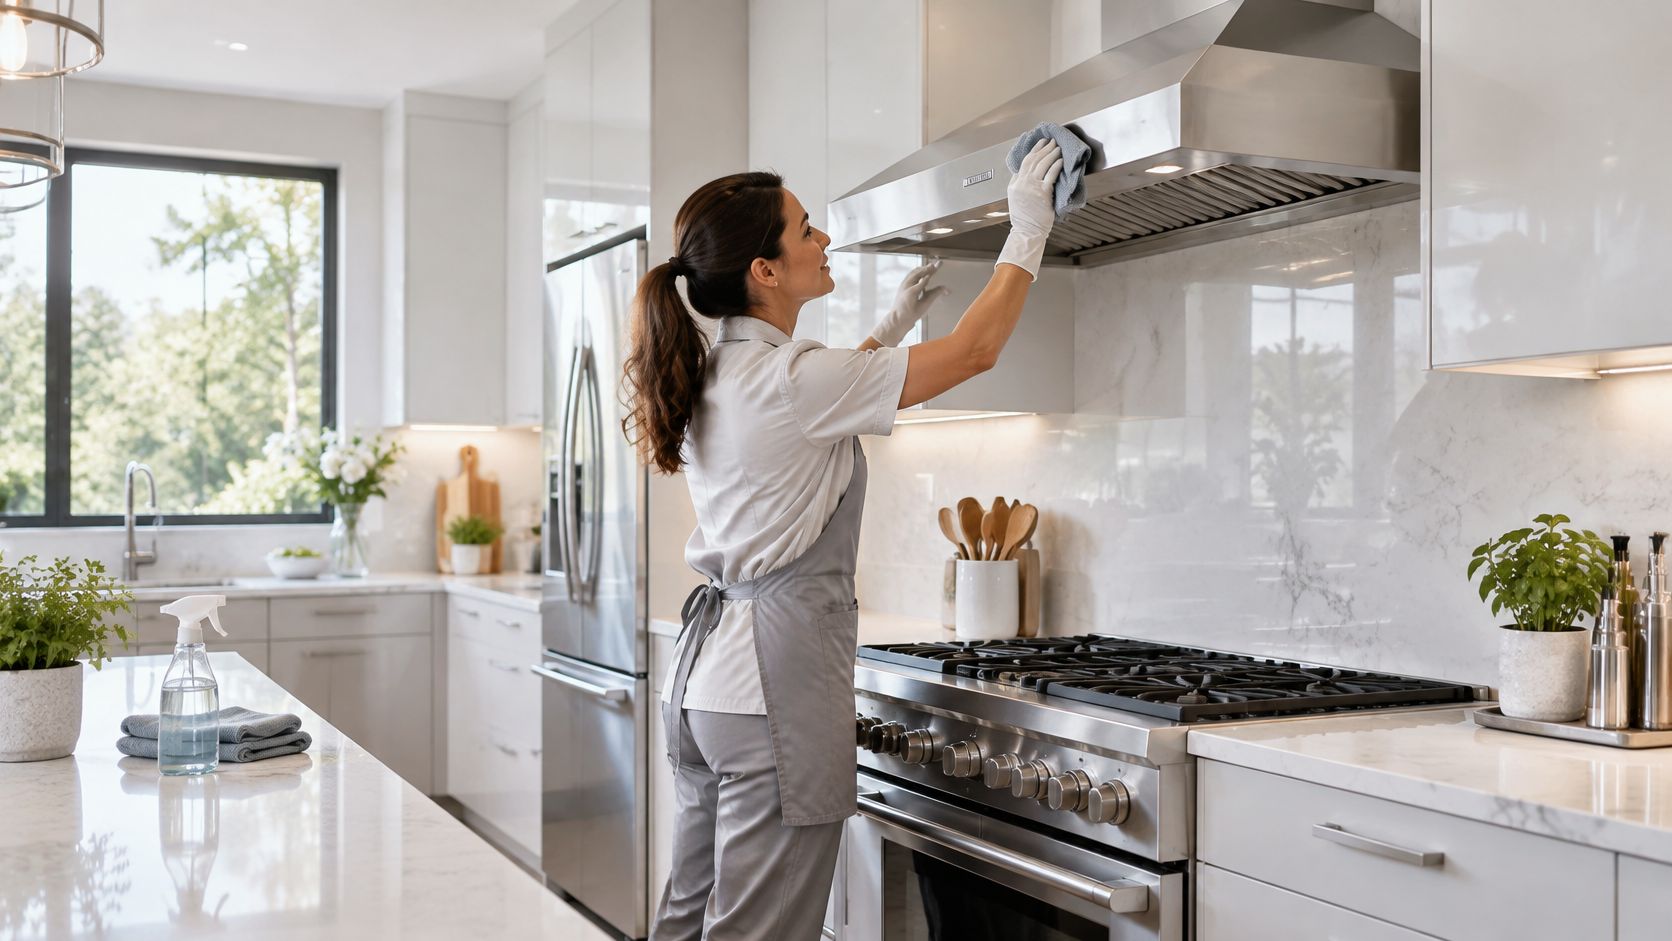
Work from Cabinet Tops to Floor Edges
- High surfaces: Remove loose dust from cabinet tops, light fixtures, and accessible ledges before applying wet cleaner.
- Hood and backsplash: Apply a finish-compatible degreaser, allow the labeled dwell time, and loosen residue with a non-scratch pad. Wash removable filters according to the appliance instructions.
- Cabinet interiors: Empty shelves, vacuum crumbs from corners, wipe surfaces, and let them dry before replacing food and dishes.
- Appliances: Clean the oven, microwave, refrigerator shelves and gaskets, and dishwasher filter. Keep cleaner away from electrical components.
- Sink and counters: Remove deposits with a material-compatible product. Use a pH-neutral stone cleaner, not vinegar, on natural stone.
- Low surfaces: Finish with toe-kicks, baseboards, accessible appliance gaps, and the floor.
Timing matters: Empty the refrigerator and cabinets before the appointment. Don't run an oven's self-clean cycle immediately before someone needs to work inside it; follow the appliance instructions and allow complete cooling.
OSHA's cleaning-chemical guidance identifies poor ventilation, chemical mixing, and spray application as exposure concerns. Keep product labels and Safety Data Sheets available, ventilate the work area, and avoid spraying cleaner into the air.
For a Newton home going on the market, prioritize hood grease, cabinet interiors, and appliance seals rather than polishing already-clean counters repeatedly. Our kitchen deep-cleaning guide provides more detail on those easily missed surfaces.
2. Bathroom Deep-Cleaning Checklist for Grout, Fixtures, and Ventilation
Returning discoloration around a shower isn't always a scrubbing problem. Inspect the exhaust fan, caulk, grout, and nearby wall surfaces before treating every dark mark as removable dirt.
A bathroom needs both buildup removal and moisture control. Aggressive scrubbing won't repair cracked grout, and fragrance won't correct a damp cabinet.
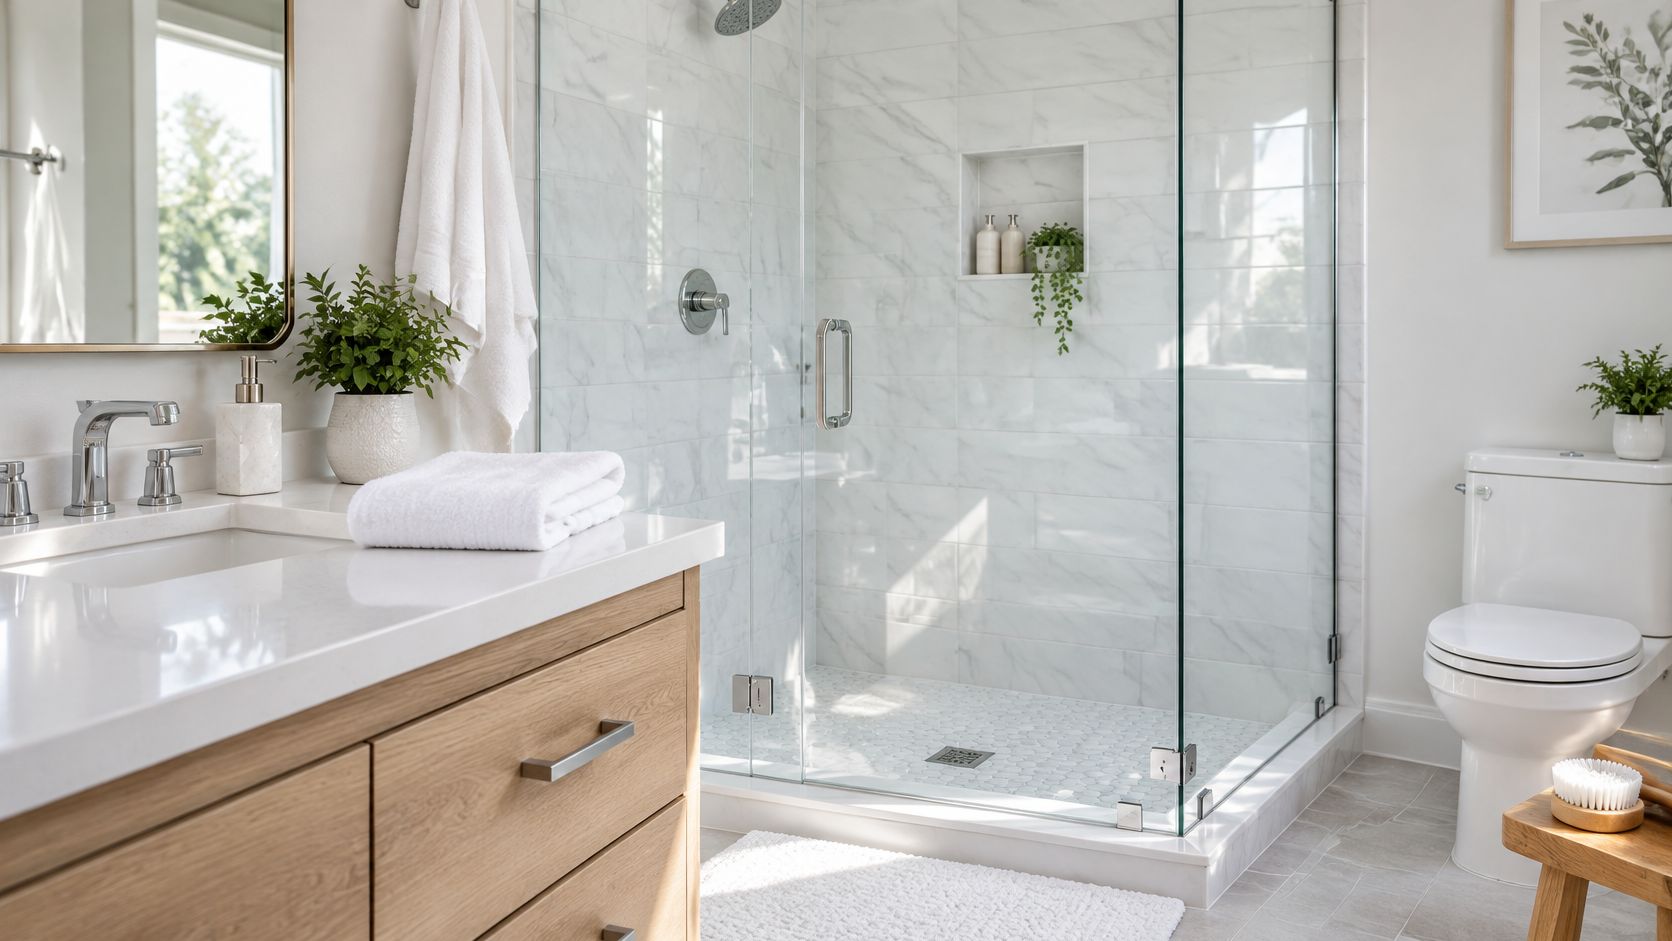
- Ceiling and fan: Switch off the fan, remove accessible dust, and clean its removable cover as the manufacturer permits.
- Shower walls and glass: Apply a compatible soap-scum remover, allow its working time, then agitate, rinse, and dry.
- Grout and caulk: Use a soft-bristle brush. Flag missing grout, loose tiles, and separated caulk instead of concealing them with repeated chemical treatment.
- Vanity and fixtures: Empty drawers, clean faucet bases and drain rims, and dry interiors before restocking.
- Toilet: Clean the bowl, seat hinges, exterior, base, and floor behind it with dedicated tools.
- Floor and textiles: Wash suitable bath mats, clean edges, and leave surfaces dry.
Keep Chemistry and Moisture Under Control
CDC bleach guidance says never mix household bleach with other cleaners or disinfectants and calls for good ventilation. Don't use bleach as a default solution for stone or decorative grout.
EPA moisture guidance recommends drying wet materials within 24 to 48 hours when possible to help prevent mold growth. A persistently damp shower needs its moisture source addressed, not just another cleaning pass.
For a Wellesley bathroom with recurring dark grout, document where discoloration returns and whether the fan clears moisture. Our bathroom deep-cleaning guide explains the detail work around grout, fixtures, and hidden edges.
3. Bedroom Deep-Cleaning Checklist for Surfaces, Linens, and Dust
Strip the bed before dusting, but don't put fresh linens back until the overhead work is finished. Otherwise, you'll drop dust onto bedding you've just washed.
Bedroom cleaning is mostly controlled dust removal. Vacuuming textiles and wiping settled dust are more useful than masking the room with fragrance, especially when occupants dislike scented products.
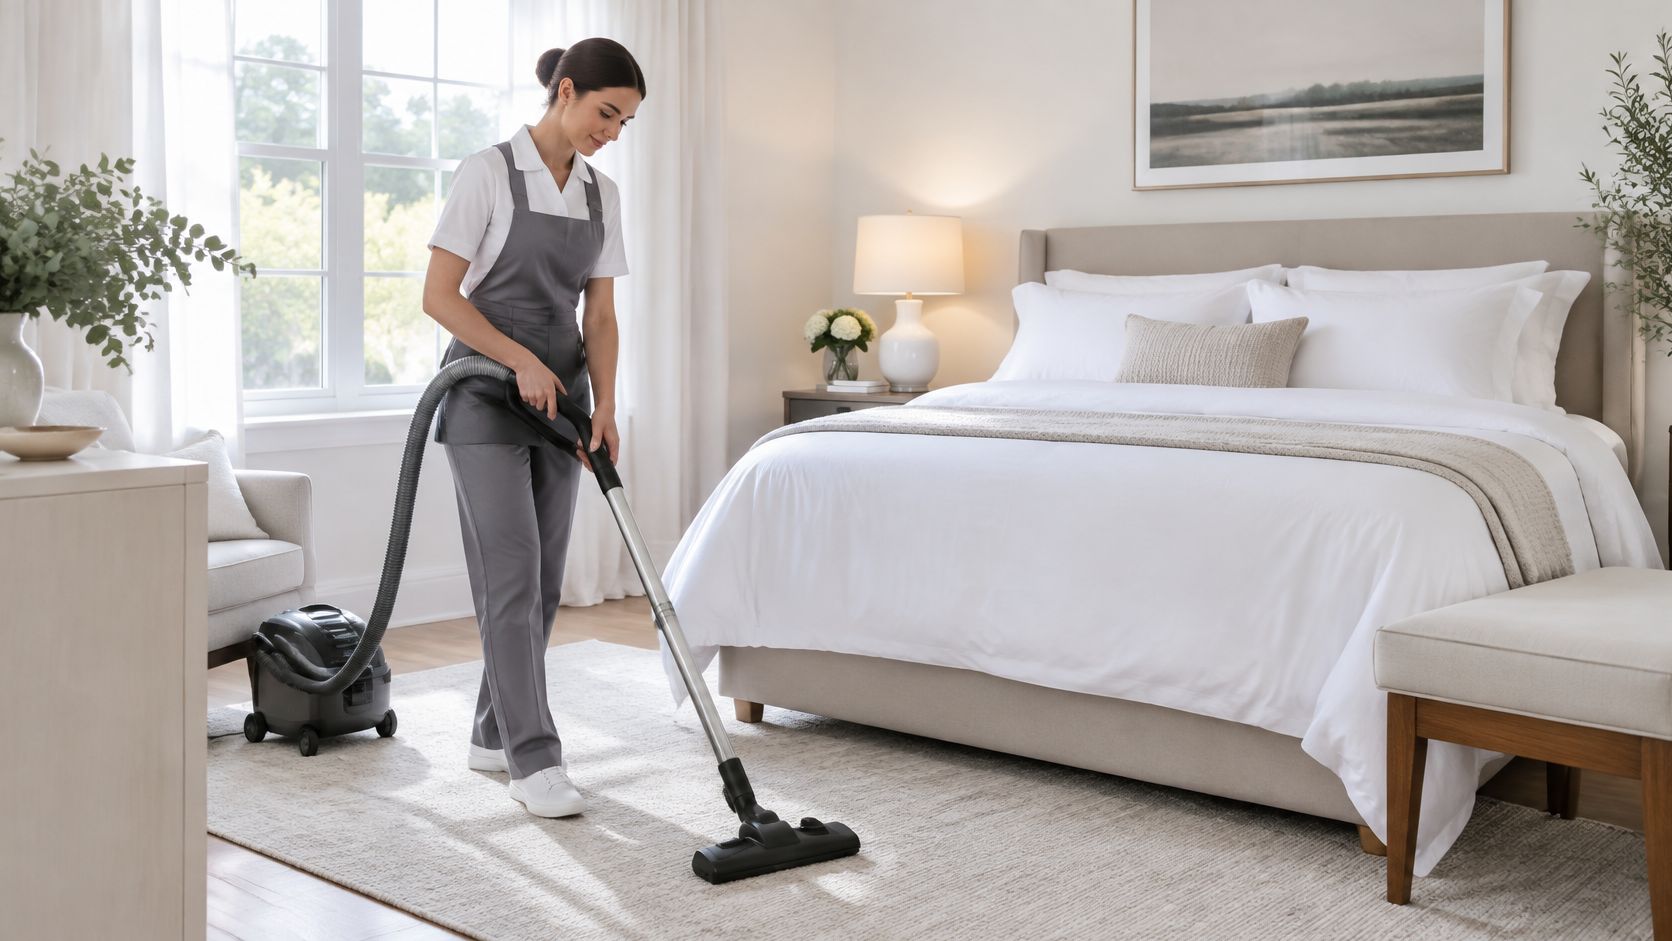
Follow the Dust Downward
- Fans and lighting: Switch fixtures off, let bulbs cool, and wipe fan blades, sconces, and accessible shades.
- Windows and storage: Clean blinds, sills, tracks, closet shelves, and the tops of storage bins.
- Furniture: Dust headboards, dressers, nightstands, and lamp bases. Move only furniture that can be handled safely.
- Mattress and textiles: Vacuum the mattress surface and seams with a clean upholstery attachment. Launder bedding according to care labels.
- Hidden floor space: Vacuum under the bed, behind accessible furniture, along baseboards, and inside closets.
- Reset: Let damp surfaces dry before remaking the bed and returning storage containers.
Cloth management matters. The CDC's environmental-cleaning procedures describe folding a cloth to create 8 usable sides, then rotating to clean sections rather than spreading contamination with the same face. The healthcare setting differs from a home, but controlled cloth rotation is a useful residential technique.
Clean the room before making the bed. Fresh linens shouldn't become a landing place for ceiling-fan dust.
For a Weston family preparing a guest bedroom, clear under-bed storage beforehand and leave clean linens ready. If someone has allergies, don't promise symptom relief from cleaning alone; focus on removing visible dust without saturating mattresses or adding unnecessary scent.
Timing checkpoint: Schedule mattress or upholstery wet cleaning separately when drying would delay use of the room.
4. Living Room and Dining Area Deep-Cleaning Checklist for Upholstery and High-Traffic Zones
Before a Needham listing photo session, removing cushion crumbs and dusty shelf edges usually matters more than adding decorative polish. Clear the room enough to reach those surfaces, then protect the finishes that are already in good condition.
Fabric, electronics, finished wood, and painted walls need different treatment. A single spray bottle isn't a sensible solution for all of them.
- Upper surfaces: Dust curtain hardware, shelves, picture frames, and accessible lighting.
- Bookshelves: Remove objects in manageable groups, wipe shelf interiors, and clean items before returning them.
- Sofas and chairs: Remove loose cushions and vacuum seams, crevices, arms, backs, and the frame underneath.
- Dining furniture: Wipe chair backs, rungs, seat edges, table aprons, and sticky areas around hand contact.
- Electronics: Switch equipment off and follow its cleaning instructions. Apply permitted cleaner to a cloth, never directly to a screen.
- Rugs and edges: Vacuum thoroughly, inspect stains, and test suitable treatments in a hidden area before proceeding.
Treat Touchpoints Without Overwetting Them
CDC home-disinfection guidance says to clean before disinfecting and keep surfaces visibly wet for the product's full labeled contact time. A quick spray followed by immediate wiping doesn't meet that instruction.
That creates a practical trade-off for remotes, switches, and delicate furniture: don't saturate an item to force a disinfectant onto an incompatible surface. Choose a product and method suitable for the object.
Finish protection: A stain that won't lift safely is better documented than scrubbed into permanent fabric damage.
Timing checkpoint: Complete upholstery treatment early enough for full drying before guests arrive. For a dinner party, inspect chair seats and arms as carefully as the tabletop.
5. Floors, Tile, and Grout Deep-Cleaning Checklist for Hard Surfaces and Carpet
Identify the floor before choosing the cleaner. Marble, sealed wood, porcelain, and carpet don't tolerate the same moisture, agitation, or chemistry.
Floors also belong at the end of the room's cleaning sequence. Dusting shelves after mopping creates another floor-cleaning job.
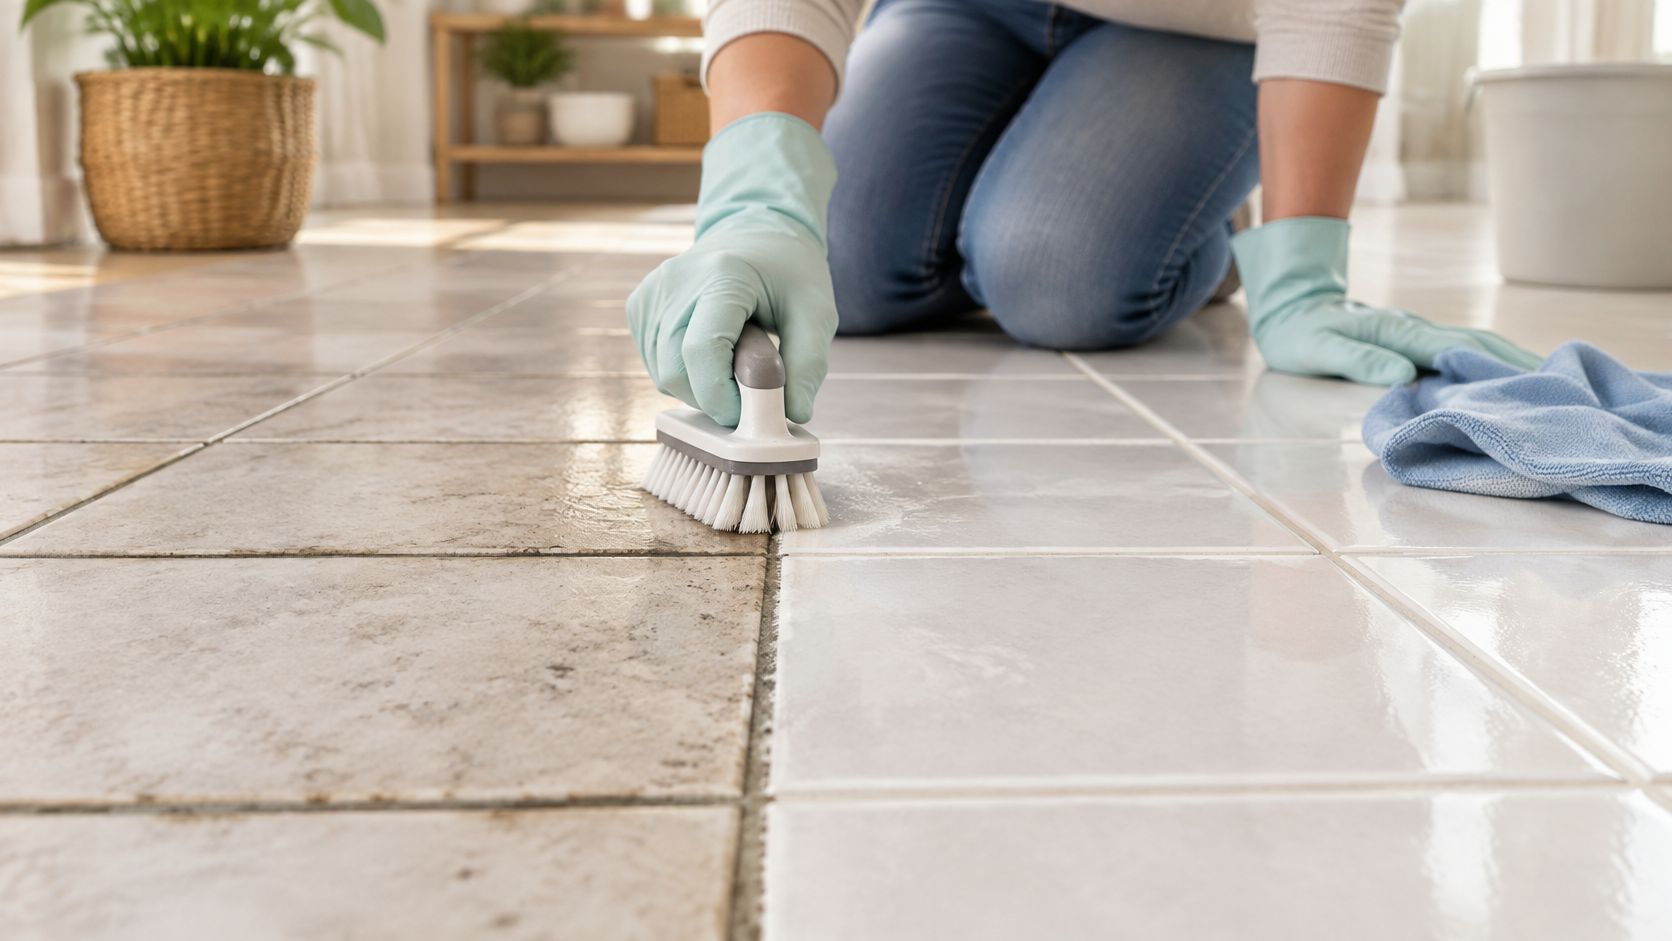
Match the Method to the Material
- Dry removal: Vacuum edges, corners, and accessible areas under furniture before introducing moisture.
- Hard flooring: Use a material-compatible cleaner and controlled moisture. Don't flood seams or leave standing solution.
- Tile and grout: Agitate grout with a suitable brush, remove dirty solution, and rinse when the product requires it.
- Natural stone: Use a stone-safe, pH-neutral product. Separate cleaning from polishing, etch repair, and sealing.
- Carpet: Vacuum first, identify stains, and choose extraction or a low-moisture method appropriate to the carpet.
- Final inspection: Check for residue, sticky patches, damp edges, loose grout, and changed sheen.
In a 2024 Frontdoor survey of U.S. homeowners, 41% said they failed to deep-clean their carpets, while 38% neglected baseboard cleaning. Those are useful inspection priorities, not reasons to apply more chemical.
For a Wellesley marble entry dulled by acidic cleaner, a safe wash can remove soil, but it won't necessarily remove etching. Don't confuse a clean surface with a restored finish.
Our grout-cleaning and sealing guide explains why cleaning, drying, and assessing sealer are separate tasks.
Timing checkpoint: Keep traffic off treated areas until the flooring or treatment instructions permit use. After renovation, identify construction residue before trying a haze remover, especially around stone and metal trim.
6. Windows, Glass, and Doors Deep-Cleaning Checklist for Frames and Tracks
Dirty tracks can make freshly cleaned glass look unfinished. Start with the frame and track, then finish the pane so debris doesn't fall onto clean glass.
For a Newton home preparing for showings, this is also a useful inspection opportunity. A slider that still binds after cleaning may need adjustment or repair rather than more scrubbing.
- Access check: Identify safely reachable glass and leave exterior work to properly equipped specialists.
- Frames and sills: Remove dust, inspect finishes, and wipe with a compatible cleaner.
- Tracks: Vacuum loose grit with a crevice attachment, loosen packed dirt with a soft detail brush, and wipe without flooding.
- Screens: Remove and clean only where the design permits; inspect for tears and let screens dry before reinstalling.
- Glass: Apply suitable cleaner sparingly, squeegee the pane, and dry edges with a clean microfiber cloth.
- Doors: Wipe frames, handles, thresholds, and accessible weatherstripping without soaking seals.
Separate Glass Cleaning from Touchpoint Cleaning
The CDC's facility-cleaning guidance calls for regular cleaning of high-touch surfaces and cleaning visible dirt before sanitizing or disinfecting. Door handles need that attention; an entire window doesn't automatically need disinfectant.
Use separate cloths for greasy handles and glass. Otherwise, you'll transfer residue onto the pane and spend the next pass chasing streaks.
Timing checkpoint: Work when glass is cool and out of strong direct sunlight so cleaner doesn't dry before removal. Save the final glass inspection until nearby dusting is complete.
Don't scrape mystery specks from glass with a blade. Construction residue and coated glazing need a compatible removal method.
If the door still sticks, record the problem. Cleaning removes grit, not worn rollers, swollen frames, or damaged hardware.
7. Walls, Ceilings, Vents, and Light Fixtures Deep-Cleaning Checklist for Overlooked Surfaces
Some of the most important checklist entries sit above eye level. Others are exactly where hands land every day.
In a 2025 American Cleaning Institute survey, 45% of U.S. adults surveyed missed light switches, and 39% missed vents when cleaning. Naming those surfaces individually is more reliable than writing “dust room.”
Inspect Before Using Moisture
Check paint condition, fixture stability, and access first. Flat paint can develop visible rub marks, and loose vent covers shouldn't be pulled or scrubbed carelessly.
- Ceiling corners: Lift cobwebs with an extension duster rather than dragging dirty material across paint.
- Fans: Switch them off and wipe blade tops, undersides, and accessible housings.
- Light fixtures: Turn off power, let fixtures cool, and clean removable parts only as their instructions permit.
- Vents and returns: Vacuum accessible grille surfaces and wipe compatible covers without pushing dirt into openings.
- Walls: Dry-dust first, then spot-test a barely damp cloth in an inconspicuous place.
- Switches and frames: Remove fingerprints with controlled moisture, keeping liquid out of electrical openings.
For a Wayland pre-sale cleanup, inspect wall marks under ordinary room lighting before deciding to wash an entire wall. A localized scuff may clean up; uneven sheen or damaged paint may call for repainting instead.
After drywall work in Weston, don't treat heavy construction dust like ordinary household dust. Confirm the contractor has finished, identify any material-specific hazards, and use appropriate dust-control equipment.
Timing checkpoint: Complete overhead and wall work before furniture detailing and floors. Vent-grille cleaning is surface cleaning, not duct cleaning, and it doesn't replace HVAC filter maintenance.
8. Entryways, Laundry, and Utility Areas Deep-Cleaning Checklist for Mudrooms and Storage
Start at the top of storage shelves, but finish the house at the entry floor. That way, the crew isn't carrying equipment through a freshly cleaned mudroom repeatedly.
Laundry and utility areas need a clear distinction between cleaning and mechanical maintenance. Wiping a dryer exterior doesn't establish that its exhaust duct is clear.
- Shelves and storage: Remove dust, wipe accessible shelves, and identify leaking containers before returning supplies.
- Doors and touchpoints: Clean door frames, handles, switches, and closet pulls with controlled moisture.
- Washer: Clean the detergent drawer, accessible gasket folds, exterior, and drum using the appliance's prescribed cleaning procedure.
- Dryer: Remove accessible lint from the screen area as the manufacturer directs. Flag crushed hoses, poor drying, or suspected blockages for qualified attention.
- Utility sink: Remove residue with a finish-compatible cleaner, rinse, and dry surrounding surfaces.
- Mudroom: Clean boot trays, suitable mats, thresholds, closet floors, and floor edges before the final mop.
Keep Chemical Storage Part of the Checklist
OSHA's hazardous-chemical guidance for housekeeping identifies labeling, accessible Safety Data Sheets, training, ventilation, and suitable protective equipment as workplace controls. Keep cleaners in correctly labeled containers and don't combine leftover products to save storage space.
For a Wellesley rental turnover, record an unusual washer odor or slow-drying laundry separately from ordinary surface dirt. A cleaned room can still contain an appliance problem that needs investigation.
Timing checkpoint: Coordinate machine-cleaning cycles before the final floor pass, and let washed mats dry completely before returning them. Don't pull connected appliances forward without checking hoses, cords, flooring protection, and safe access.
For a busy Newton mudroom, keeping shoes and wet outerwear off the floor makes the next maintenance clean much more effective.
How the Eight Room Checklists Compare at a Glance
| Item | Core Focus | Key Benefit | Main Limitation |
|---|---|---|---|
| Kitchen Deep-Cleaning Checklist | Degreasing, appliance interiors, cabinets, and fixtures | Removes stubborn grease and refreshes kitchen surfaces | Time-intensive; requires material-safe products |
| Bathroom Deep-Cleaning Checklist | Grout, fixtures, shower surfaces, and ventilation | Reduces mildew and helps protect tile and grout | Persistent mildew may require moisture repairs |
| Bedroom Deep-Cleaning Checklist | Dust, vents, floors, mattress surfaces, and linens | Helps reduce dust and allergens | Clutter and specialized mattress needs can limit results |
| Living Room and Dining Area Deep-Cleaning Checklist | Upholstery, rugs, electronics, and high-traffic surfaces | Refreshes guest-facing spaces and removes accumulated dust | Stains may need specialized treatment |
| Floors, Tile, and Grout Deep-Cleaning Checklist | Material-specific floor care, grout cleaning, and sealing checks | Restores appearance and helps protect flooring | Incorrect products can damage surfaces |
| Windows, Glass, and Doors Deep-Cleaning Checklist | Glass, frames, tracks, screens, and hardware | Improves natural light and door operation | High or exterior windows may need specialized service |
| Walls, Ceilings, Vents, and Light Fixtures Deep-Cleaning Checklist | Dust, scuffs, vents, fans, and fixtures | Brightens rooms and removes dust from overlooked areas | Delicate paint and high surfaces require extra care |
| Entryways, Laundry, and Utility Areas Deep-Cleaning Checklist | Entry floors, appliances, lint, sinks, and storage | Limits tracked-in dirt and reduces lint-related fire risk | Dryer vents may need a separate specialist service |
Build Your Checklist and Book the Reset
Start with the rooms that matter most to you: the kitchen before a listing, the bathroom before guests arrive, or the entry before winter grit builds up. Then identify the details that would make the job feel genuinely finished, such as clean refrigerator seals, empty cabinet interiors, or dust-free space beneath the bed.
A useful professional deep cleaning checklist records more than completed tasks. It distinguishes surfaces that were cleaned, areas that weren't safely accessible, stains that remain, and damage that needs repair.
Make the Plan Specific to Your Home
Before the cleaning date, note the flooring materials, delicate finishes, appliance instructions, and any fragrance preferences. We can account for requests for particular disinfectants or products compatible with a specific floor finish when the checklist is built.
For eco-friendly product selection, use an identifiable standard rather than vague packaging language. The EPA Safer Choice program provides third-party product criteria that can help guide purchasing; suitability for the actual surface still matters.
- Prepare access: Clear counters, remove fragile objects, and identify furniture that shouldn't be moved.
- Set priorities: Mark the rooms and hidden areas that matter most for occupancy, photos, guests, or inspection.
- Flag concerns: Point out leaks, loose grout, damaged finishes, and persistent odors before cleaning begins.
- Verify completion: Walk through the rooms and distinguish missed cleaning from work that requires repair or restoration.
Choose the Right Level of Treatment
A deep clean doesn't mean disinfecting everything. CDC household-cleaning guidance says routine disinfection generally isn't necessary unless someone is sick or at increased risk, so targeted treatment is more sensible than applying stronger chemicals everywhere.
For post-construction work, we schedule cleanup after contractor work is complete and the space is handed back, before furniture and personal belongings move in. We can also coordinate a phased cleanup directly with the contractor when the project requires it.
Most clients book a deep clean once or twice a year, often in spring and fall, and many begin with a reset before switching to bi-weekly maintenance. For move-in and move-out jobs, we complete a room-by-room final walkthrough and fix missed work on the spot.
If anything is missed in a deep clean, Sunny Day Pro Services returns at no charge. Have your room priorities and preferred date ready when requesting a fast quote so the plan addresses your home's needs.
Sunny Day Pro Services offers deep cleaning, move-in/move-out cleaning, and post-construction cleanup for homes throughout Wayland, Newton, Needham, Wellesley, Weston, and surrounding communities. Visit Sunny Day Pro Services to request a fast quote, share your room-by-room priorities, and choose a date that fits your schedule.

