
Tile Floor Grout Repair: A Practical Guide for Homeowners
Learn how to handle tile floor grout repair with confidence. Spot damage early, choose the right fix, and keep your floors looking new for years.
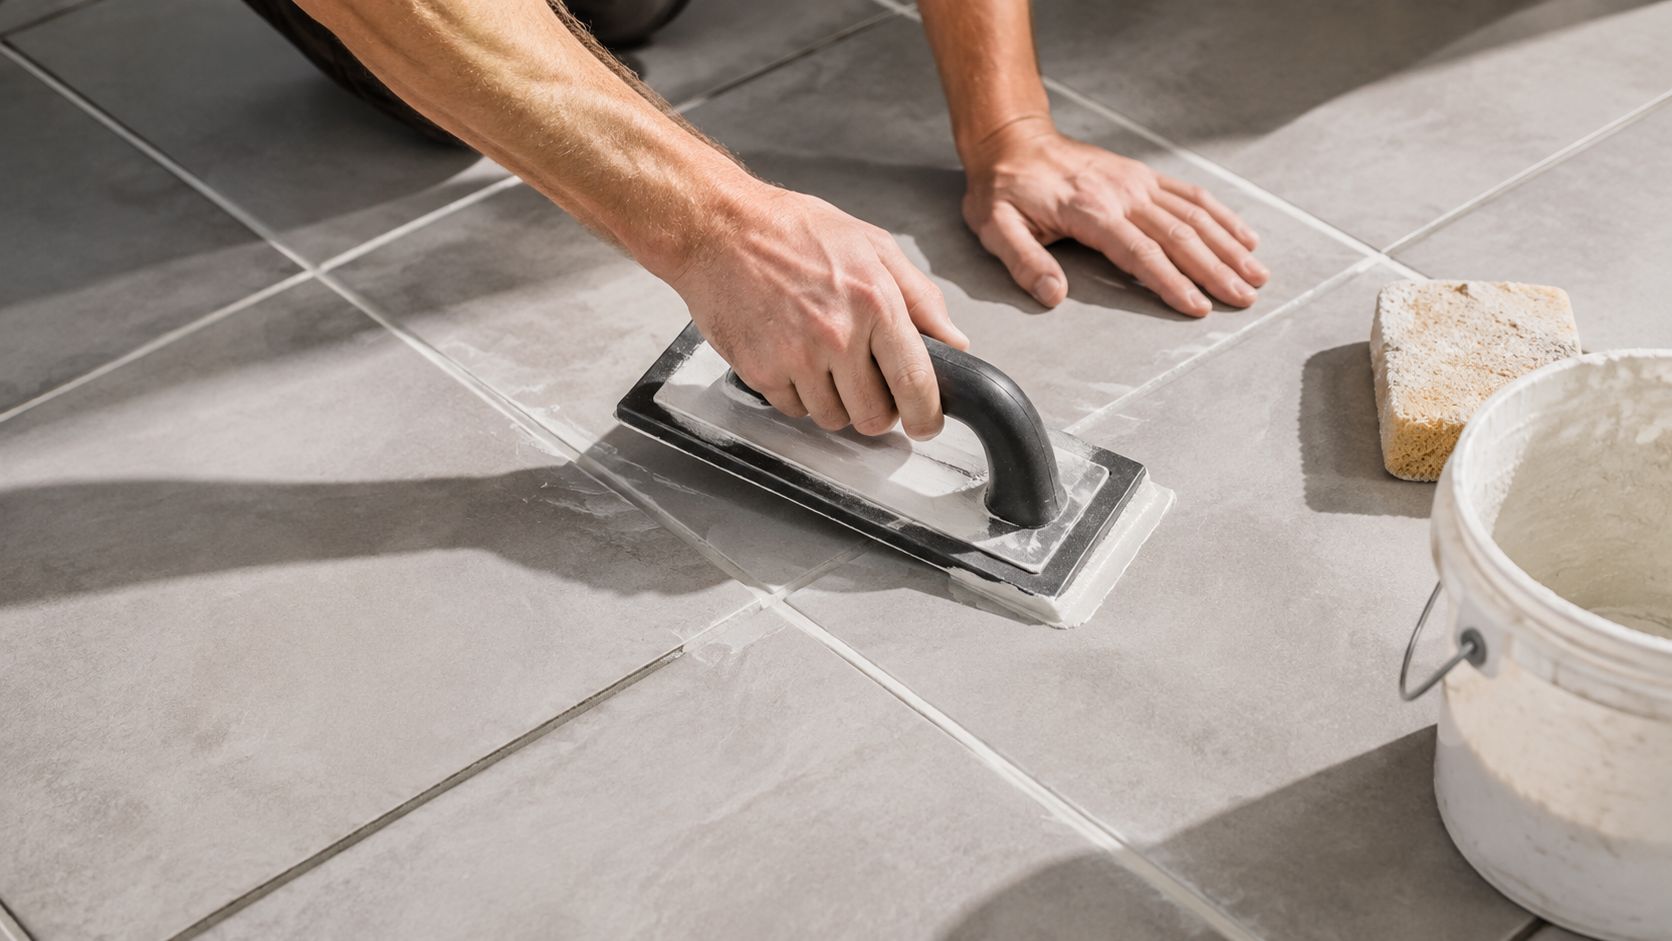
A typical tile floor grout repair costs about $350, with projects ranging from $50 to $1,200, depending on whether you need a small patch or full grout replacement. The most common homeowner mistake is treating cracked grout as a cosmetic issue and patching over it without checking for movement or moisture, which leads to repeat failures within months.
You've probably seen the warning signs already: a once-clean kitchen floor now has dark joints, a thin crack crossing several tiles, or loose grout that leaves powder behind when you sweep. Grout repair can restore the floor, but only when the repair matches the failure. A surface patch over a moving tile, wet substrate, or loose setting bed won't hold for long.
The practical approach is simple. Diagnose first, choose the smallest repair that fits the evidence, remove enough damaged material, install the right grout correctly, and give it enough time to cure before sealing or exposing it to water.
Table of Contents
- What Grout Repair Actually Involves
- Match the symptom to the likely cause
- Check for missing material and hollow tiles
What Grout Repair Actually Involves
A homeowner kneels beside a discolored grout line and notices several different problems at once. The joint between two kitchen tiles has darkened, a short section has cracked, and fine dust appears whenever the floor is swept. Those symptoms may look like one repair, but they can require very different work.
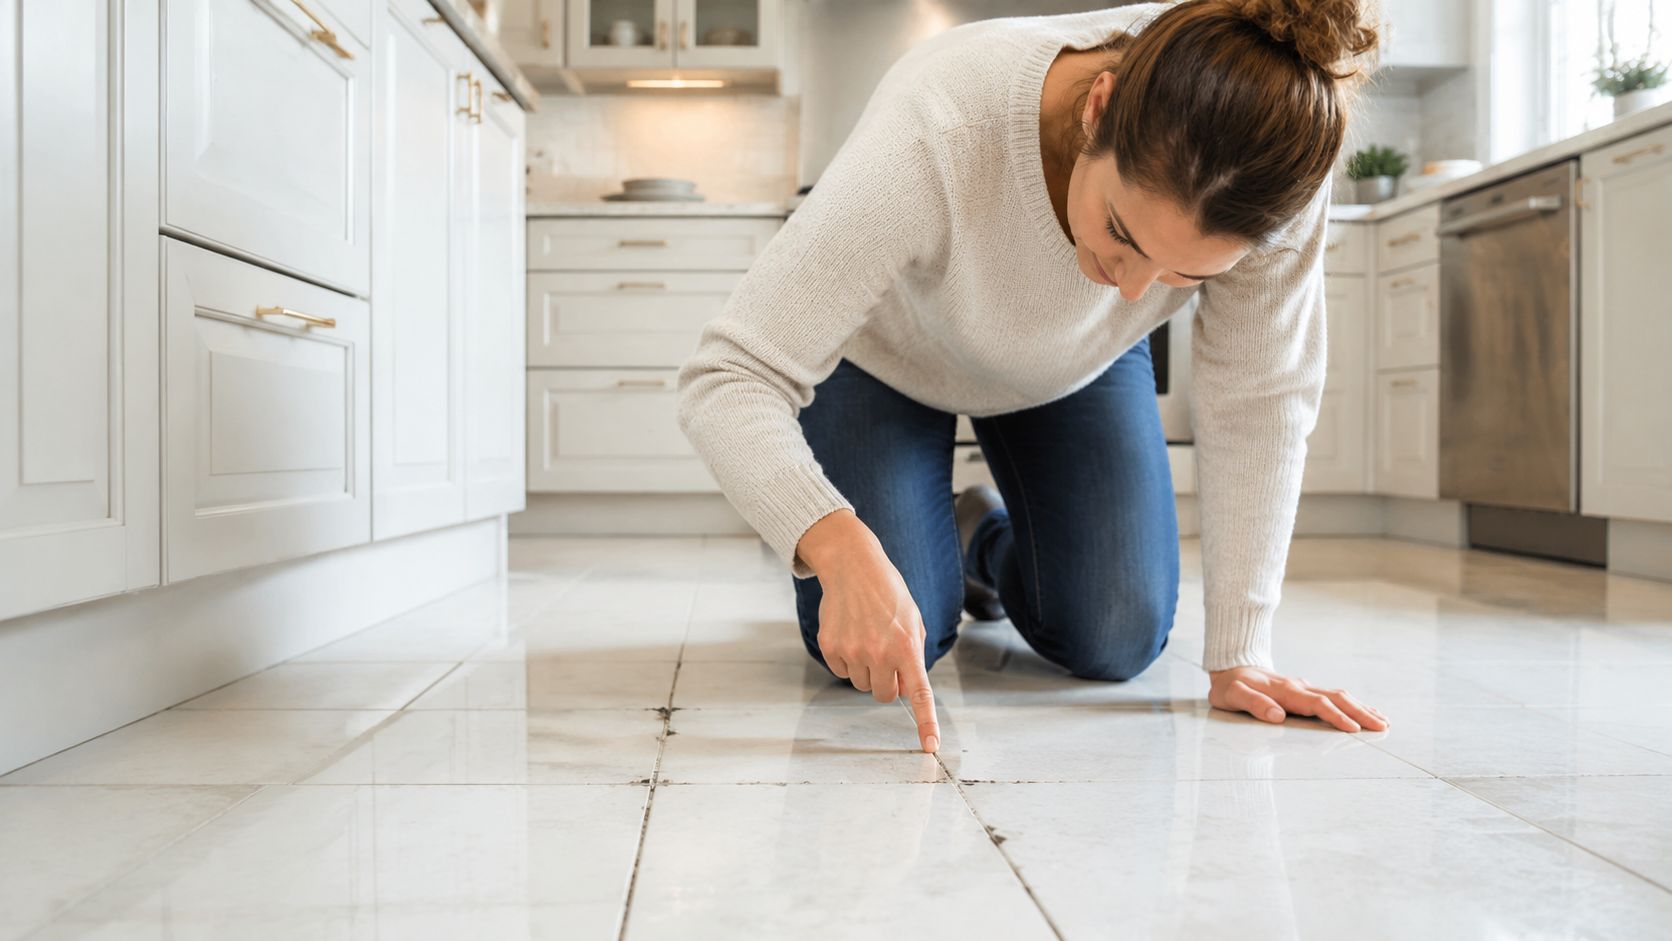
Tile floor grout repair means removing deteriorated grout from between sound tiles and replacing it with fresh material. That description includes several levels of work:
- Cleaning and resealing: Stained but solid grout may only need deep cleaning and protection.
- Spot repair: An isolated crack or small void can sometimes be removed and filled locally.
- Partial regrouting: A damaged entryway, wet zone, or concentrated section may need broader removal.
- Full regrouting: A floor with widespread cracking, crumbling, or color failure may need every joint addressed.
The price reflects that range. One current grout repair pricing guide places the average project at $350, with a typical range of $50 to $1,200 and a per-square-foot range of $8 to $30, depending on damage and repair type. Minor crack work commonly falls between $50 and $150, spot repairs between $75 and $250, regrouting between $200 and $600, and full replacement between $400 and $1,200.
Practical rule: A grout repair isn't defined by how bad the joint looks. It's defined by what caused the joint to fail.
That distinction prevents a common DIY mistake, buying premixed grout for a repair that actually needs deep removal, a stable tile, substrate inspection, and compatible grout.
Spotting the Real Problem Before You Fix It
Grout tells you a lot if you read the pattern rather than focusing on one damaged spot. Start by cleaning loose debris from the surface, then inspect the joints in good light and check whether the tiles move under pressure.
Match the symptom to the likely cause
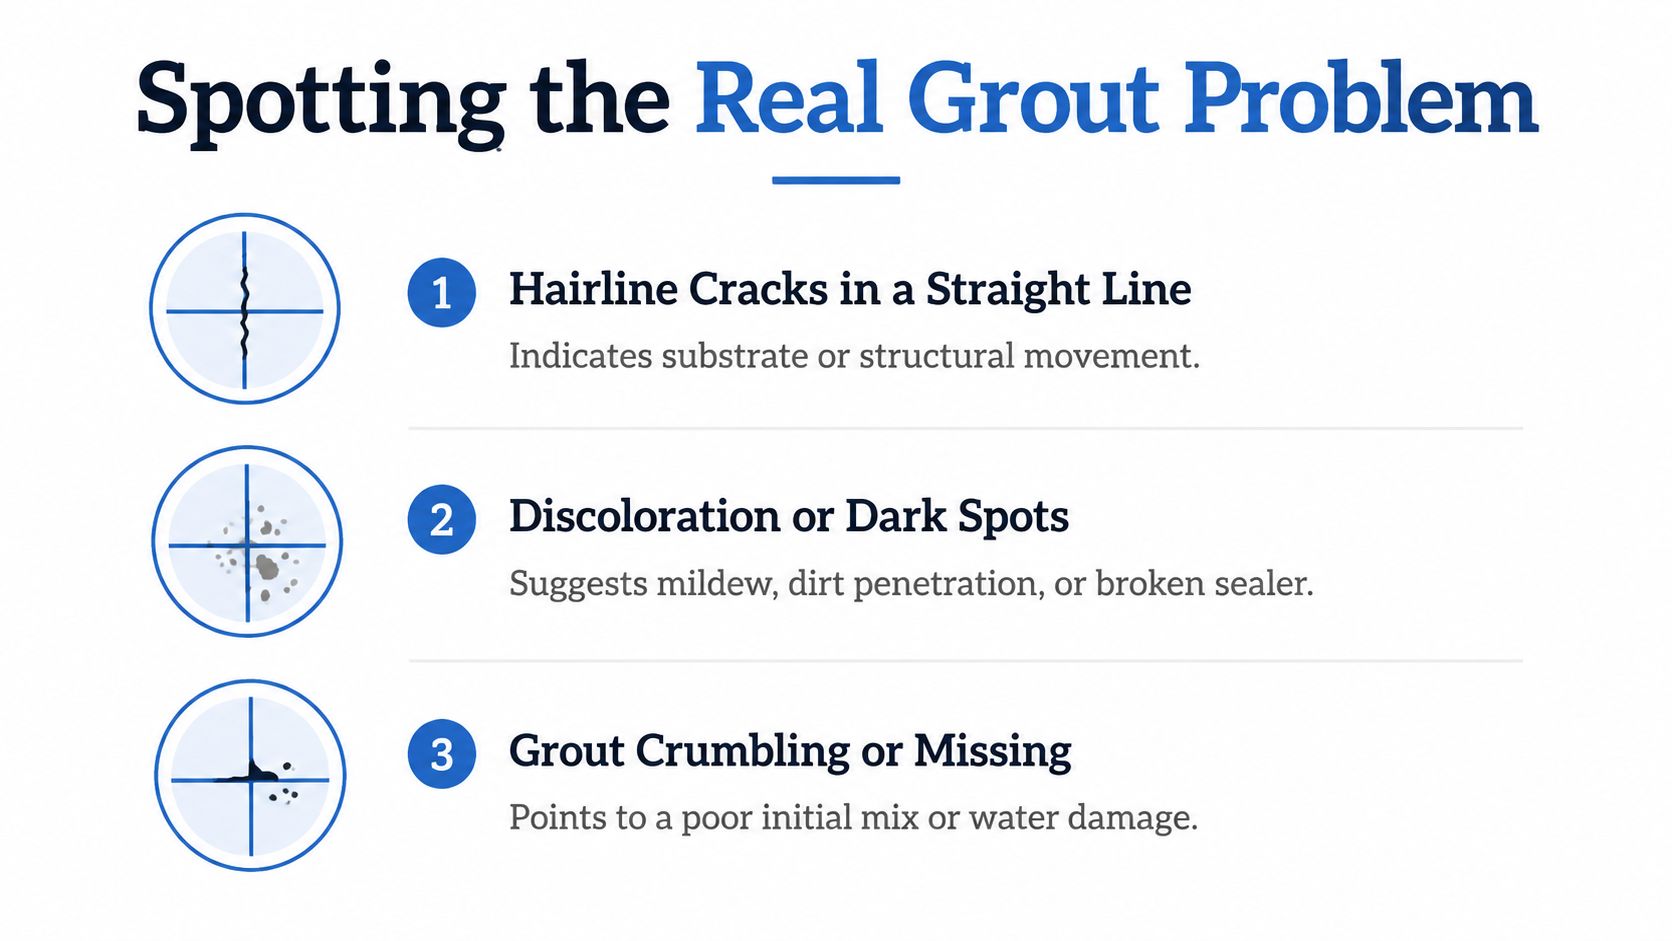
Hairline cracks in a straight line often point to movement beneath or around the tile assembly. If the crack follows one joint for a long distance, patching may hide it temporarily without correcting the stress.
Spiderweb cracking across multiple joints can indicate poor mixing, weak installation, or broader movement. A grout line that breaks into powder usually reflects aging cementitious grout or a mix that never developed adequate strength.
Grout pulling away from tile edges in chunks suggests poor adhesion, contamination, or voids in the joint. Remove enough material to see whether the problem is limited to the grout or whether the tile itself is loose.
Discoloration alone is different. Black, brown, or yellow staining may be surface mold, embedded dirt, hard-water residue, or failed sealer rather than structural failure. If the joint remains hard and full, cleaning and resealing may solve the appearance problem. For mineral buildup, compare the repair plan with this guide to hard-water stains on tile.
Check for missing material and hollow tiles
Missing grout deserves prompt attention because the open joint can allow water and debris into the tile assembly. Remove loose material to full sound depth before replacing it. Don't smear new grout across the surface.
Tap tiles around the damaged area with a screwdriver handle or similar solid object. A hollow sound compared with surrounding tiles can indicate incomplete bonding or debonding. A loose or hollow tile should be reset before the joint is grouted, otherwise the new grout will absorb movement from the tile and crack again.
Why Grout Fails in the First Place
Four causes account for most grout failures: moisture, movement, age, and poor installation. The cause matters more than the color or size of the crack because each one changes the repair plan.
Moisture is especially important in bathrooms, kitchens, and floors near leaks. Inspection data from Australia recorded 730 grout-deterioration observations. Of those, 580 findings, or 79.5%, were rated severity 2, while 111, or 15.2%, were rated severity 3, and 39, or 5.3%, were rated severity 1. The reported average severity was 2.1, which describes a recurring moderate-maintenance issue rather than an unusual defect. The same source identified grout failure in shower recesses in 9.4% of all reports. These figures appear in the inspection and tile-grout repair guidance.
Movement creates a different problem. Wood subfloors can deflect, buildings can settle, and tile assemblies can expand against walls when perimeter gaps or movement joints are missing. Rigid grout cannot absorb every shift, so a repair over active movement usually cracks along the same path.
Age gradually reduces resilience, particularly in cement-based grout exposed to repeated cleaning, moisture, and traffic. Installation errors also leave recognizable clues. Excess water in the mix, loose packing, voids, and aggressive early wiping can weaken the finished joint before the floor is ever used.
| Cause | Typical Symptom | Repair Implication |
|---|---|---|
| Moisture | Darkening, soft joints, efflorescence, or recurring deterioration in wet areas | Find and stop the moisture source before regrouting |
| Movement | Long straight cracks, repeated cracking, or cracked joints near walls | Inspect the substrate, tile bond, perimeter gaps, and movement joints |
| Age | General powdering, erosion, staining, and widespread loss of joint profile | Consider partial or full regrouting rather than isolated patches |
| Poor installation | Loose, shallow, crumbly, or uneven grout that fails across an installation | Remove weak material to sound depth and correct the installation method |
Choosing the Right Repair Scope
The smallest repair isn't automatically the most economical repair. A spot patch makes sense only when the surrounding tile is stable, the substrate is dry, and the failure is isolated.
Four practical options
Spot repair suits a short crack or a small missing section. It's quick and inexpensive, but it will reopen if movement or moisture remains active.
Partial regrouting fits concentrated damage near an entry, kitchen work zone, or shower approach. The transition between old and new grout may remain visible, especially when the original grout has aged or changed color.
Full regrouting is more appropriate when cracking or crumbling affects a large portion of the floor. It also produces a more consistent appearance, but it requires extensive removal, cleanup, curing, and temporary loss of floor access.
Flexible caulking belongs at changes of plane and movement locations, such as tub-to-floor seams, wall corners, and some perimeter joints. It should not replace grout in the open field of a tile floor.
The pricing guide linked earlier shows why scope matters. Floor repairs in ceramic or porcelain commonly run $150 to $600, while shower repairs commonly run $250 to $900. Natural-stone or mosaic repairs can reach $250 to $800 because access, material compatibility, and detail work add complexity.
| Scope | Best For | Cost Range | Time Required | Expected Lifespan | Wrong If |
|---|---|---|---|---|---|
| Spot repair | Small, isolated damage with stable tile and dry substrate | $50 to $250 | Short localized project | Can last when the cause is resolved | Cracks follow movement or moisture |
| Partial regrout | Damage concentrated in one zone | $200 to $600 | More preparation and curing than a spot repair | Depends on substrate and installation quality | Failure is widespread or color matching is critical |
| Full regrout | System-wide crumbling, staining, or cracking | $400 to $1,200 | Often a multi-stage project | Long-lasting after the cause is corrected | Tiles are loose or the substrate is failing |
| Caulking transitions | Corners, tub edges, and changes of plane | Varies by access and material | Usually localized | Requires inspection and periodic renewal | Used in the middle of the floor |
The Repair Process That Holds Up
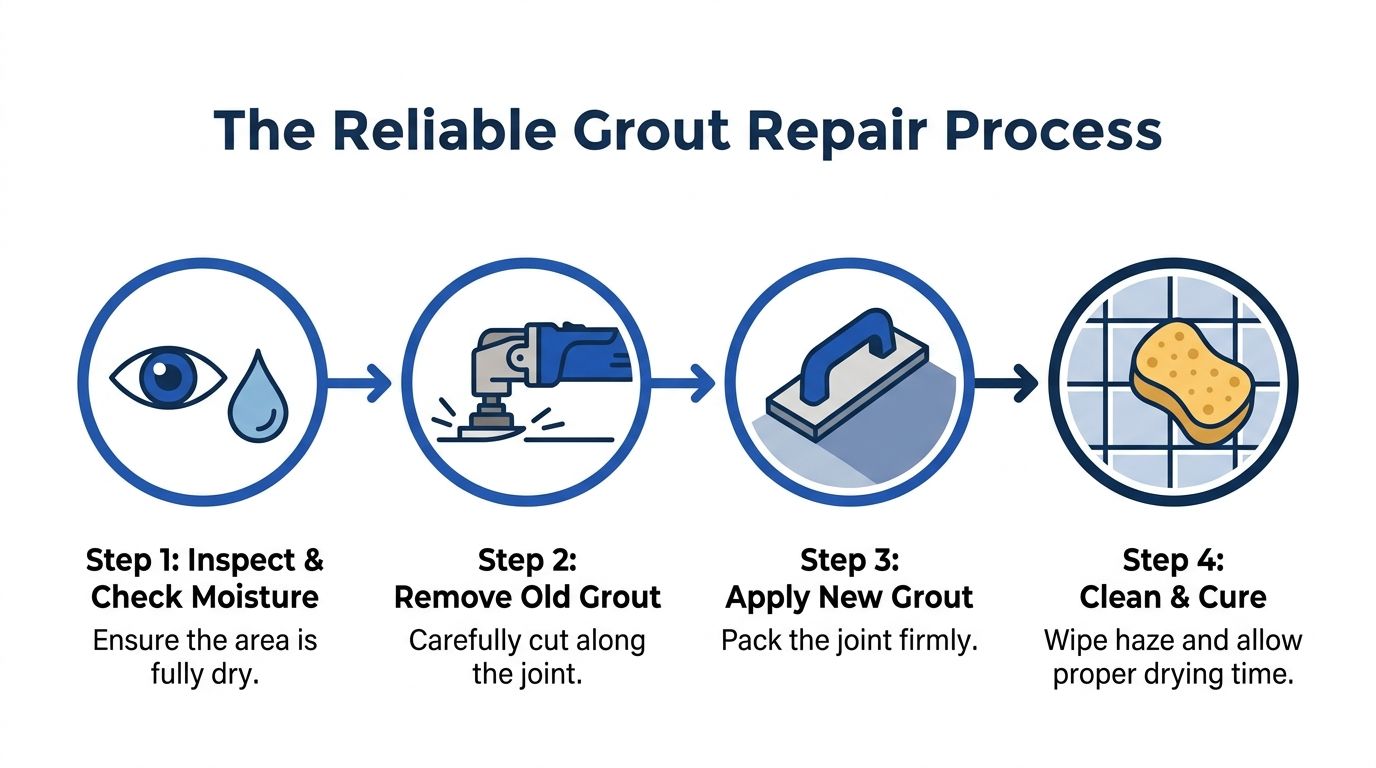
A durable repair starts before the grout bucket opens. Confirm that the tile is bonded, identify any movement, check for moisture, and allow the work area to dry fully. Regrouting is appropriate when tiles are fully bonded, there is no active moisture or efflorescence, and the defect is limited to surface cracking or shrinkage, as explained in this guidance on when to patch, regrout, or caulk tile grout.
Remove and prepare the joint
Use an oscillating tool with a grout blade for long runs, or a manual grout saw when the damage is small and tile edges need extra control. Remove damaged grout to roughly 1/16 inch depth, vacuum the joint, and inspect the exposed edges. Keep the tool centered. A chipped tile edge turns a straightforward repair into a tile replacement problem.
Mix, pack, and strike
Measure water according to the grout manufacturer's instructions. Mix to a firm, peanut-butter-like consistency, allow the material to slake when the product calls for it, then remix without adding random water.
Hold the rubber float at about a 45-degree angle and press diagonally across the joints. That motion packs the grout completely without dragging it back out. After the grout firms, strike the joints and remove excess. Professional workflow guidance places this step at about 15 minutes, although product conditions can change the timing.
Clean too early and you pull material from the joint. Clean too late and grout haze bonds to the tile face. Use a damp grout sponge, rinse frequently, and make deliberate passes rather than flooding the floor.
Keep the area dry for 24 to 48 hours, then allow about a week of curing before applying a penetrating sealer when the product instructions call for it. Other products specify different cure periods, so the label controls.
Tools and Materials Worth Having on Hand
A good repair depends less on owning every tile tool than on using the right tool for the scope. A small patch on a stable kitchen floor is manageable for a careful homeowner. A whole-room regrout, loose tile, or wet substrate needs a more controlled plan.
Removal and preparation tools
- Oscillating multi-tool with grout blade: Efficient for long, straight joints and broad removal. Keep the blade centered and work slowly near tile corners.
- Manual grout saw: Better for small repairs, fragile tile edges, and situations where control matters more than speed.
- Shop vacuum: Captures abrasive grout dust after removal. Brushing debris deeper into the joint defeats the cleaning step.
- Painter's tape: Protects baseboards, cabinet edges, and tile faces while you work.
- Two buckets: One holds the initial rinse water, and the other provides cleaner water for the final sponge passes.
- Grout sponge: A real grout sponge has the shape and density needed to lift haze without digging out fresh joints. A kitchen sponge is a poor substitute.
Mixing and application materials
A margin trowel makes it easier to scrape the sides and bottom of the mixing container, where dry powder often hides. Use a rubber grout float with a firm edge so you can compress the material into the joint instead of merely spreading it over the surface.
Choose grout by joint width and product instructions. Unsanded grout is generally used for narrower joints, while sanded grout is used for wider joints where aggregate helps control shrinkage. ANSI-based guidance says joints should never be less than 1/16 inch. Many floor installations use a 1/8-inch joint, and running-bond or brick patterns with tiles longer than 15 inches require at least 1/8 inch for rectified tile and 3/16 inch for calibrated tile, with additional width where edge warpage requires it. The tile-council guidance on grout-joint width explains those limits.
For sealing, buy a penetrating product rated for the grout type. Cement-based grout commonly benefits from sealing, while epoxy grout generally doesn't need sealer unless its manufacturer says otherwise. Glazed ceramic tile usually needs the grout sealed, not the tile face, as outlined in this tile and stone sealant guidance.
| Scenario | DIY Feasible | Call a Pro | Why |
|---|---|---|---|
| Small patch on stable, dry tile | Yes | Optional | Removal and mixing are manageable when the cause is resolved |
| Localized damage near an entry or wet zone | Sometimes | Often useful | Moisture and color transitions complicate the repair |
| Loose or hollow-sounding tiles | Usually not | Yes | The tile bond must be repaired before grouting |
| Whole-room regrout | Possible but demanding | Recommended | Removal depth, consistency, color, and curing are harder to control |
| Crack crossing multiple tiles | No | Yes | The pattern may indicate structural or substrate movement |
Spot repairs performed over unresolved movement or moisture typically reopen within 6 to 12 months, while a full professional regrout after the cause is corrected can run 15 to 20 years, according to the durability guidance in this professional regrouting workflow. For cleaning and equipment choices before sealing, see this guide to tile and grout cleaning machines for home use.
If more than a third of the grout is failing, or the damage follows a structural pattern such as a long crack across multiple tiles, stop buying materials and call a tile contractor.
Sealing and Maintenance to Protect the Repair
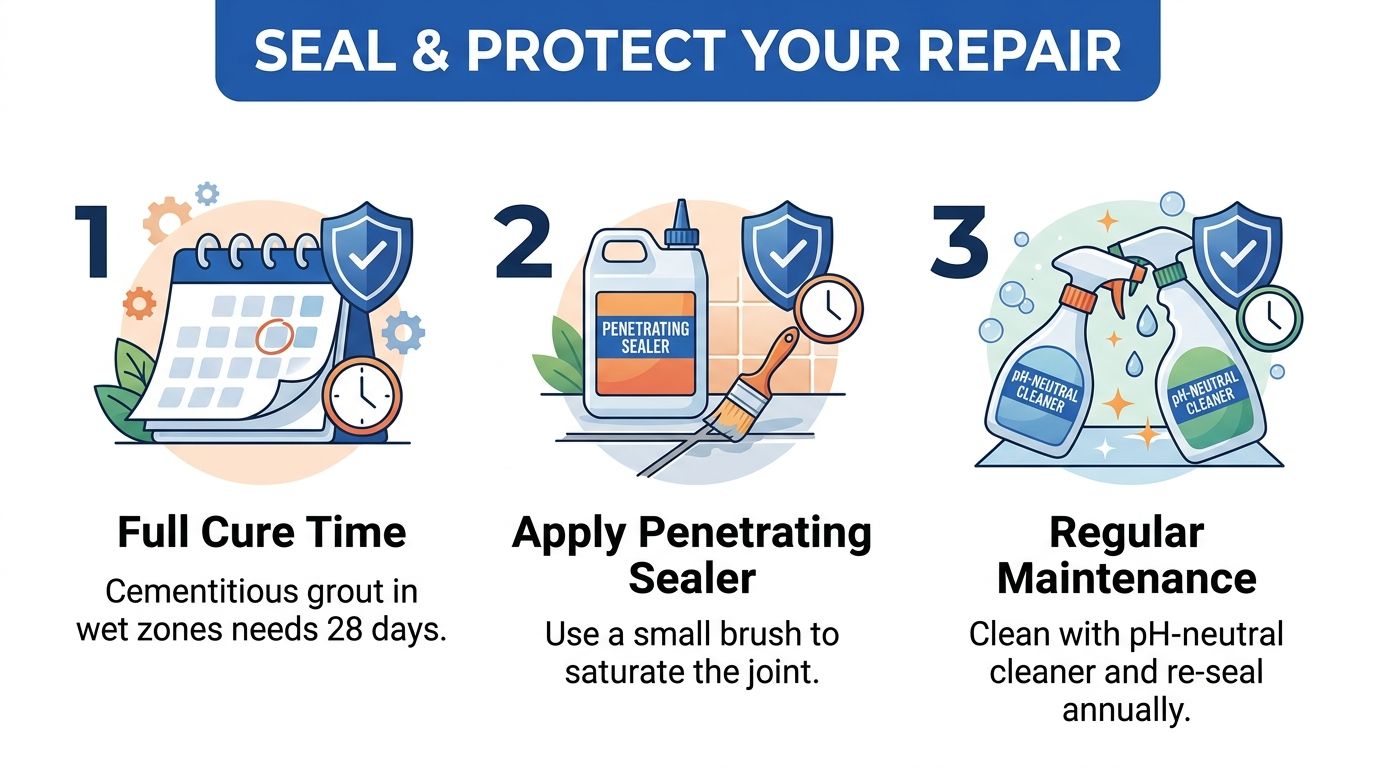
Fresh grout needs time to harden before it receives sealer, water, or heavy traffic. Follow the product label first, but a cautious baseline is to wait at least 72 hours before sealing. Cementitious grout in wet zones may need a full 28 days for maximum hardness before sealing, particularly when moisture and ventilation are difficult to control.
Select and apply the sealer
Penetrating silicone or fluoropolymer sealers suit many standard cement grouts. Epoxy and pre-sealed grout generally don't need another sealer unless the manufacturer specifically requires it. A color-enhancing sealer makes sense only when you want a darker, wet-look finish on compatible natural stone or grout.
Apply two thin coats rather than one heavy coat. Use a dedicated applicator bottle or small foam brush to saturate the joint, then wipe excess from the tile face within 5 minutes so it doesn't dry into haze. Keep the application even and avoid leaving puddles at corners or along cabinet edges.
Maintain the joint instead of waiting for failure
Use a pH-neutral cleaner for routine care. Avoid vinegar and bleach on cement grout, dry mop before wet mopping, and remove spills before they sit in the joint. In kitchens, plan to reseal every 1 to 2 years. Low-traffic bathrooms may go 2 to 3 years, depending on use, ventilation, and the product installed. For a professional cleaning and sealing option, review grout cleaning and sealing services.
Watch for early warnings:
- Hairline cracks: Mark where they occur and check whether they extend across several tiles.
- Soft joints near a tub or shower: Investigate moisture before applying new grout.
- Darkening that doesn't lift with cleaning: Check for saturation, failed sealer, or underlying water intrusion.
Sealing isn't a one-time fix. It's the recurring habit that decides whether the repair lasts one season or a decade.
Sunny Day Pro Services offers grout cleaning and sealing for tile surfaces, along with tile installation and flooring work for homeowners in Wayland, Newton, Needham, Wellesley, Weston, and nearby Massachusetts communities. If your tile floor grout is cracked, stained, or repeatedly failing, visit Sunny Day Pro Services to request a quote and discuss whether cleaning, localized repair, regrouting, or a broader tile solution fits the condition of your floor.

