
Granite Tile Installation: Your Complete Step-by-Step Guide
Master granite tile installation with this detailed guide covering prep, tools, steps, costs, and mistakes to avoid for a professional finish.
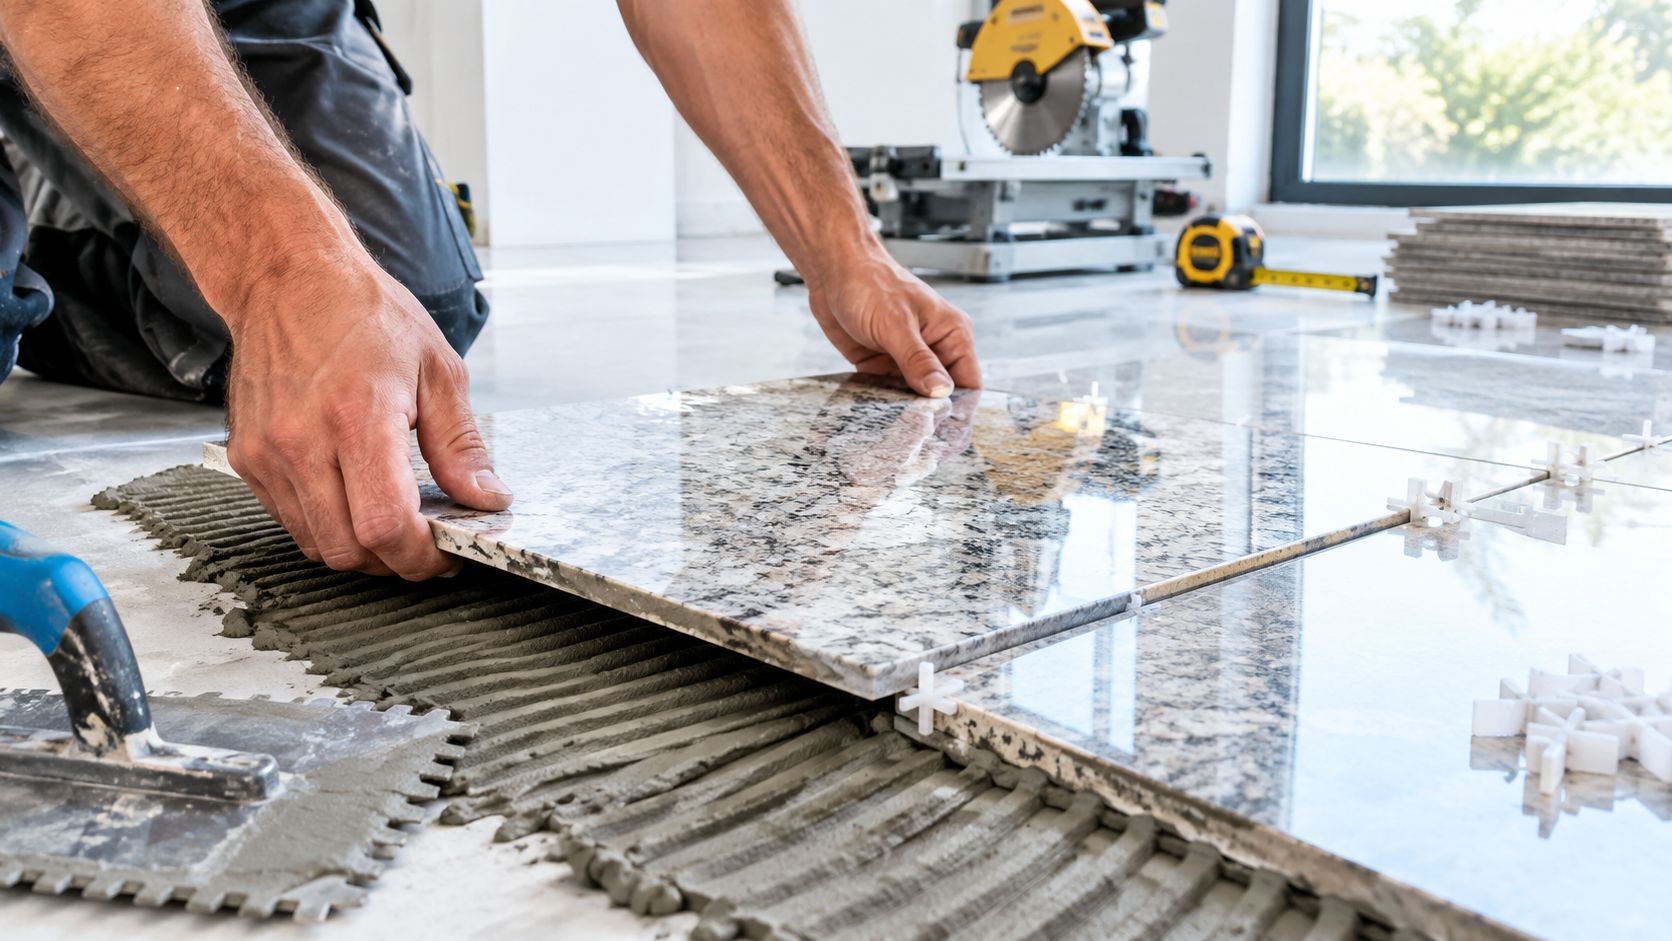
Granite tile installation typically costs $13 to $30 per square foot installed before sealing and waste. The job succeeds only when the floor structure, substrate flatness, moisture control, mortar coverage, and finishing schedule are treated as one system.
You may be standing in a kitchen or bathroom right now, comparing granite samples while wondering whether the stone is worth the extra expense. Granite has the weight, rigidity, and natural variation that make a finished floor feel substantial, but those same qualities punish shortcuts. A slightly uneven subfloor, a hollow spot beneath a tile, or grout applied before the mortar has cured can turn a premium surface into a repair project.
Granite tile installation is not just ordinary flooring preparation followed by a more expensive tile. The structure must meet a minimum L/480 deflection standard, the substrate should be flat within defined tolerances, and wet areas need careful waterproofing and drainage details. The following process focuses on what happens on an actual job site, including the points where speed usually creates long-term problems.
Table of Contents
- Cut for fit, not just appearance
- Build full mortar contact
- Control lippage and grout joints
- Cure, grout, and seal in sequence
- Granite tile installation cost factors
- Maintenance is part of the value calculation
- Decide whether the job belongs to you
Why Granite Tile Demands a Strategic Approach
A polished granite floor can look perfect on installation day and still fail months later if the structure flexes or moisture remains trapped below the tile. Granite is rigid, heavy, and less forgiving than a synthetic surface. Movement transfers into the setting bed and substrate, while uneven support can leave corners vulnerable to cracking.
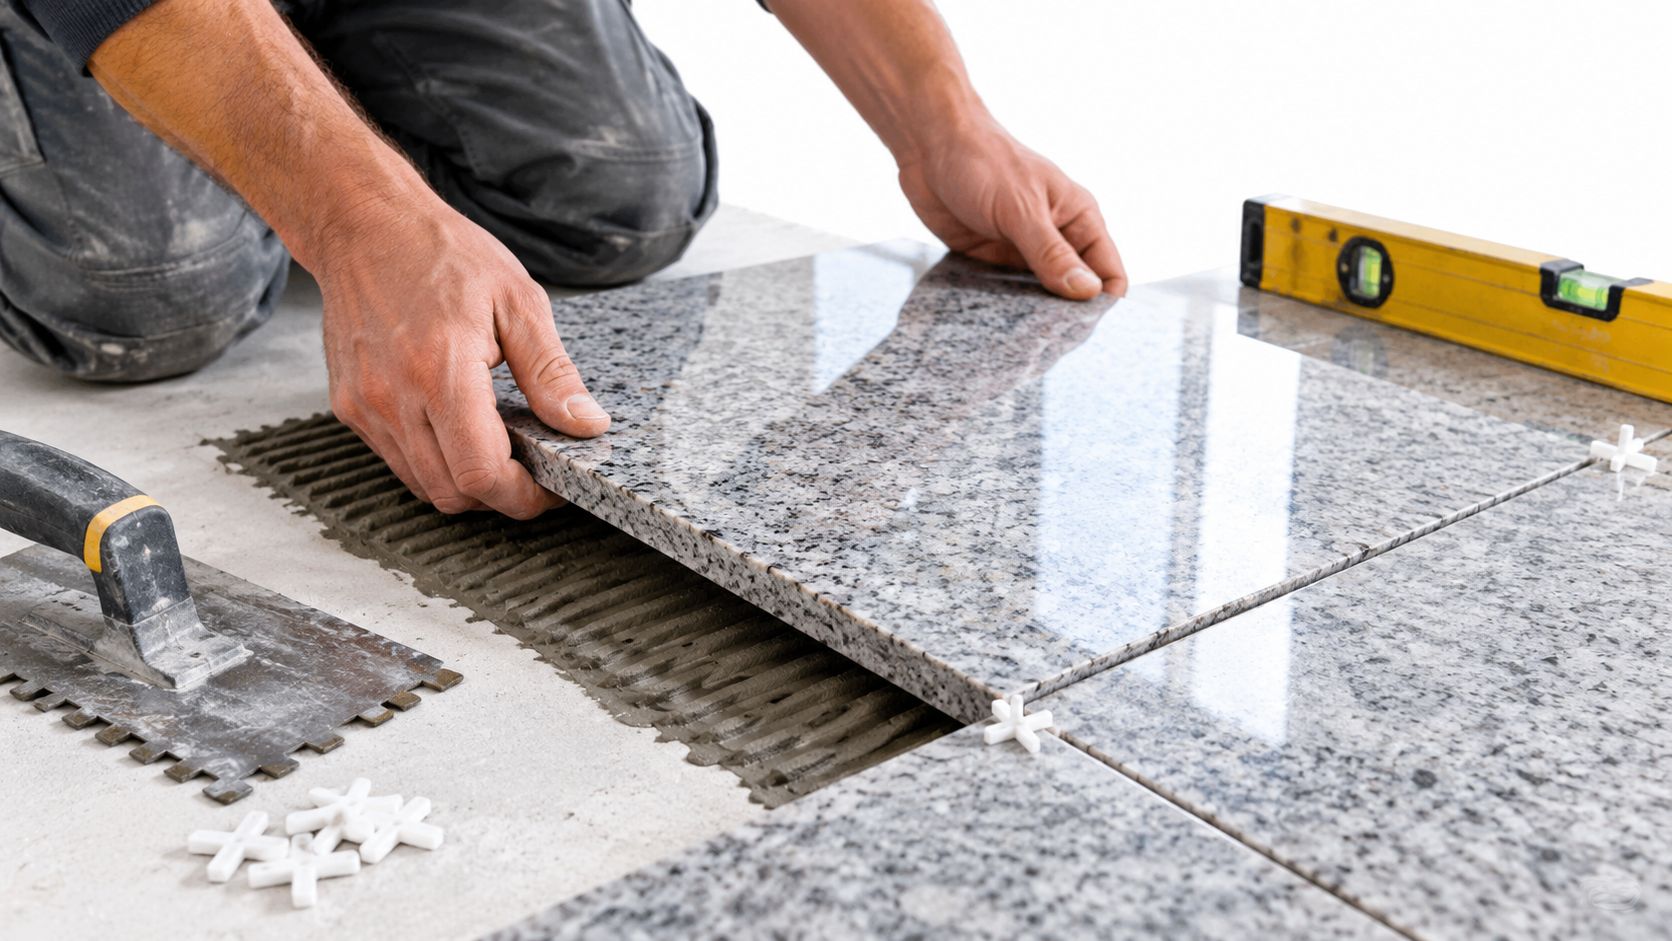
Common granite tiles are cut into 12 by 12 inch, or 300 by 300 millimeter, squares. Thinner tiles of about 3/8 inch, or 10 millimeters, became practical as setting materials and installation methods improved, according to LATICRETE's granite and marble installation guidance. Thin-bed systems reduce finished height and labor compared with a traditional 2 to 3 inch cement bed, but they demand a flatter, better-controlled substrate.
Structure comes before the stone
The supporting floor must meet L/480 deflection, a stricter requirement than many ceramic tile installations. Joist spacing, framing condition, and the approved underlayment assembly all affect whether the floor can carry a rigid stone surface without excessive movement. A stronger mortar cannot compensate for a floor that bends.
On concrete, inspect cracks, slab movement, surface contamination, and moisture before choosing the setting system. Wet areas also require a waterproofing and drainage plan. Moisture that remains under the assembly can contribute to bond problems, staining, or long curing times. Review the granite flooring installation guide for related load and installation considerations.
Practical rule: If the structure moves, correct the structure before spreading mortar.
Granite density affects staging and handling. A 3/4-inch granite tile typically weighs about 12 to 13 pounds per square foot, so installers must plan material storage, lifting, and mortar coverage before work begins. That added weight also makes hollow spots more consequential than they are with lighter tile.
For a high-traffic room, compare granite's durability and maintenance demands with other flooring options in this high-traffic tile flooring guide. Granite provides natural variation and a substantial finish, but it requires careful preparation, adequate curing time, and periodic sealing. If the room cannot support that schedule, a stone-look alternative may deliver a more practical result.
Essential Tools and Materials for Success
The right equipment prevents damage before it happens. Granite is hard enough to require diamond cutting equipment, heavy enough to expose weak mortar coverage, and visually unforgiving when adjacent edges don't align. Buying a basic ceramic tile kit and hoping it will handle natural stone usually leads to chipped cuts, uneven support, or wasted material.
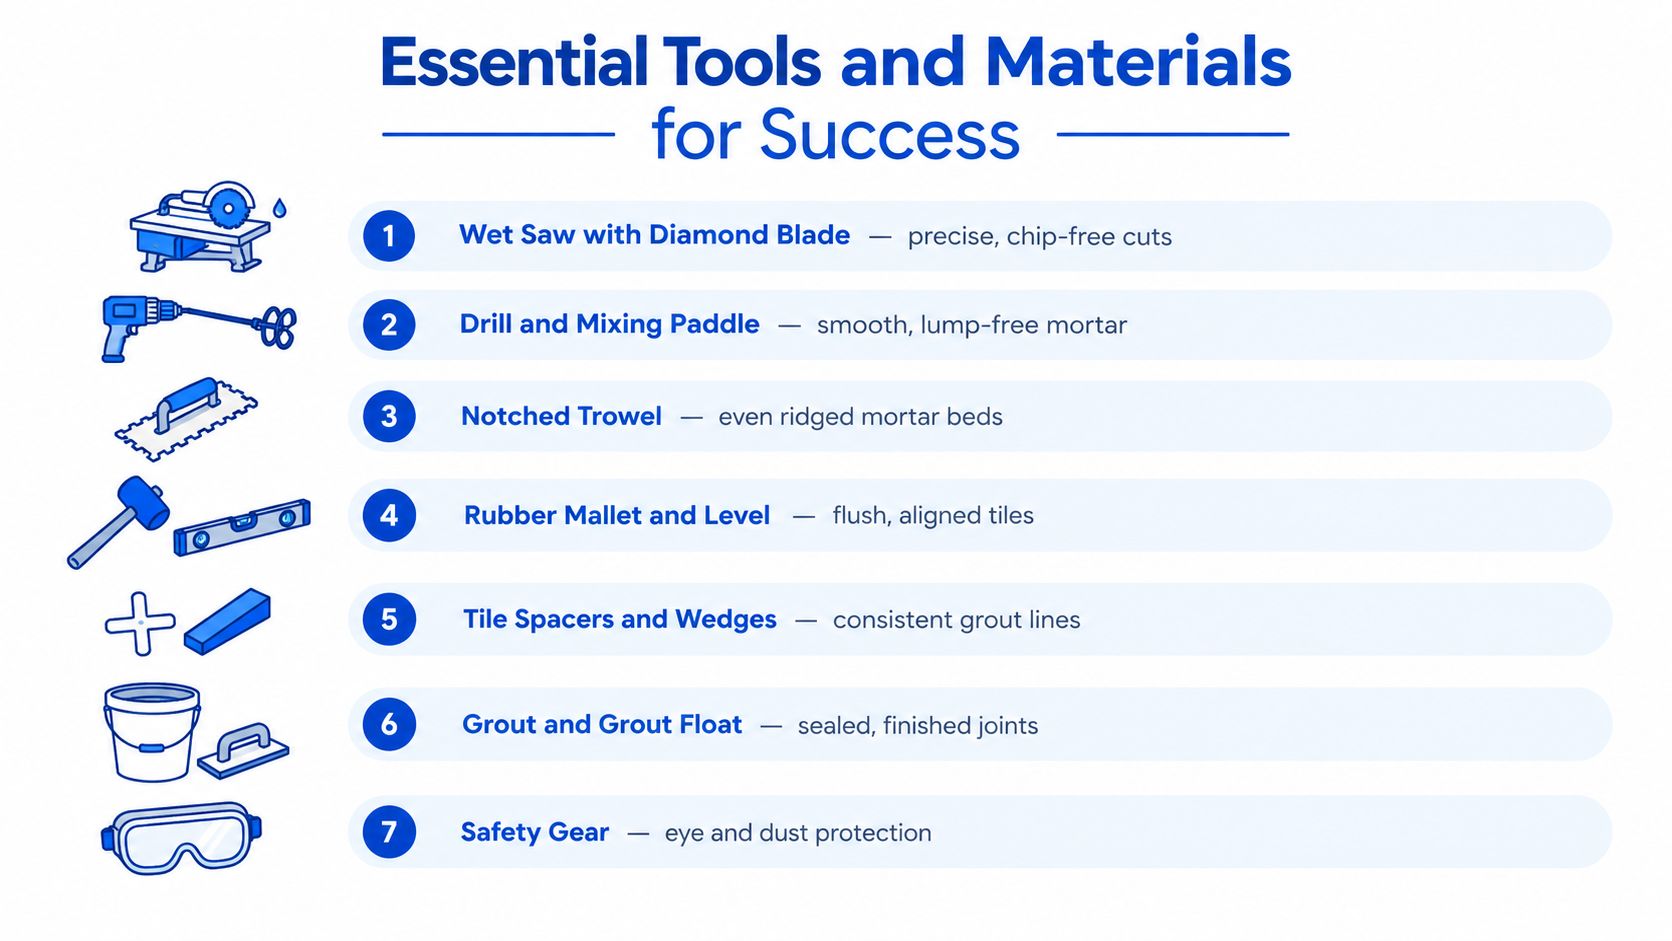
A wet saw with a continuous-rim diamond blade is the main cutting tool. Water controls heat and dust while helping produce cleaner edges. A drill with a mixing paddle is equally important because mortar with dry pockets or lumps won't support a heavy tile consistently. Use a notched trowel sized for the tile and setting-bed requirements, plus a margin trowel for corners and edge cleanup.
Tools that control the finished plane
A long level, straightedge, chalk line, tape measure, rubber mallet, spacers, and leveling clips belong on the floor before mortar is mixed. Leveling clips don't correct a badly prepared substrate, but they help manage small differences between tile edges while the mortar is still workable.
You'll also need:
- Natural-stone thin-set mortar: Choose a mortar approved for the stone and the substrate rather than relying on a general-purpose adhesive.
- Back-buttering tools: A margin trowel helps apply a thin coat to the back of each tile when additional contact is needed.
- Appropriate grout: Select a grout intended for the joint width and natural-stone application, with color chosen after viewing the actual granite.
- Penetrating sealer: Use a product compatible with the granite's finish and follow its label for application and curing.
- Cleaning supplies: Keep clean water, a sponge, microfiber cloths, and a stone-safe cleaner available so residue doesn't harden on the surface.
- Safety equipment: Wear eye protection, gloves, hearing protection, and suitable respiratory protection for tasks that generate dust.
The tile installation tools checklist is useful when organizing equipment, but tools won't compensate for a weak floor or an unsuitable substrate. The material system matters just as much as the tool list. For wet rooms, that system includes a suitable backer, waterproof membrane, drainage plan, and compatible mortar.
Granite also requires enough staging space to keep tiles clean and sorted. Natural stone can vary from box to box, so dry-sort the material before setting it. Mixing pieces from different boxes can create a more balanced visual field, while laying one carton at a time may produce noticeable shade blocks.
Preparing the Substrate and Layout
A granite floor should be planned from the structure outward. Start by confirming that the assembly is rigid, clean, and suitable for the intended setting method. Granite floor work is commonly specified under TCNA Method F111 and ANSI A108.1C, as shown in this granite tile specification. Those references distinguish natural-stone installation from generic tile work.
Check flatness before choosing a pattern
Use a long straightedge to locate dips, crowns, and abrupt transitions. ANSI-based guidance calls for the substrate to be flat within 1/8 inch over 10 feet or 1/16 inch over 2 feet, and large-format stone needs at least 95% mortar coverage, according to this technical guidance on large-format tile installation. These are not cosmetic preferences. A hollow section beneath a rigid tile can concentrate stress and create a failure point.
Correct the substrate before spreading mortar. Remove paint, grease, dust, adhesive residue, and loose material. Repair cracks using a compatible system, and use an approved leveling or patching product where the floor falls outside tolerance. On wood, install the specified backer or underlayment assembly only after confirming that the framing meets the required stiffness.
For wet areas, the substrate must be firmly fixed, flat, clean, and dry. Suitable bases can include concrete, cement board, or treated plywood, combined with a reinforced waterproof membrane, according to this granite installation guide for wet-area preparation. The drainage surface should fall toward the drain by no less than two inches, using the source's stated requirement.
Dry-lay the room before cutting
Find the room's visual center, then snap reference lines that account for the walls, cabinets, doorways, and fixed fixtures. Place tiles without mortar to see where cuts land. A layout that centers the field may leave narrow slivers at both walls, while shifting the starting line can create wider, more balanced edge pieces.
Mark the direction of the granite and keep prominent veining or color movement intentional. Label pieces that need cuts around pipes, corners, thresholds, or drains. Check doors and transitions before installation, because granite's finished height can affect clearances and adjacent flooring.
Plan movement joints in large fields rather than filling every perimeter and interruption with rigid grout. One installation guide places movement joints at about 25 to 30 feet in large fields, subject to the project design and site conditions. The objective is to give the assembly a controlled place to accommodate movement instead of forcing stress into the stone.
For a deeper look at compatible underlayment assemblies, see this guide to tile backer board installation. Don't proceed until the substrate passes the straightedge test and the dry layout looks deliberate.
Cutting, Setting, and Finishing Techniques
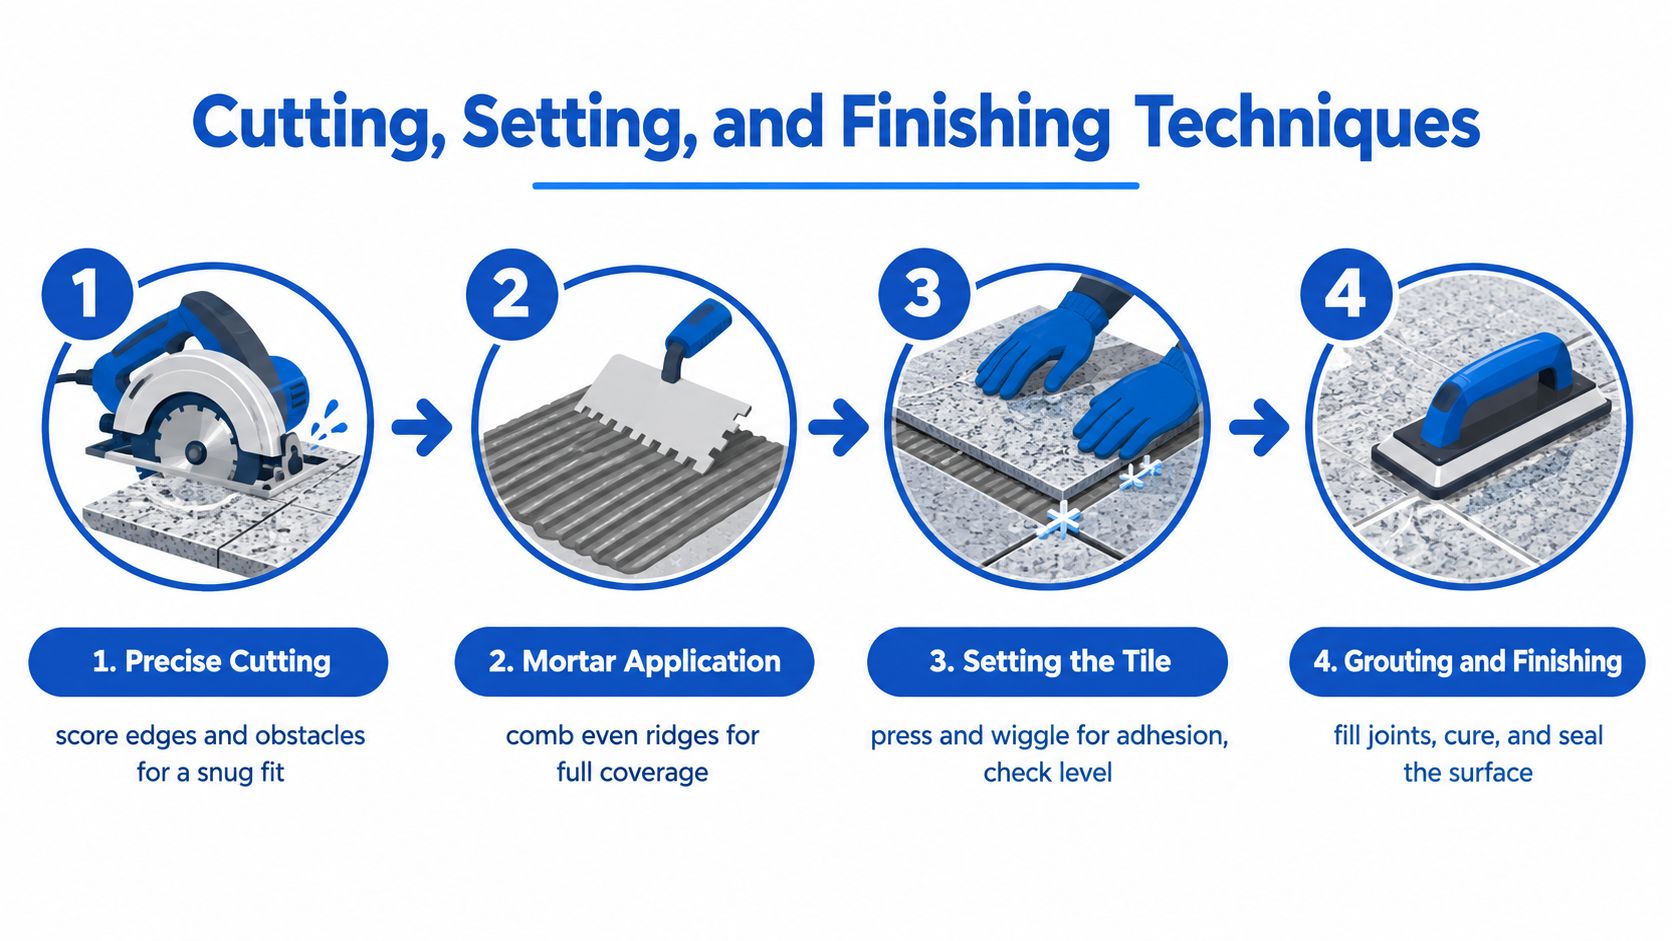
Granite rewards measured work. Set up the wet saw where water and slurry won't contaminate the prepared floor, then mark every cut on the finished face and verify the orientation before switching on the blade. Keep the tile supported on both sides of the cut, especially near narrow edges and corners.
Cut for fit, not just appearance
A straight edge cut usually comes from a steady feed through a wet saw. Small openings and irregular shapes may require a diamond hole saw or grinder, but those tools increase the risk of chipping if the operator forces the cut. Ease into corners and leave enough stone around a penetration to avoid creating a fragile point.
Dry-fit each cut before applying mortar. Confirm the face, edge, and adjoining grout line. A perfect measurement can still fail if the tile is rotated or the wall isn't square.
Build full mortar contact
Mix the natural-stone mortar according to the manufacturer's instructions. The mortar should hold ridges without becoming stiff or crumbly. Spread only an area you can cover while the mortar remains workable, then comb the ridges in one consistent direction.
For granite, coverage is the central quality check. Large-format stone requires 95% minimum mortar coverage, according to the ANSI-based installation guidance cited earlier. Back-butter the tile with a thin, even coat when the tile size, substrate, or mortar pattern makes full contact difficult.
Set the tile into the ridges and press with a slight sliding motion. Lift the first few tiles to inspect the underside. If the ridges remain mostly intact or you see unfilled areas, adjust the trowel angle, mortar amount, or back-buttering technique. Don't try to fix coverage by tapping harder after the tile has already skinned over the mortar.
Control lippage and grout joints
Natural stone makes edge height differences visible, especially under strong side lighting. Industry guidance identifies allowable lippage of 1 millimeter plus inherent tile warpage when grout joints are under 3 millimeters, and 2 millimeters plus warpage when joints are 6 millimeters or wider, according to this tile and stone lippage specification article. The same source summarizes stricter MIA guidance of no more than 1 millimeter for natural-stone installations.
Use spacers to keep joints consistent, but don't force a narrow joint onto tiles with noticeable facial variation. In running-bond patterns, ANSI A108.02 requires at least 3.2 millimeters for rectified tiles and 4.8 millimeters for calibrated tiles when any side exceeds 380 millimeters, as described in the same lippage and grout-joint guidance. Large tiles also shouldn't be installed in a 50% offset pattern when the geometry creates edge conflict. Industry guidance commonly limits the offset to 33%.
Leveling clips and wedges help align neighboring pieces, but they don't flatten the floor or eliminate tile warpage. Check the plane with a level and straightedge as you work. Clean squeezed mortar from joints before it hardens, because packed joints reduce grout depth and make finishing uneven.
Cure, grout, and seal in sequence
Keep traffic off the floor while the mortar cures. Allow 24 to 48 hours for thin-set and grout stages when the product instructions call for that window, as noted in the granite flooring installation guidance. Temperature, humidity, tile porosity, and mortar selection can affect the actual schedule, so the product label controls.
Pack grout fully into the joints with a float, then remove excess diagonally across the joints. Wash with a damp sponge before residue becomes difficult to remove, but don't flood the surface or pull grout from the gaps. On polished granite, grout haze and cement residue can dull the finish, so use a cleaner approved for natural stone.
Sealing comes after the tile and grout have reached the manufacturer's required condition. Wash the surface and allow granite to dry for 24 to 48 hours before applying sealant, according to the granite installation instructions. Test the sealer on an inconspicuous piece first, apply it evenly, and remove excess according to the product directions. A penetrating sealer improves resistance to staining, but it doesn't make the floor immune to spills or eliminate grout maintenance.
Costs, Maintenance, and When to Hire a Pro
A granite floor can look finished while still carrying expensive risks beneath it. The estimate should cover substrate correction, waterproofing, transitions, movement joints, specialty cutting, sealer, waste, and curing time. If those items are absent, a low quote may change after demolition exposes moisture, movement, or an uneven base.
Regional labor rates, room access, demolition, and material grade all affect the final price. Lower-grade granite may reduce material cost, while carefully selected slabs or tiles with stronger color consistency can raise it. Thicker material, difficult cuts, stairs, tight rooms, and long carrying distances also add labor. Ask whether the quote includes preparation and finishing, not only setting tile.
Granite tile installation cost factors
| Component | Typical Range |
|---|---|
| Professional installation labor | $8 to $15 per square foot |
| Installed granite tile before sealing and waste | $13 to $30 per square foot |
| Sealing and waste | Quoted separately according to the project |
| Substrate repair, leveling, waterproofing, and transitions | Project-specific |
These figures are planning references, not a guaranteed bid. Compare estimates by scope. One installer may include demolition, leveling, and disposal, while another may list them separately. Confirm the tile grade, thickness, edge treatment, delivery, waste allowance, sealing, and movement-joint work before comparing totals.
Moisture and movement deserve the same attention as price. The floor needs a stable, adequately flat base, and concrete with high moisture may require a vapor-control system selected for the installation. Large fields also need movement accommodation at the intervals specified by the project conditions and installation system. Put these requirements in writing before work begins.
Maintenance is part of the value calculation
Granite generally absorbs little moisture. A natural-stone reference describes absorption as typically below 0.4% and identifies flamed and bush-hammered finishes with a DCOF above 0.42, meeting the ANSI A326.3 wet-area threshold, as explained in this granite tile performance guide. Finish choice still depends on the room. Polished granite can suit a formal entry, while a textured finish may provide better footing where water and heavy traffic are common.
Sealing reduces staining risk, but it does not make granite or grout maintenance-free. Sweep or dust-mop grit, wipe spills promptly, and use a pH-neutral cleaner approved for natural stone. Avoid acidic products and aggressive household chemicals that can damage the finish or affect grout. Grout joints continue to collect soil even when the granite itself remains sound.
Inspect the floor periodically for dull areas, cracked grout, loose tiles, hollow sounds, and moisture at edges or transitions. Sealer performance varies with traffic, cleaning methods, and the stone. Reapply it only after testing absorption and following the product instructions, rather than treating a fixed calendar interval as universal.
Porcelain stone-look tile deserves an honest comparison. Granite provides natural variation and a genuine stone surface, but installation demands careful handling, curing time, sealing, and better control of substrate defects. Current design coverage reports that pricing is the No. 1 attribute discussed by designers and unique aesthetics is the second most common driver for natural stone, according to 2026 tile trend coverage. A busy household that values short downtime and simple upkeep may find porcelain more practical, even if granite has greater visual distinction.
Decide whether the job belongs to you
DIY installation can suit someone who already understands mortar behavior, wet-saw cutting, substrate correction, and layout control. It is a poor place to learn those skills when the floor moves, the room is a wet area, the tiles are large or costly, or the layout includes many penetrations and transitions.
Hire a qualified installer when:
- The structure is uncertain: Movement must be identified before tile covers the problem.
- The substrate needs correction: Flatness, moisture, waterproofing, and backer-board details determine whether the stone has a stable base.
- The finish must be highly visible: Polished granite exposes lippage and edge defects under side lighting.
- The schedule is tight: Mortar curing, grouting, cleaning, and sealing require time.
- Failure would be expensive: Replacing a failed granite floor costs more than correcting preparation at the start.
Sunny Day Pro Services provides tile and flooring installation for granite, marble, porcelain, and ceramic, including kitchen, bathroom, backsplash, and full-room projects. Homeowners in Wayland, Newton, Needham, Wellesley, Weston, and nearby Massachusetts communities can review the scope and request a quote before committing to granite.
Require the installer to document substrate preparation, mortar selection, coverage expectations, grout-joint planning, curing time, and sealing. Those records clarify responsibility and help prevent recurring cracks, hollow spots, stains, and uneven edges.
If you are planning granite tile installation in the Massachusetts communities Sunny Day Pro Services serves, request a project estimate covering preparation, setting, grouting, and sealing. Visit Sunny Day Pro Services to discuss the room, material, schedule, and installation details.

