
Kitchen Backsplash Height: Standard Guide for Homeowners
Learn standard kitchen backsplash height, factors that matter, code tips, and practical measurement advice before you start your tile installation.
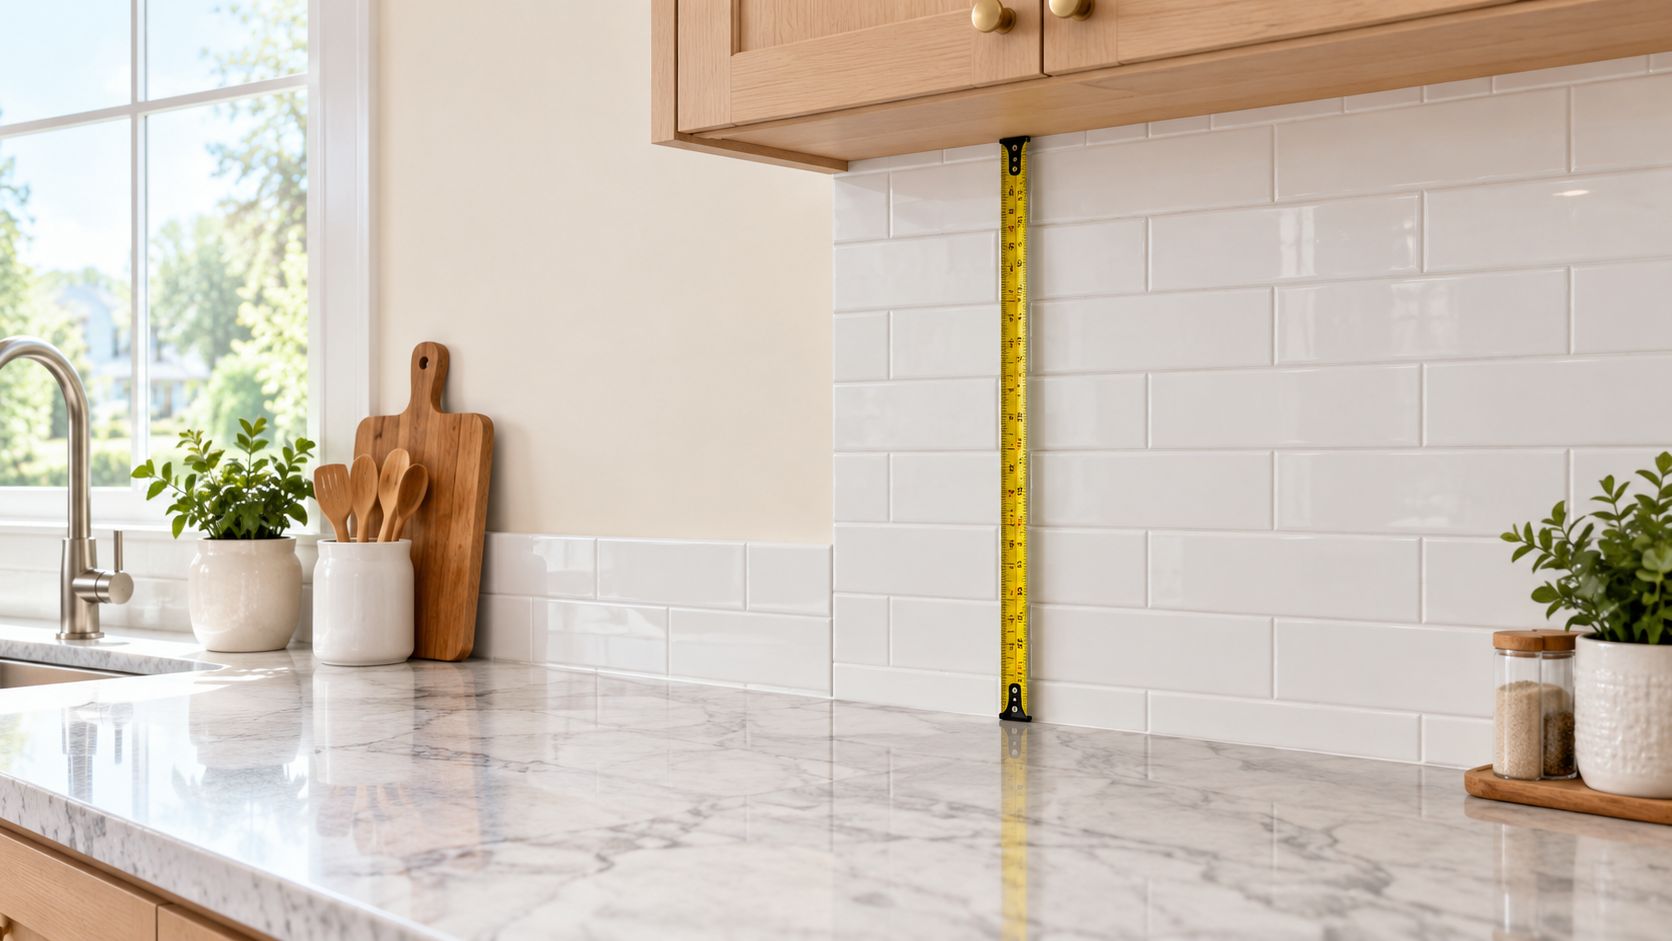
The common kitchen backsplash height is 4 inches above the countertop, while full-height installations usually reach 15 to 18 inches beneath the upper cabinets. That choice affects wall protection, tile quantities, outlet placement, cleaning, and how finished the kitchen feels.
You may be standing in your kitchen with a tile sample in one hand and a tape measure in the other, wondering why a simple strip of wall has become a design decision. The short stone strip may suit the countertop, while a taller tile installation could protect the wall behind the sink and range more effectively. In Massachusetts kitchens, where remodels often need to work around existing cabinets, windows, outlets, and uneven older walls, the right answer depends on the room rather than a universal rule.
Table of Contents
- Start with the countertop
- Follow the cabinet clearance when going taller
- Treat the numbers as starting points
- Cooking areas need a separate decision
- Sinks deserve practical coverage
- Material trends change the visual payoff
Why Backsplash Height Choices Matter
A homeowner planning a modest kitchen refresh may begin with one assumption: the backsplash should just follow the countertop. Then the installer measures the wall and finds an outlet in the proposed tile field, a range hood that sits higher than the cabinets, or a window trim that interrupts the normal run. Suddenly, backsplash height affects more than appearance.
A short backsplash protects the wall closest to the countertop and keeps the upper wall open. A taller installation covers more of the splash and grease path, gives the tile a stronger visual role, and can make the junction between countertop and cabinets look deliberate. The trade-off is additional material, more cuts, and more coordination around electrical fixtures and wall transitions.
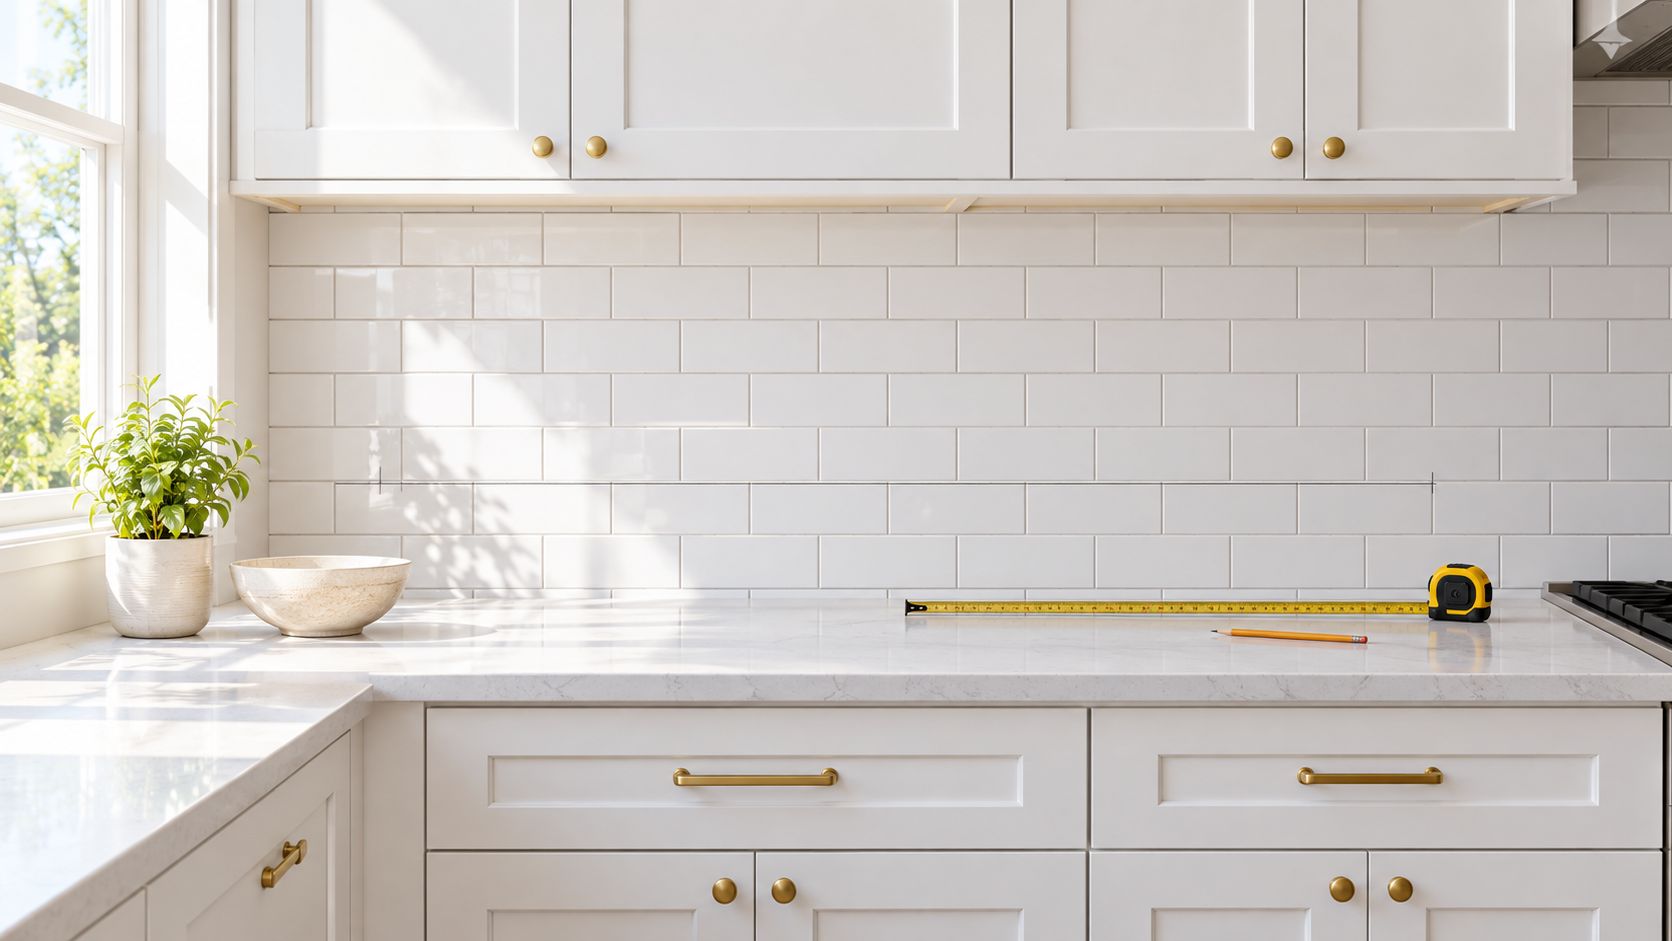
Height changes daily maintenance
A painted wall above a short strip remains exposed to splashes from a sink, steam from a kettle, and grease from a cooktop. You can wipe tile clean more readily than painted drywall, particularly when the surface uses a suitable grout and has few unnecessary joints.
That doesn't mean full coverage belongs everywhere. A low-use coffee station may not need the same protection as the wall behind a range. A practical design often gives the busiest zones more coverage while keeping quieter areas visually lighter.
Height also changes the project scope
The amount of wall covered affects how much tile must be purchased, how many outlets need adjustment, and how the installer handles corners, seams, and finished edges. A taller run can look polished, but only when the layout is planned before the first tile is cut.
For a broader planning view, review this guide to kitchen backsplash cost. The height decision should be made alongside the material and installation plan, not after the countertop is already in place.
Practical rule: Choose backsplash height by zone and use, then make the pattern and material support that decision.
Understanding Standard Backsplash Heights
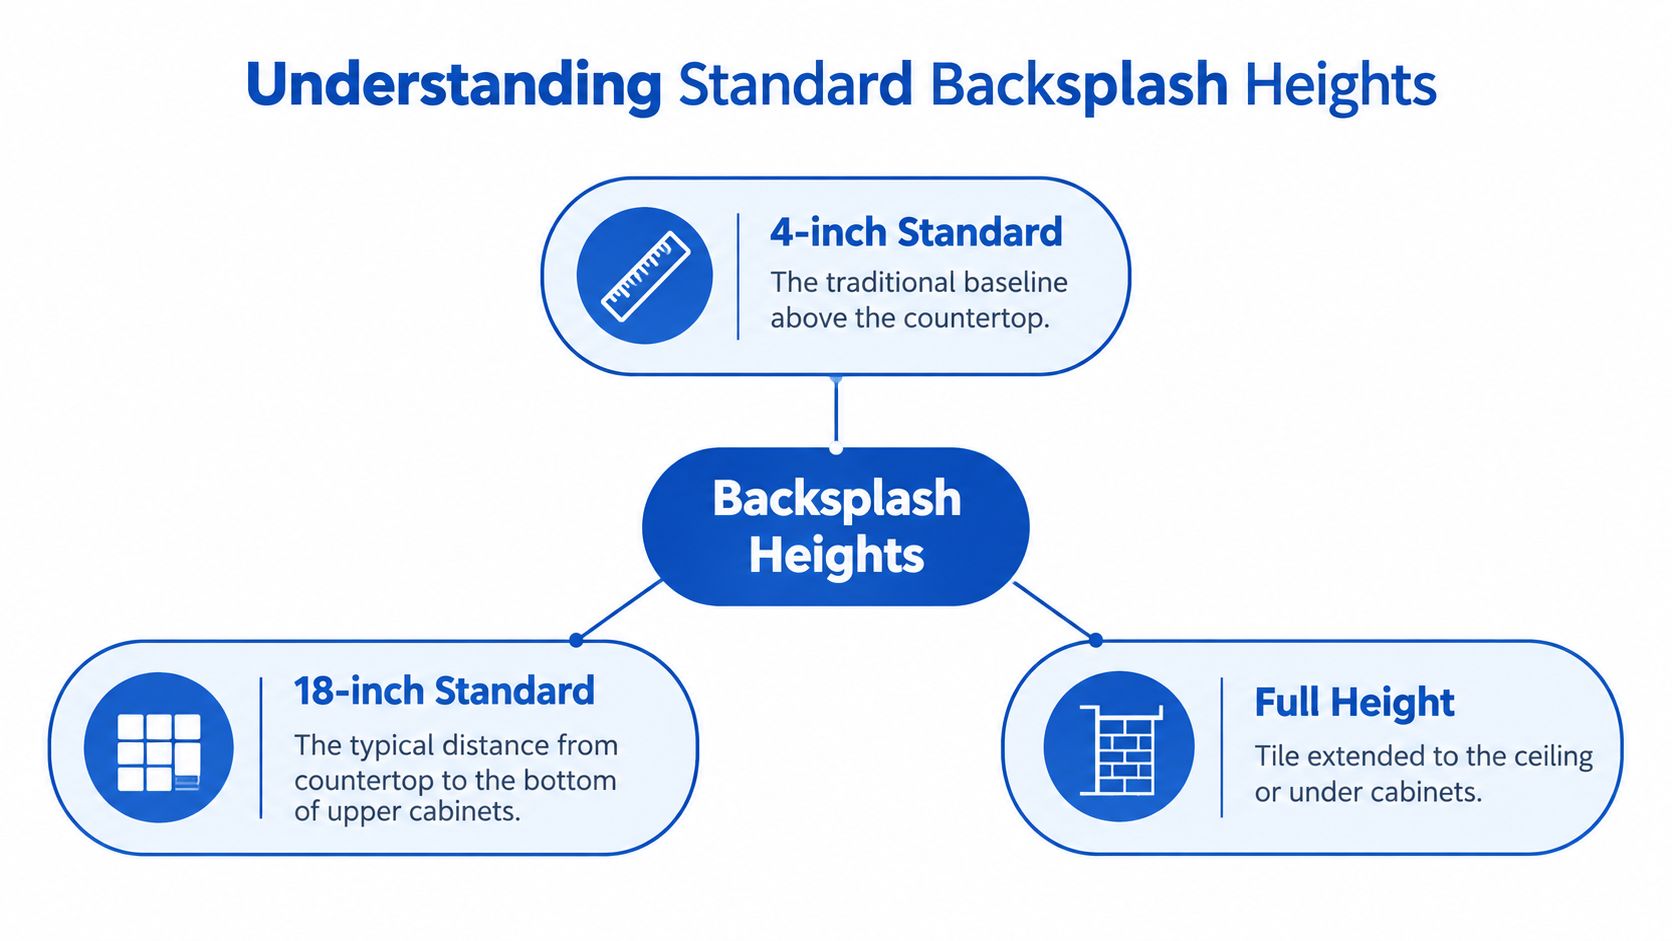
The traditional reference point is a 4-inch backsplash. It became common because a narrow strip of countertop material could protect the lower wall without covering the entire space between the counter and upper cabinets. Major consumer and trade guidance still identifies it as the historical baseline in North American kitchen design, although it remains a convention rather than a universal code requirement. Angi's backsplash height guide describes the common range for standard backsplashes as 3 to 6 inches, with 4 inches the most common measurement.
A full-height backsplash follows a different logic. Instead of stopping shortly above the counter, it generally continues to the underside of the upper cabinets. In many kitchens, that practical zone is approximately 15 to 18 inches high. The exact measurement depends on cabinet installation, countertop thickness, wall conditions, and the location of appliances.
Start with the countertop
Measure from the finished countertop surface, not from the cabinet box or unfinished wall. The countertop establishes the visual and functional starting line, and a backsplash that begins too low can leave an awkward gap at the counter edge.
The classic short option covers only the lower portion of the wall. It can be made from matching stone, ceramic tile, porcelain, or another compatible surface. Its strength is restraint. The wall remains available for shelves, artwork, or a simple painted finish.
Follow the cabinet clearance when going taller
For a full-height installation, measure to the actual underside of the upper cabinets. Guidance from Backsplash.com on backsplash dimensions places the practical full-height zone around 15 to 18 inches, while other installation guidance commonly describes the cabinet-to-counter gap as approximately 18 inches. These figures are planning references, not permission to skip a site measurement.
Full-height can also mean continuing beyond the upper cabinets toward the ceiling in an open area, around a hood, or behind open shelving. That is a design decision rather than a default requirement. If the wall ends at a window or changes plane, the tile may need a carefully chosen stopping point and finished edge.
Treat the numbers as starting points
There isn't one code-mandated backsplash height for every kitchen. The 4-inch standard persists because it is familiar and practical, while taller coverage has become a broader design and protection choice. The correct measurement is the one that fits the actual cabinet line, appliance layout, outlets, and intended material.
Comparing Short and Full-Height Installations
A short backsplash and a full-height backsplash solve different problems. The short version uses less material and keeps the wall visually open. The taller version protects more of the wall and gives the installer a larger surface for a continuous tile, slab, or pattern.
A short backsplash generally measures 3 to 6 inches, while a full-height installation commonly occupies the 15 to 18 inch space between countertop and upper cabinets. Guidance from SlabWise on backsplash planning and pricing also notes that cooking zones may extend higher toward a hood or cabinet line when appliance placement calls for it.
| Option | Typical Height | Protection Level | Material Use | Best For |
|---|---|---|---|---|
| Short backsplash | 3 to 6 inches | Protects the lower wall near the countertop | Lower quantity and fewer wall cuts | Simple updates, matching stone, open wall space |
| Full-height backsplash | 15 to 18 inches in many kitchens | Protects most of the counter-to-cabinet splash zone | More tile, trim, grout, and layout planning | Cooking zones, statement walls, continuous surfaces |
Where the short option works
A short backsplash makes sense when the countertop already provides a strong visual finish or when the wall above the counter has another purpose. It can suit a kitchen with open shelves, substantial window coverage, or a quiet design where the backsplash should remain secondary.
It also simplifies installation. There are fewer outlets and switches to work around, fewer vertical transitions to finish, and less tile to cut. That doesn't make it maintenance-free. Paint above the strip remains vulnerable wherever splashes travel beyond the protected band.
Where full height earns its place
Full-height tile works especially well behind a sink or cooking surface because it creates a continuous wipeable area. A slab or large-format tile can reduce visible grout lines, while a smaller tile can introduce pattern and texture. Current design coverage from Tasting Table's kitchen backsplash trend discussion points toward larger formats, subtle grout, and more continuous surfaces.
The extra wall area also means more material quantities. An installer must account for outlets, corners, seams, cabinet irregularities, and finished ends. Before choosing this option, use a detailed kitchen backsplash installation guide to understand the preparation and cutting involved.
A tall backsplash isn't automatically better. It's better where the wall needs protection or deserves to be a focal point.
Factors That Influence Your Backsplash Height Decision
The cabinet layout is usually the first constraint. If upper cabinets run continuously above the counter, the underside provides a natural stopping line. If the wall has open shelves, a hood, or no upper cabinets, the tile may continue higher because there isn't a cabinet edge to define the composition.
Countertop depth matters less as a number than as a splash and reach condition. A deep work surface may keep some activity farther from the wall, while a compact counter can place water, food, and utensils close to the vertical surface. Think about how the counter is used, not just how wide it appears on a plan.
Cooking areas need a separate decision
The wall behind a range usually experiences more heat, grease, steam, and food residue than a quiet counter run. A full-height backsplash can continue to the underside of the hood or upper cabinets, creating a stronger protective field around the appliance. The actual height should follow the appliance and hood arrangement rather than an arbitrary horizontal line.
A mixed-height plan can be sensible. You might use a short backsplash along a lightly used counter and extend tile higher behind the range. The transition must look intentional, with a clean edge, aligned grout, or a material change that appears designed rather than interrupted.
Sinks deserve practical coverage
Sink walls benefit from easy-clean coverage because water can travel beyond the immediate counter edge. A taller backsplash is particularly useful where the faucet, window trim, or dishwashing area leaves little room for the wall to dry between uses.
Windows create a different challenge. The tile may need to stop at the casing, return into the reveal, or continue around the opening. A full-height plan that ignores trim thickness can leave narrow slivers of tile or an awkward cut beside the frame.
Material trends change the visual payoff
Large-format tile and slab surfaces can make a taller installation feel calm because they limit grout interruptions. Smaller ceramic tiles, mosaics, and textured pieces may create more detail, but the pattern needs enough wall area to read clearly without competing with cabinets and counters.
Stone Valley's countertop and backsplash guide describes the common cabinet-to-counter relationship as approximately 18 inches in many kitchens. Use that as a planning reference, then verify the actual clearance at every section of wall.
Measuring Your Kitchen Before Tile Installation
Good backsplash work starts with a measured wall, not a tile box. A Massachusetts kitchen may have cabinets that vary slightly from one end to the other, a countertop with a small slope, or drywall that isn't flat enough for a long, rigid surface to sit evenly.
Use a repeatable measurement process
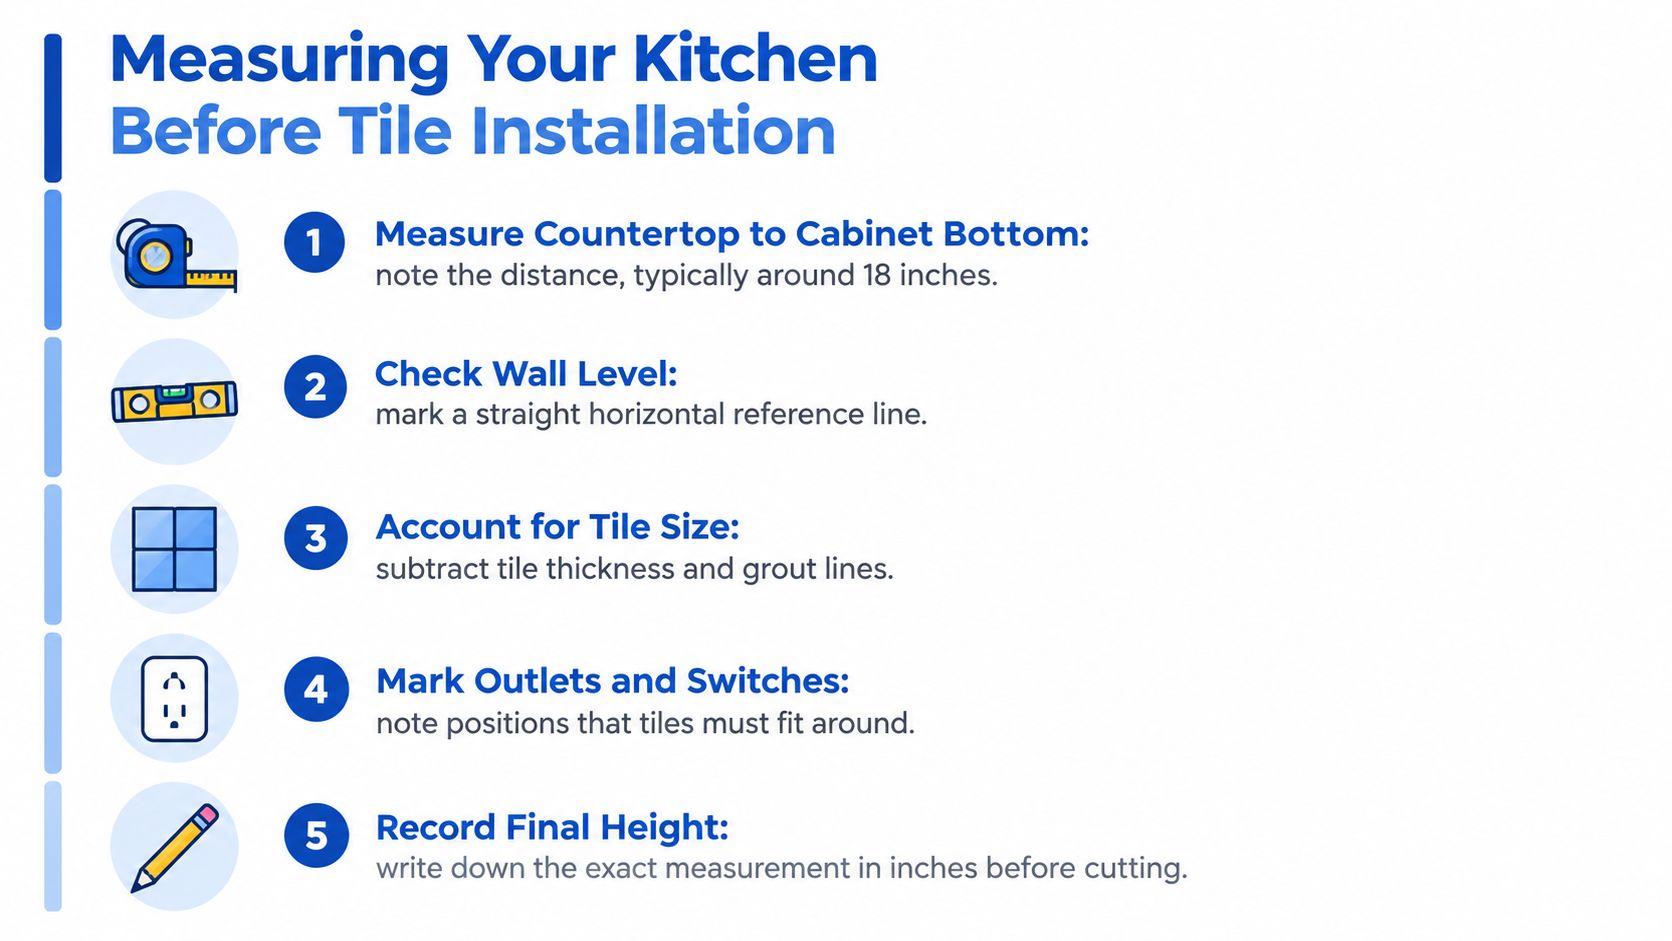
Measure the finished height. Place the tape measure on the countertop surface and record the distance to the underside of the upper cabinets at several points. Note the smallest measurement, the largest measurement, and any visible change near a hood or window.
Check the wall plane. Hold a level horizontally and mark a reference line. A level line helps the installer plan the first course, but it doesn't mean the countertop or wall is perfectly straight.
Map the tile layout. Account for tile thickness, grout joints, corners, trim, and the desired stopping point. The first row may need a controlled cut so the top edge doesn't finish with a thin sliver.
Mark every electrical opening. Photograph and measure outlets, switches, and appliance connections before removing anything. Full-height tile changes the face position around receptacles, so boxes and cover plates may need adjustment by a qualified professional.
Write down the final dimensions. Keep a simple sketch with wall widths, measured heights, openings, and transitions. That record helps the installer estimate material and plan cuts before arriving.
Don't guess around outlets
Electrical receptacle placement in the backsplash zone follows spacing rules rather than a fixed backsplash height. Receptacles are commonly centered 18 inches above the finished countertop, and the NEC requires that no point along the countertop wall space be more than 24 inches from a receptacle, as explained in SlabWise's outlet templating guidance.
Those measurements don't tell you where every outlet will sit in an existing kitchen. They tell you why outlet locations must be documented before tile work. Turn off power before any inspection involving electrical components, and have electrical changes handled by a qualified electrician.
Wall preparation matters just as much. If the substrate needs replacement, coordinate the backsplash with tile backer board installation. A flat, sound surface makes height lines, outlet cuts, and finished edges easier to control.
Choosing the Right Height for Your Kitchen
Choose the short backsplash when the wall sees light use, the countertop already has enough visual weight, or you want to preserve open space above the counter. It can also be the sensible choice around windows and shelving, where a taller installation would create too many small cuts and transitions.
Choose full-height coverage when the sink or range regularly exposes the wall to water, grease, and food residue, or when the backsplash wall is visible from the main living area. The taller field gives a continuous material surface and can make a carefully selected large-format tile, ceramic pattern, or slab the center of the room.
Use a zone-based plan
- Quiet counter run: A short backsplash may provide adequate protection and a restrained finish.
- Sink wall: Taller coverage is often easier to wipe and better suited to recurring water exposure.
- Range wall: Plan the tile to coordinate with the hood, cabinets, appliance clearances, and the strongest splash path.
- Open shelving or hood wall: Consider extending the material higher when the wall needs a finished backdrop.
- Window area: Measure the casing and reveals before committing to a continuous height.
For a kitchen refresh in Wayland, Newton, Needham, Wellesley, Weston, or nearby Massachusetts communities, bring the installer the measured wall sketch, outlet locations, cabinet information, and preferred stopping lines. Sunny Day Pro Services provides tile and flooring installation, including custom backsplashes, with scheduling and quote options for homeowners planning this type of work.
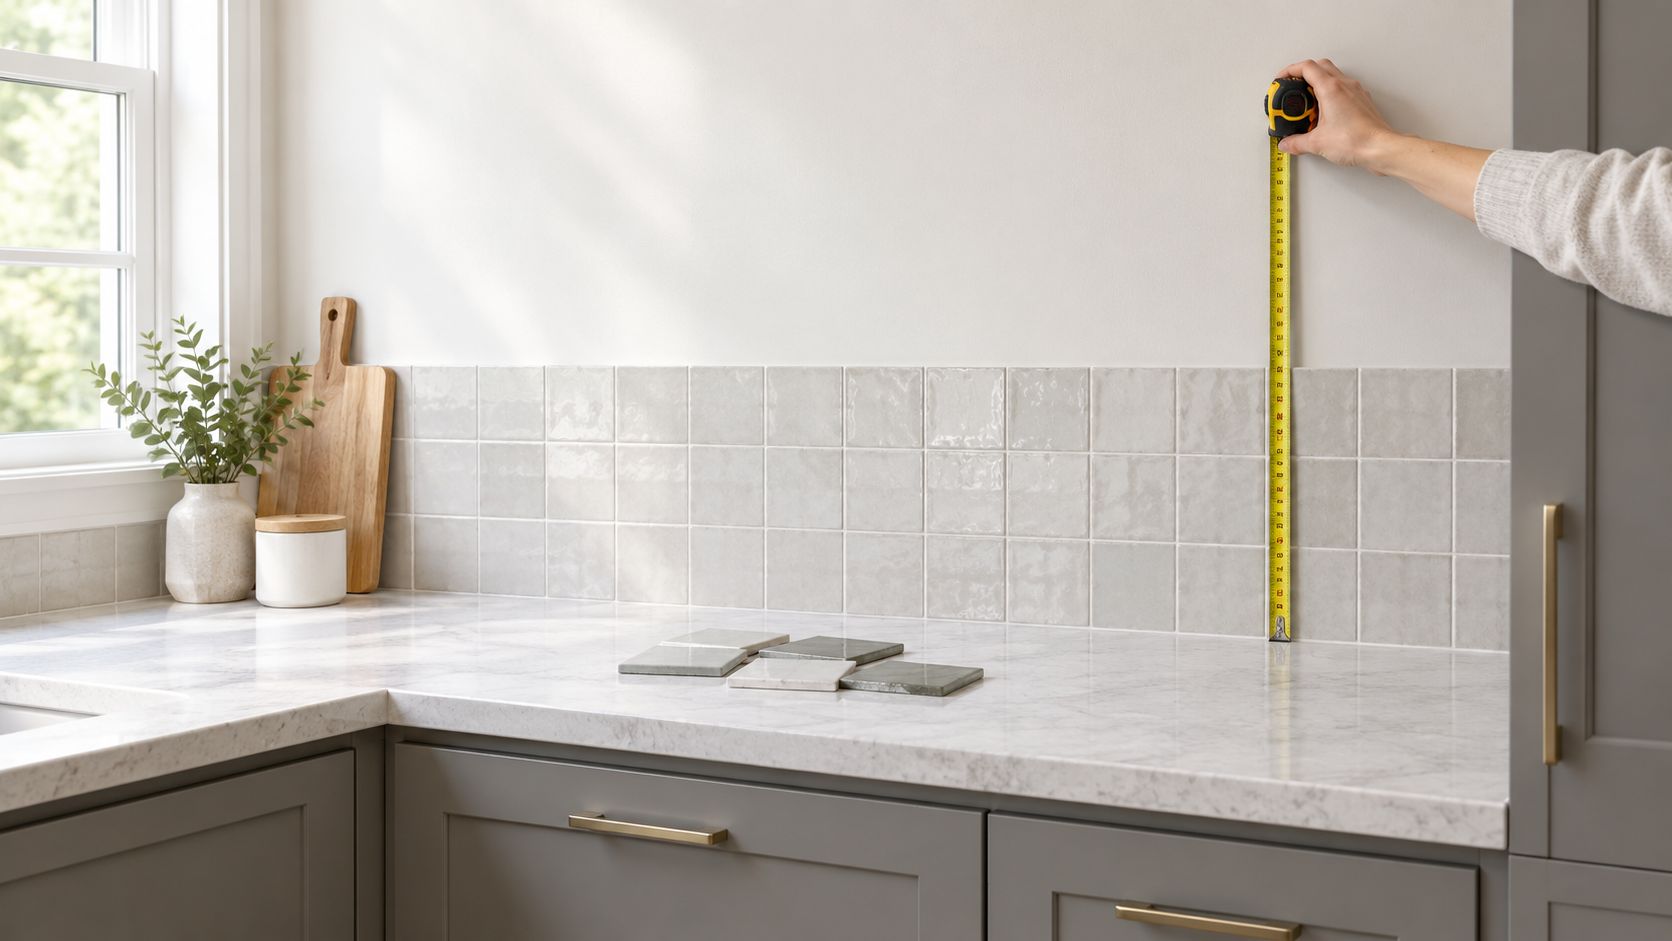
The most reliable installation begins before tile selection. Confirm the finished countertop, inspect the wall, mark outlets, decide how the backsplash will meet cabinets and windows, and choose whether each zone needs short or taller coverage. That preparation prevents the common mistakes that make a backsplash look uneven, crowded, or unfinished.
If you're planning a kitchen backsplash in Massachusetts, Sunny Day Pro Services can measure the tile area, plan around cabinets and outlets, and install ceramic, porcelain, marble, or granite surfaces. Request a quote to discuss the right backsplash height for your sink, range, and countertop layout.

