
Move Out Cleaning Checklist: Essential Tasks for 2026
Use this move out cleaning checklist to tackle every room and secure your full security deposit. Practical steps for a spotless handover in 2026.
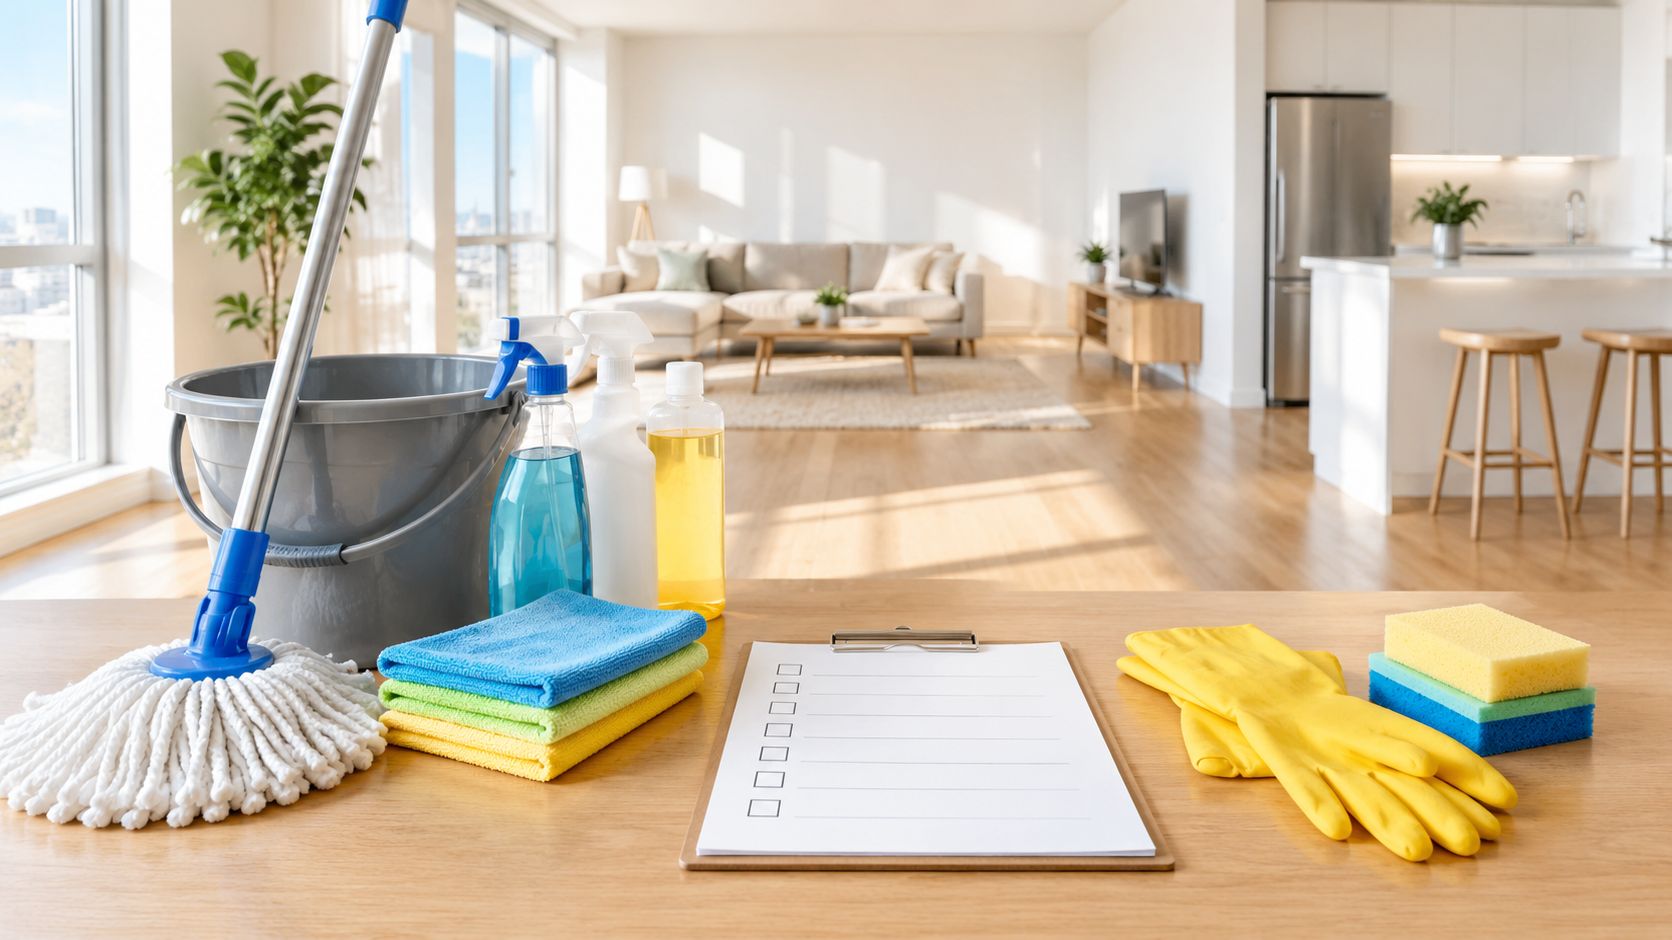
An empty home can look finished before it's inspection-ready. Boxes are gone, the truck is waiting, and the landlord or buyer may arrive soon, but grease inside the oven, dust on return vents, residue in window tracks, and scuffs around door frames can still stand out. The most reliable move out cleaning checklist starts with the handover, not the mop.
Remove belongings first, then work from high surfaces to low surfaces and from dry tasks to wet ones. Clean in a deliberate sequence, finish with the floors, and photograph the completed condition before returning the keys. That approach gives you a cleaner home and a useful record of what you handed over.
This guide covers the supplies that make the work easier, 10 room-and-stage checklists, material-specific cautions, landlord expectations, documentation, indoor-air-quality considerations, and the point at which professional help makes sense. Massachusetts homeowners and renters in Wayland, Newton, Needham, Wellesley, Weston, and nearby communities can also consider Sunny Day Pro Services when the schedule, flooring, or inspection standard exceeds what a rushed DIY clean can deliver.
Table of Contents
1. Kitchen Deep Clean for Appliances, Cabinets, and Countertops
The kitchen deserves early attention because grease and food residue hide in places a quick wipe misses. Start by emptying every cabinet, drawer, appliance, and pantry area. Remove crumbs and loose debris with a vacuum attachment before applying cleaner.
Work from the range hood downward. Degrease the hood, filter, stovetop, backsplash, cabinet fronts, handles, counters, and sink in that order, then clean the oven, microwave, refrigerator, freezer, and dishwasher interiors. A microfiber cloth works well on stainless steel because it reduces streaking, while a soft brush reaches cabinet corners and appliance seals.
For baked-on residue, use a product labeled for the surface and allow the stated dwell time to do the work. Aggressive abrasive pads can scratch stainless steel, enamel, and cooktop finishes. If oven drip pans need attention, follow this guide to cleaning oven drip pans rather than scraping blindly.
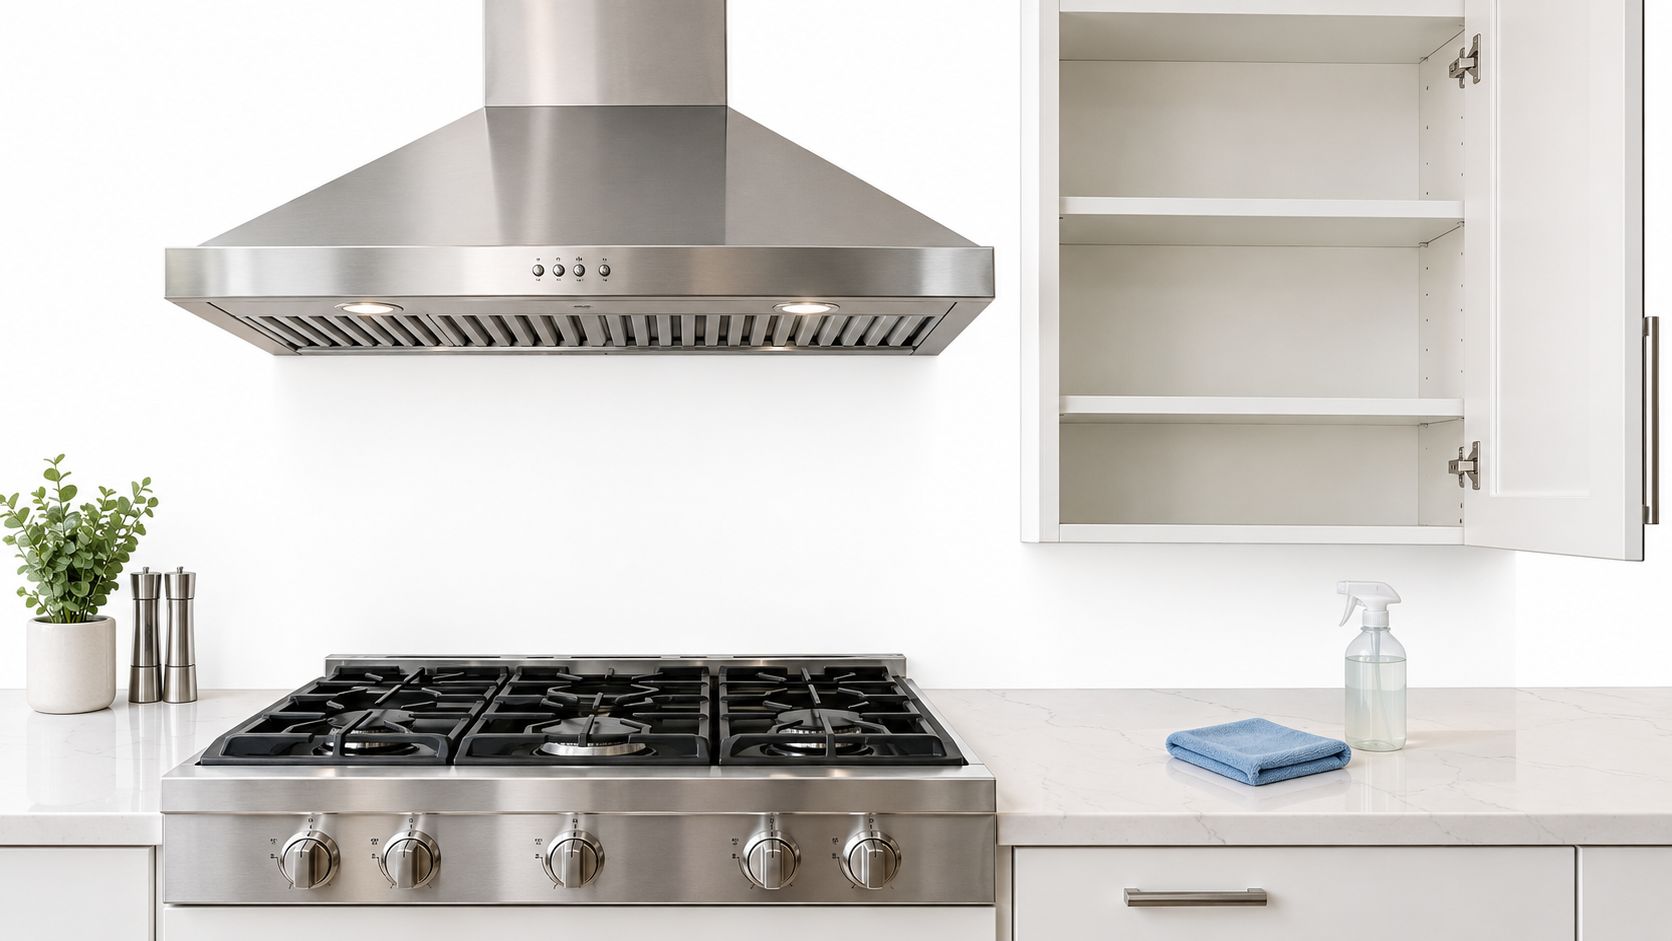
Kitchen supplies and inspection points
Keep a nonabrasive degreaser, microfiber cloths, a soft detailing brush, a vacuum crevice tool, a glass cleaner, and a suitable descaler nearby. White vinegar can help with some mineral deposits, but don't use acidic products on surfaces that may etch, and follow the manufacturer's instructions for fixtures and stone.
- Appliance interiors: Remove food, crumbs, grease, shelves, racks, and residue. Check refrigerator seals and the area beneath removable drawers.
- Cabinets and drawers: Wipe shelves, edges, corners, pulls, and the undersides of drawers. Emptying them first prevents trapped debris.
- Fixtures and counters: Remove soaplike residue, polish the faucet with a compatible product, and check backsplash joints for grease.
- Documentation: Photograph the oven, refrigerator, microwave, cabinets, counters, floor, and sink after they're dry.
A realistic handover standard is sanitary and comparable with the condition at move-in. Don't promise to reverse worn enamel, faded finishes, or old damage through cleaning. Record those conditions separately so removable dirt isn't confused with ordinary aging.
2. Bathroom Sanitization for Tiles, Fixtures, and Grout Lines
A bathroom can look clean at a glance while failing a close inspection. Soap residue, mineral deposits, mildew, and hair remain visible around shower doors, faucets, toilet bases, drains, and grout lines. Remove toiletries, mats, bins, and personal items first, then inspect the exposed floor, corners, and wall edges before choosing products.
Work from high surfaces downward. Dust the exhaust fan cover, clean the mirror and upper tile, treat the shower and tub, scrub grout, wash the vanity and sink, disinfect the toilet, and mop the floor last. Keep microfiber cloths, a narrow grout brush, a nonabrasive bathroom cleaner, and a compatible descaler nearby. The narrow brush gives better control around caulk and delicate fixtures than a large, stiff brush.
Natural stone changes the product decision. Marble and granite can etch with acidic or harsh cleaners, so use a pH-neutral product and test it in an inconspicuous area. Follow the manufacturer's directions for tile, fixtures, sealants, and stone. Sunny Day Pro Services describes its deep cleaning bathroom service for broader bathroom preparation.
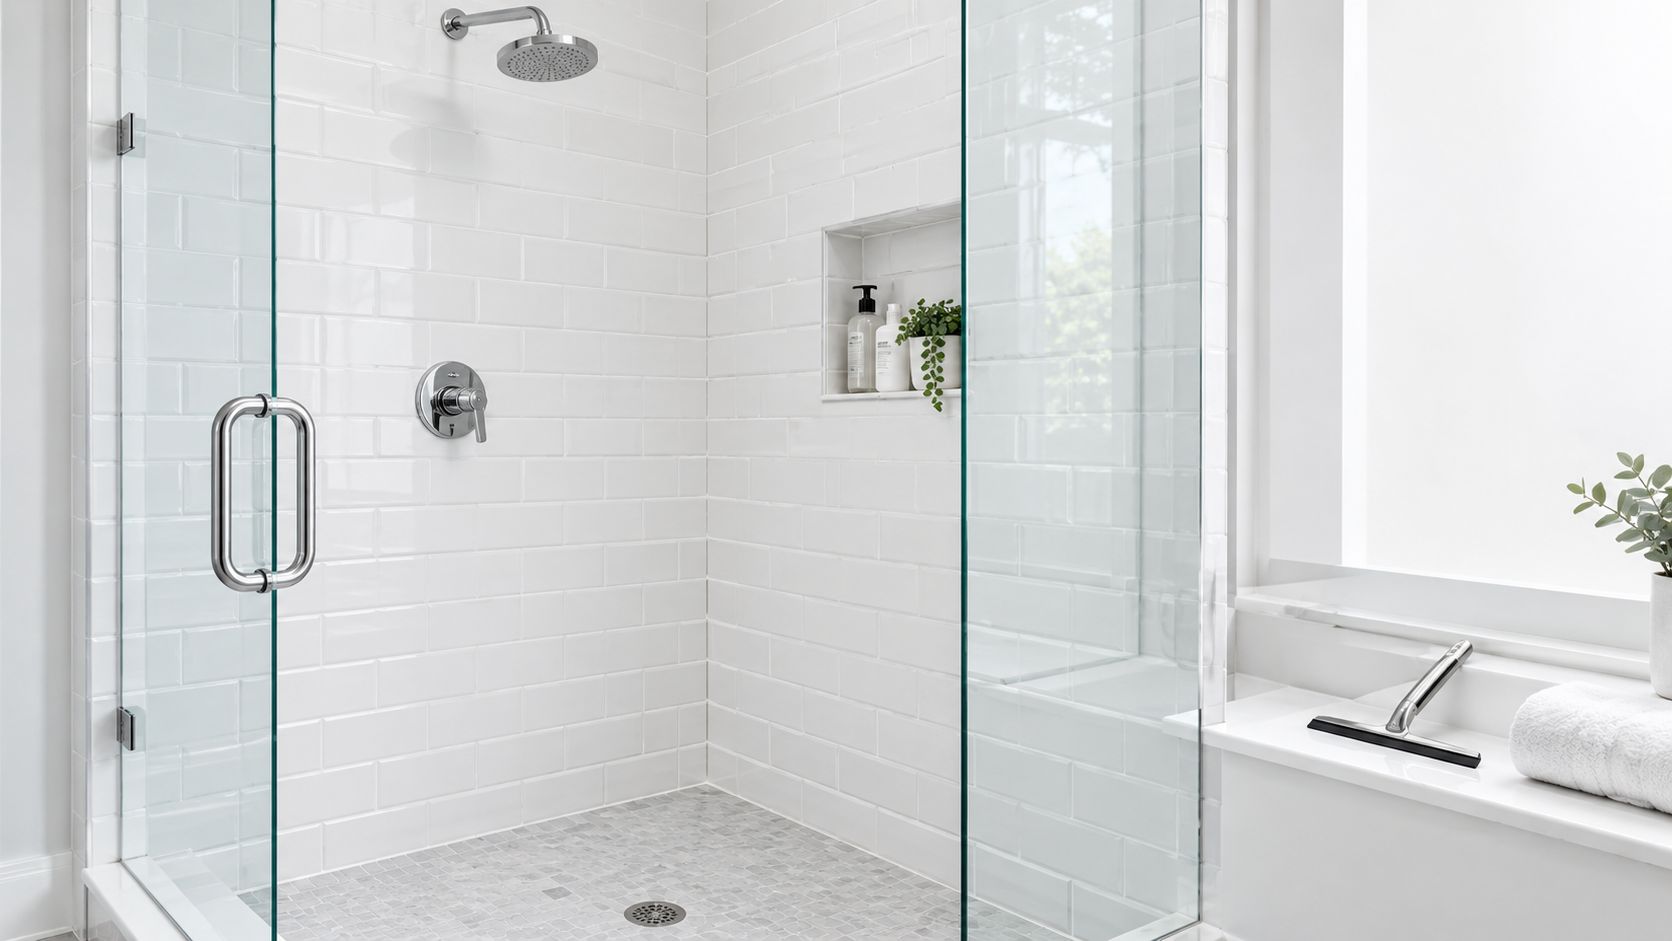
Safety affects both the result and the handover. Never mix bleach with ammonia, acids, or other cleaning products. Ventilate while working, keep containers labeled, and follow label instructions for contact time and rinsing. If mold appears, check whether moisture is still entering the area. Discoloration may require repair rather than repeated scrubbing.
Before leaving, verify each inspection point: Shower and tub walls, doors, tracks, drains, and fixtures should be free of hair, scale, soap film, and product residue. Toilet cleaning includes the bowl, underside of the rim, seat hinges, base, surrounding floor, and wall behind it. Empty and wipe Vanity and storage, including medicine cabinets, drawers, shelves, handles, and the counter's underside. Clean the Ventilation cover and confirm the room can dry properly.
Take Evidence photographs of tile, grout, fixtures, toilet, floor, and pre-existing discoloration after surfaces dry. Bright grout does not prove damaged or aged grout was restored. Record cracks and failed caulk separately, distinguishing removable dirt from repair work.
3. Flooring Restoration for Hardwood, Tile, and Carpet
Floors receive constant traffic and occupy a large part of every inspection view. They also demand different methods. Carpet, hardwood, tile, laminate, and natural stone can each react badly to the wrong chemical, excess moisture, or aggressive agitation.
Vacuum edges, closets, stairs, and floor transitions before wet cleaning. For carpet, pre-treat visible spots with a color-safe product and test first. Extraction should leave carpet slightly damp, not saturated. Too much water can lengthen drying, affect the backing, and create problems beneath the surface.
Hardwood needs restraint. Use a manufacturer-compatible, pH-balanced cleaner and minimal moisture. A wet mop can push water into seams or damage a finish. Tile requires attention to grout lines and flooring edges, while stone should be treated with a product designed for that stone.
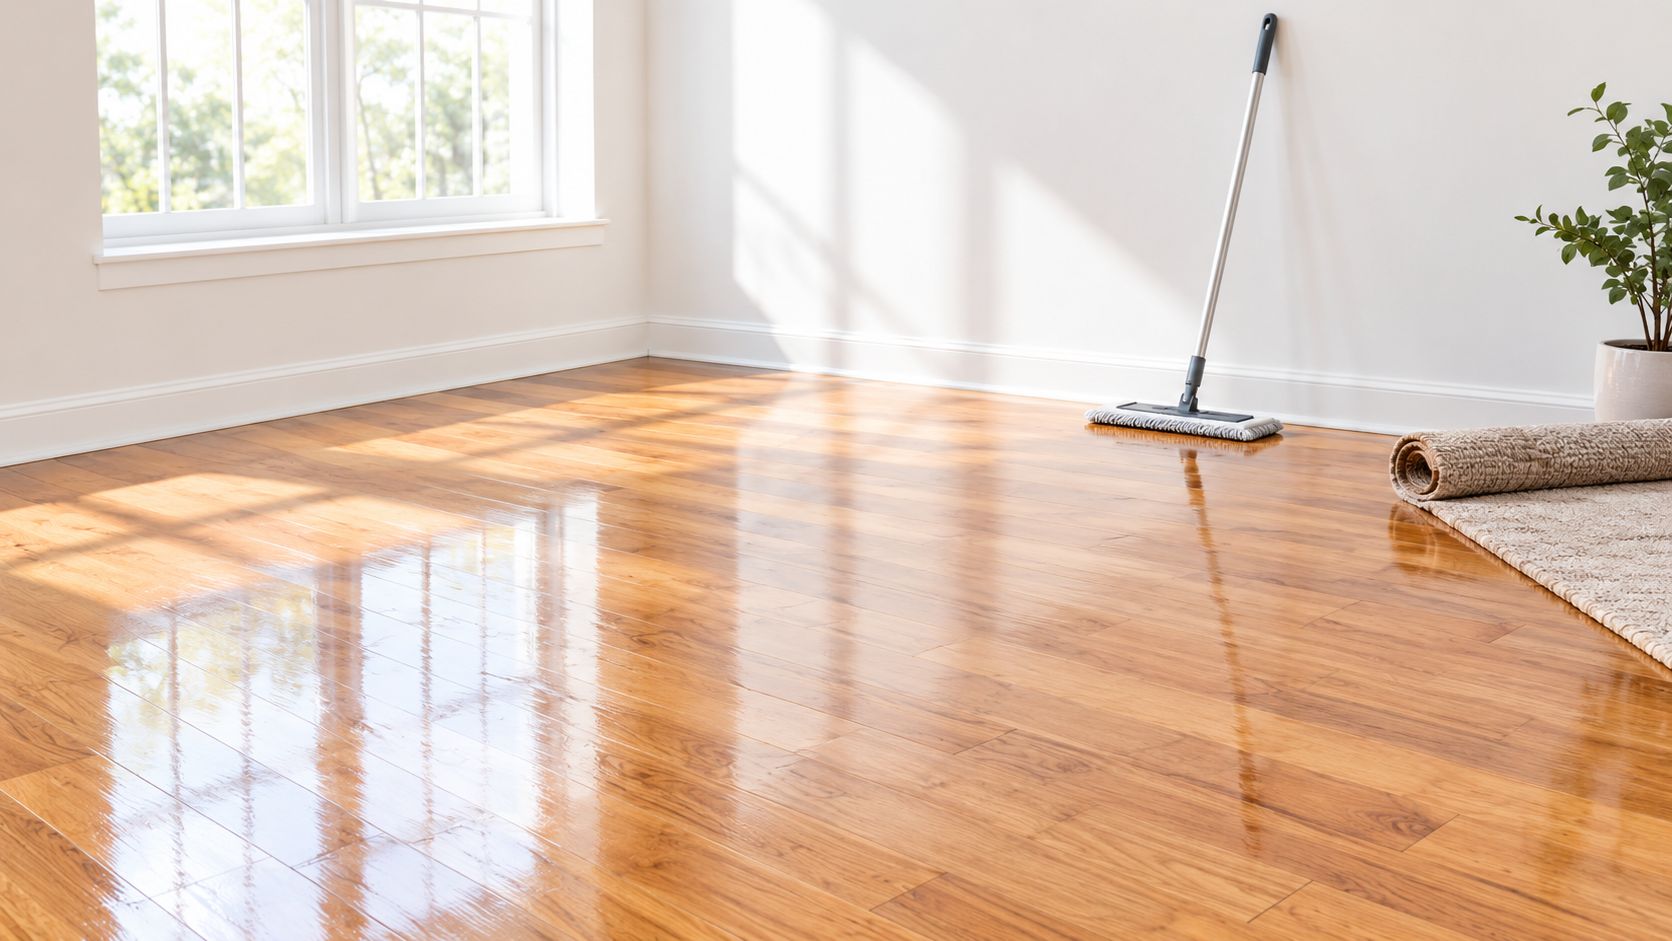
Clean floors late in the sequence
Schedule the final floor pass after furniture, boxes, and cleaning equipment have left. That lets you reach beneath beds, behind sofas, along baseboards, and inside closets without reintroducing dust.
Use a floor-specific vacuum, soft microfiber mop, appropriate carpet treatment, and clean water or solution according to the product directions. Avoid using a general-purpose cleaner on finished wood just because it is convenient. A deep cleaning floors service can be worthwhile when carpet stains, embedded soil, tile buildup, or a large empty property make spot cleaning impractical.
Material rule: Test every unfamiliar solution in an inconspicuous area before applying it across the room.
Photograph each floor once it is dry, including stains that remain after reasonable treatment. Massachusetts guidance distinguishes tenant-caused damage from normal wear and tear, including aging such as thinning carpets and faded paint. Cleaning can address removable dirt and stains, but it can't fairly be used to make an old material look new.
4. Window and Glass Cleaning for Interior, Exterior, and Frames
Windows draw attention during an inspection because streaks, grit, and damaged screens remain visible in changing light. Clean them after overhead dusting and before the final floor pass, so drips and loosened debris do not spoil finished flooring.
Start with supplies: a vacuum with a narrow attachment, a soft brush, a squeegee, clean microfiber cloths, and a compatible glass solution. Remove dry debris first. Vacuum tracks and corners, brush the frames, and clear loose dirt from screens before adding moisture. Work from the top down, then squeegee the pane and dry its edges. Clean cloths make streaks easier to identify than paper towels, which can leave lint.
Mineral deposits may require a compatible descaling product or a carefully tested vinegar solution. Test any product in an inconspicuous area, especially on coated or tinted glass. Do not use a razor or abrasive pad unless the manufacturer permits it. For exterior panes, choose a dry, manageable day. High windows call for professional equipment instead of an unstable ladder.
Check the parts an inspection exposes
Clean accessible interior and exterior panes, then view them from several angles. Strong daylight can expose marks that indoor lighting hides.
- Tracks and sills: Remove grit, dead insects, hair, and debris that hold moisture.
- Screens: Vacuum or wash them according to their construction, and let them dry before reinstalling.
- Frames and handles: Wipe fingerprints and buildup around locks, keeping excess water away from hardware.
- Blinds and shades: Dust slats carefully and record broken or bent components rather than forcing them straight.
- Records: Photograph representative windows, existing cracks, failed seals, and damaged screens after cleaning.
A final handover check should confirm that every accessible pane is clear, screens sit correctly, and windows open and lock as expected. Persistent haze between panes indicates a failed seal, which cleaning cannot correct. Document that condition instead of treating a building defect as a cleaning failure.
5. Wall and Baseboard Cleaning for Scuffs and Touch-Ups
A wall can look clean until inspection light reveals a glossy scrubbed patch, a handprint near a door, or dust settled along the floor line. Clean walls after ceiling dust has been removed and before floors receive their final pass. Begin with a dry microfiber cloth or vacuum brush, then spot-clean fingerprints, food marks, pet nose prints, and furniture scuffs with the mildest product suitable for the paint finish.
Test an inconspicuous area first. Melamine sponges can lift some marks, but their mild abrasion may change the sheen of flat paint. Use light pressure and stop if the surface becomes glossy, tacky, or visibly lighter. Excess water can soften paint, spread grime, and leave a noticeable edge.
Baseboards need a slightly damp microfiber cloth, followed by a dry pass. Vacuum first so grit does not become muddy streaks. Work along corners, behind doors, around outlets, and where the wall meets the floor. A soft brush handles dust in narrow trim profiles without forcing moisture into joints.
Separate cleaning from repair
Small removable marks belong in the cleaning pass. Peeling paint, deep gouges, large holes, damaged trim, and moisture staining need assessment and possibly repair. If a touch-up is approved, take a paint chip to a hardware store for color matching, then protect adjoining trim and the ceiling with thick paper or another suitable barrier.
- Switch plates: Remove them or wipe them carefully, while considering power and product safety.
- Door areas: Clean jambs, handles, edges, and the wall around frequently touched points.
- Corners: Use a soft brush or vacuum attachment for accumulated dust.
- Pre-existing marks: Photograph them before cleaning and after the attempt.
- Paint finish: Stop when cleaning changes the surface appearance.
Massachusetts guidance lists scuffed walls, routine painting, small carpentry repairs, and ordinary faded paint as examples of wear that generally should not be treated like tenant-caused damage. At handover, compare the cleaned surfaces with the photographs, confirm no residue or wet spots remain, and report repair issues instead of concealing normal aging.
6. Ceiling and Light Fixture Cleaning for Dust and Cobwebs
Ceilings are easy to overlook because people clean what they can reach comfortably. During a vacant-home inspection, however, cobwebs, fan dust, darkened fixtures, and water stains become more visible. Clean high surfaces before furniture and floors so falling debris doesn't undo finished work.
Use an extendable duster or vacuum attachment suited to the ceiling finish. Popcorn and textured ceilings need minimal moisture and gentle contact. Pressure washing is not appropriate for an interior ceiling. Turn off fixtures and allow bulbs to cool before removing shades or cleaning around electrical components.
Ceiling discoloration needs judgment. A yellow or brown mark may be old, but it may also indicate an active leak or moisture problem. Don't paint over it before checking the source, particularly in a kitchen, bathroom, attic-adjacent room, or area below plumbing.
A clean surface can reveal a maintenance problem. Treat water stains as clues, not as ordinary dirt.
Dust fan blades, wipe fixture shades, clean vents and return grilles, and replace burned-out bulbs where permitted. Keep ladders on a stable surface and have assistance for high or awkward areas. If a fixture is loose, cracked, or unsafe, document it and arrange repair rather than trying to solve an electrical issue during cleaning.
Photograph ceiling corners, fixtures, fans, and any stains after the cleaning pass. That record helps distinguish a cleaned surface from a condition that requires building maintenance.
7. Closet and Storage Area Deep Clean for Shelves and Rods
A closet can look empty and still fail an inspection. Boxes and cleaning supplies often hide dust on high shelves, hair in corners, residue on rods, and grit around the floor perimeter. Clear every storage area before the final room-by-room pass, then clean it before finishing nearby floors.
Start with a vacuum and crevice attachment. Remove debris from shelf edges, rod brackets, door tracks, corners, and baseboards. Wipe shelves, drawer interiors, handles, doors, rods, and hardware with a lightly damp microfiber cloth. Use minimal moisture in enclosed closets, especially where airflow is limited. Wet shelving or hardware can retain moisture and worsen swelling, staining, or odor.
Material condition deserves a separate check. Look for warped boards, swollen edges, water marks, peeling surfaces, pest evidence, and persistent smells. Fragrance spray only covers an odor for a short time. An enzymatic cleaner can suit organic residue, but confirm surface compatibility, follow the label, and provide ventilation.
Inspect before you document
If a closet smells musty, pause before adding product. Check nearby plumbing, exterior walls, bathroom ventilation, and stored materials for a likely source. Record staining, swelling, peeling, or recurring dampness rather than treating those signs as ordinary soil.
Use this order for the final pass:
- High surfaces: Dust shelf tops, trim, and rod brackets.
- Floor edges: Vacuum behind doors and along corners where hair and grit collect.
- Hardware: Wipe handles, hinges, tracks, and rods without flooding moving parts.
- Condition record: Photograph the empty closet with shelves, rods, floor, and corners visible.
- Handover check: Leave the space empty, dry, odor-neutral, and free of abandoned items.
Dry surfaces, removed debris, fresh airflow, and clear photographs give the next occupant a cleaner handover record than artificial fragrance. Inspect the closet again after surrounding floors are finished, since loose debris may have settled during the rest of the move-out cleaning.
8. Stair and Entryway Restoration for Treads, Risers, and Railings
A clean central floor can still fail an inspection when grit remains at the threshold, fingerprints cover the handrail, or debris is packed into stair edges. Entryways receive soil from outdoors and repeated contact from hands, shoes, bags, and moving equipment, so inspect the transition points before judging the room as finished.
Work from the top of the staircase downward. Use a vacuum with a crevice or brush attachment to remove dry grit from corners, nosings, landing edges, and beneath the rail. Then clean each surface with a material-compatible product and a lightly damp cloth or mop. Wipe railings and newel posts carefully, concentrating on sticky residue and hand-contact areas. Complete the entry floor after the remaining cleaning equipment has left, or newly tracked soil may undo the work.
Choose the method by surface. Carpeted stairs need sufficient drying time before foot traffic resumes. Hardwood and laminate treads can swell or lose their finish if saturated, while tile stairs require attention to grout lines and edge buildup. Rinse or change cloths as they soil, and avoid products that leave a slippery film. A glossy finish is unsafe if it is not made for flooring.
Inspect from the handover perspective
Check the outside-to-inside threshold, mat area, door track, wall beside the handle, and underside of the handrail. Treads should be free of tracked soil and embedded debris, while Risers need spot-cleaning at eye level and along their edges. Clean and dry Railings thoroughly. Vacuum and wipe Transitions, then keep Safety in view by leaving every stair clear and dry.
Photograph prominent stairs from both the top and bottom, showing treads, risers, railings, and landing edges. Before handover, confirm the route is dry, stable underfoot, free of cleaning tools, and clear of personal items.
9. HVAC System and Air Return Cleaning for Filters and Registers
Visible vents and return grilles can affect a buyer's or landlord's impression of maintenance, but cleaning them isn't the same as servicing the HVAC system. Remove dust from accessible covers and registers with a vacuum brush and a lightly damp cloth. Don't spray liquid into duct openings, thermostats, electrical components, or equipment controls.
Check the lease or property instructions before replacing filters. If replacement is expected, install the correct size and type, record the date, and leave the filter location accessible for the next occupant. A HEPA-rated filter isn't automatically right for every system because airflow requirements and equipment specifications vary, so use the manufacturer's recommendation rather than choosing by label alone.
Clean the thermostat face and surrounding wall gently. If you see mold-like growth, standing moisture, damaged insulation, unusual odors, or heavy contamination inside HVAC components, stop the cosmetic cleaning and arrange an appropriate inspection. A move-out clean shouldn't conceal a ventilation or moisture issue.
Air quality requires more than a fresh scent
Professional cleaning can temporarily raise indoor concentrations of volatile and semivolatile compounds. Residential monitoring reported increases in roughly 60% of measured volatile organic compounds and 80% of measured semivolatile organic compounds after professional cleaning, with most increases declining within hours, while some compounds persisted for more than five hours and carpet-cleaner-associated 2-butoxyethanol remained at higher levels for days. These findings are reported in residential cleaning air-quality research.
Use low-emission or fragrance-free products where practical, ventilate during and after cleaning, and allow carpet and upholstery to dry fully. Schedule the final clean early enough for the home to air out before a showing, inspection, or new occupant arrives. Finish with an odor and humidity check. A strong scent isn't evidence of cleanliness.
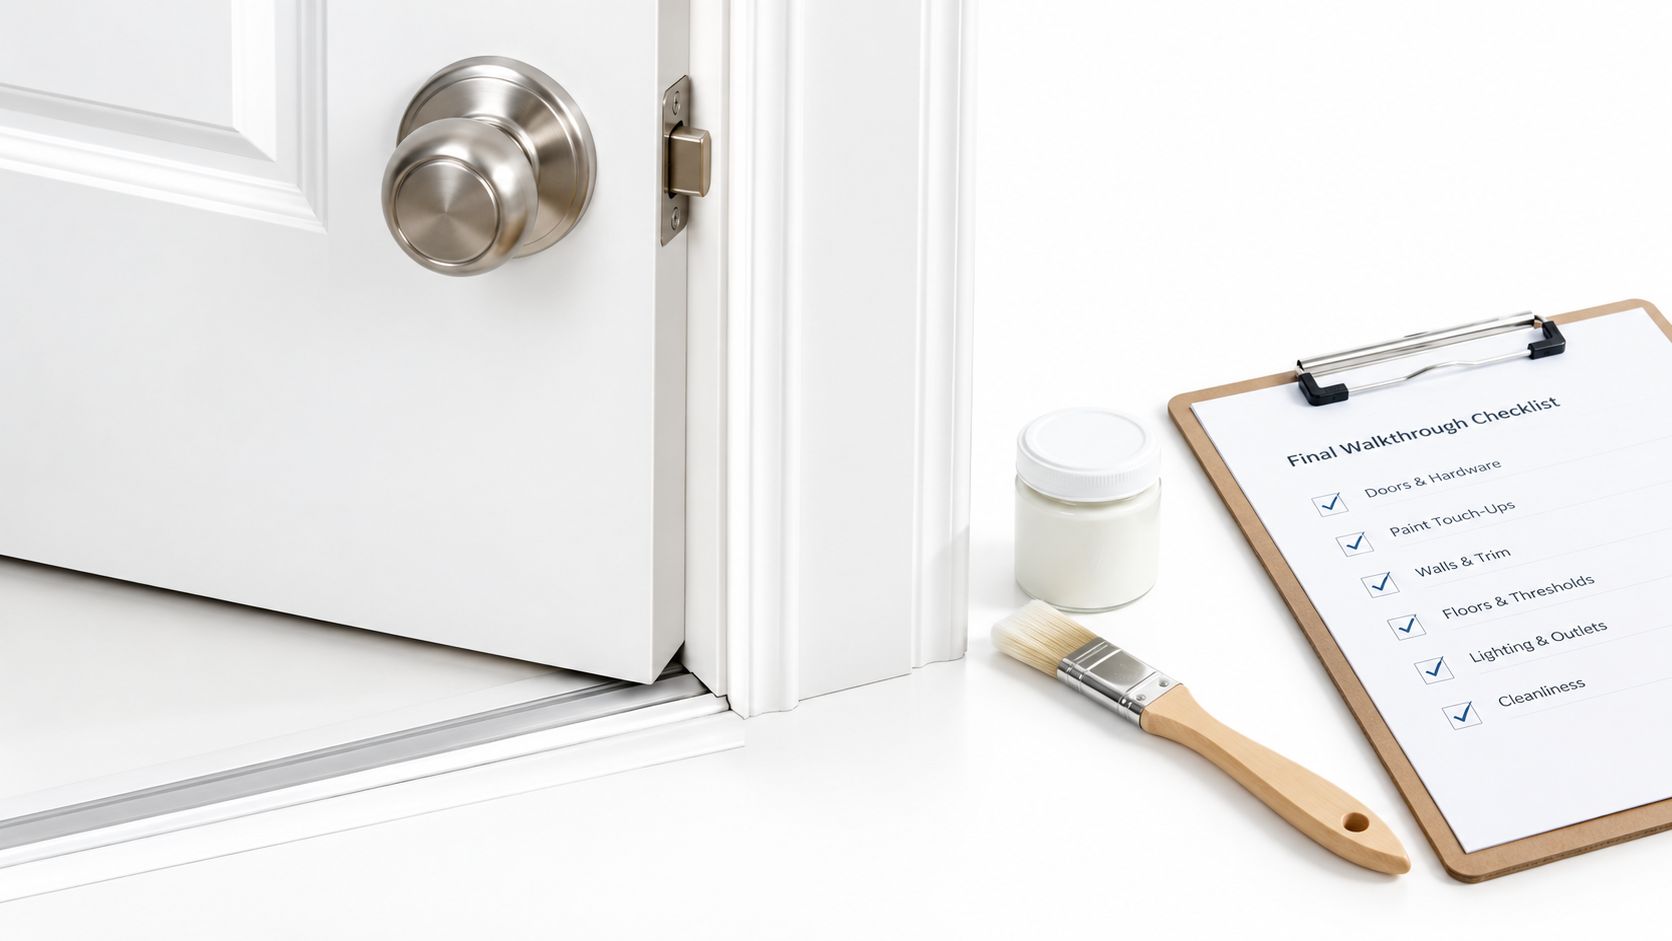
10. Final Walkthrough Details for Hardware and Touch-Ups
Treat the final walkthrough as an inspection-impact pass, not another broad cleaning session. Start at the entrance and follow the route a landlord, buyer, or inspector would take. Check door frames, thresholds, handles, locks, light switches, outlet plates, vents, appliance controls, and corners where moving equipment or supplies may have left debris. Keep a microfiber cloth, soft brush, compatible cleaner, screwdriver, spare bulbs, and batteries available for minor touch-ups.
Test items only when it is safe and permitted. Confirm that lights work, appliances are empty and clean, locks and deadbolts operate, and thermostats and detectors appear functional. Do not remove or alter safety equipment unless property instructions allow it. Replace batteries or bulbs only when that responsibility is clear.
Use strong, angled light across counters, fixtures, floors, and painted surfaces. Run a clean, dry hand over surfaces to find residue that is invisible from across the room. A product carrying the EPA Safer Choice label may indicate ingredient and performance criteria, but correct dilution, ventilation, dwell time, and surface compatibility still determine the result. The EPA Safer Choice program summary reported that 43% of consumers were familiar with the label in 2020, while 81% said they were likely to use it when purchasing.
Complete the evidence pass
Photograph each finished room, appliance interior, cabinet, closet, bathroom, floor, fixture, repaired detail, and relevant meter reading. Use dated images and keep them with written notices, the move-in condition record, receipts, and cleaning communications. This record helps separate pre-existing wear from damage identified after the handover.
In Massachusetts, the move-out process includes written notice, removing belongings, cleaning, repairing tenant-caused damage, a walkthrough, reviewing the Statement of Condition, photographing the property, and returning keys by the move-out date. The Massachusetts move-out guidance places cleaning and documentation within the same handover process.
Inspect thresholds and entry points last. Remove all supplies, close windows as required, turn off lights when instructed, record key handover, and retain confirmation that the property was returned.
Move-Out Cleaning: 10-Area Comparison
| Service | Implementation complexity | Resource requirements | Expected outcomes | Ideal use cases | Key advantages |
|---|---|---|---|---|---|
| Kitchen Deep Clean: Appliances, Cabinets, and Countertops | High, deep degreasing and appliance access | Professional degreasers, steam/pressure tools, time, trained staff | Grease-free appliances, sanitized surfaces, better inspection results | Move-out inspections, pre-sale staging, rental turnovers | Strong first impression; protects appliances; aids deposit recovery |
| Bathroom Sanitization: Tiles, Fixtures, and Grout Lines | High, grout/mold remediation and detail scrubbing | Grout-safe cleaners, mold treatments, brushes, sealant | Sanitized fixtures, mold-free grout, restored tile appearance | Mold-prone baths, move-out cleaning, pre-listing | Health/safety improvement; prevents deposit deductions; restores tiles |
| Flooring Restoration: Hardwood, Tile, and Carpet | High, multiple surface methods and drying time | Carpet extractors, pH-neutral solutions, sealers, stain treatments | Deep-cleaned floors, allergen removal, reduced visible wear | Carpeted or hardwood homes before move-out or showings | Large visual impact; extends floor life; removes embedded dirt |
| Window and Glass Cleaning: Interior, Exterior, and Frames | Medium, access and exterior work | Squeegees, ladders, mineral-removal solutions, safety gear | Streak-free glass, increased natural light, improved curb appeal | Showings, final walkthroughs, exterior presentation | Immediate brightness boost; clearly visible improvement |
| Wall and Baseboard Cleaning: Paint Touch-Ups and Scuff Removal | Medium, careful cleaning and small painting | Gentle cleaners, magic eraser (cautious), touch-up paint kit | Scuff-free walls, minor repairs, cleaner baseboards | Move-out, deposit disputes, cosmetic touch-ups | Cost-effective appearance improvement; targets inspected areas |
| Ceiling and Light Fixture Cleaning: Dust, Cobwebs, and Discoloration | Medium, heights and delicate surfaces | Ladders, fan/fixture tools, bulb replacements, gentle cleaners | Dust-free ceilings, brighter rooms, reveal stains/leaks | Final walkthroughs, staging, allergy-sensitive homes | Enhances brightness; uncovers hidden issues early |
| Closet and Storage Area Deep Clean: Shelves, Rods, and Interior Surfaces | Low–Medium, enclosed spaces and odor control | Odor treatments, moisture detector, disinfectants, brushes | Dust-free closets, odor removal, moisture/pest detection | Move-out, storage inspections, pre-listing checks | Reveals hidden problems; improves perceived maintenance |
| Stair and Entryway Restoration: Treads, Risers, Railings, and Flooring | Medium, safety focus and high-traffic wear | Material-specific cleaners, carpet extractor (if needed), sanitizers | Clean, safe entry/stairs, reduced tracked dirt, polished railings | First-impression areas, tenant turnovers, showings | Immediate curb appeal impact; reduces slip hazards |
| HVAC System and Air Return Cleaning: Filters, Vents, and Registers | Medium–High, may need HVAC contractor | HEPA filters, vent tools, duct inspection equipment, disinfectant | Improved air quality, better airflow, system efficiency | Allergy concerns, move-out system checks, long-term maintenance | Demonstrates mechanical care; reduces allergens and costs |
| Final Walkthrough Details: Door Frames, Hardware, and Minor Touch-Ups | Low–Medium, time-sensitive, checklist-driven | Touch-up paint kit, batteries, cleaning supplies, checklist | Functional hardware, minor repairs done, polished final presentation | Pre-handover, last-minute fixes, deposit protection | Prevents last-minute deductions; inexpensive risk reduction |
Hand Over a Home That Speaks for Itself
A dependable move-out cleaning checklist follows a sequence that protects both the property and your time. Remove belongings and trash first. Work through ceilings, fans, fixtures, vents, walls, windows, cabinets, closets, and other high surfaces before cleaning counters, fixtures, and lower surfaces. Complete room-specific work next, then finish with floors after furniture, boxes, and equipment have left.
The final stage is inspection and documentation. Photograph each finished room, appliance interior, cabinet, closet, floor, bathroom, fixture, repaired detail, meter reading, and area of pre-existing damage. Keep copies of written notices, the Statement of Condition, repair receipts, professional cleaning receipts, and key-return records. Use specific notes such as “grease residue on the left side of the range hood” rather than broad descriptions such as “dirty.”
Massachusetts renters should compare the move-out condition with the original record and focus on returning the home to its move-in condition, apart from normal wear and tear. Massachusetts generally limits a security deposit to no more than one month's rent. If the unit is left in the same condition it was received, excluding ordinary deterioration, the landlord generally must return the security deposit plus applicable interest within 30 days after move-out or lease termination, as described in Massachusetts rental-law guidance.
The distinction between dirt and aging matters. Massachusetts guidance identifies routine painting and cleaning, new locks and keys, small carpentry repairs, scuffed walls, thinning carpets, and faded paint as examples associated with normal wear and tear. Landlords may generally seek reasonable costs for tenant-caused damage or unpaid rent, but a blanket charge for routine turnover isn't the same as proof of damage. A Massachusetts Attorney General security-deposit resource also explains the Statement of Condition process, including the landlord's duty to provide a signed description within 10 days of collecting a security deposit and the tenant's general 15-day period to dispute it.
The same principle applies beyond Massachusetts. Guidance for rental turnover describes basic cleaning and repairs needed to prepare a vacated unit for the next occupant as normal owner turnover expenses, while tenant-caused residue, trash, grease, and neglect require targeted attention. Don't promise that every worn surface can be restored, and don't use harsh chemicals to force an appearance that the material cannot safely support.
Safety belongs in the handover standard. Never mix bleach with acids or ammonia. Keep household chemicals in original labeled containers when possible, separate bleach, ammonia-based cleaners, solvents, pesticides, drain opener, paint, and aerosols, and follow local disposal rules. The EPA household hazardous waste guidance warns that leftover products can ignite, leak, explode, or create hazards when mixed. Never combine partially used cleaners in one bottle or pour an unknown mixture down a drain.
Professional help is worthwhile when the home is large, the cleaning window is short, carpet or tile needs extraction, exterior windows require equipment, high surfaces are unsafe to reach, or an inspection is imminent. It can also make sense when several people are moving at once and no one can complete a dry-to-wet sequence without re-soiling finished areas. A professional service won't eliminate the need to review the lease or document the property, but it can provide the labor, equipment, and repeatable process that a rushed clean often lacks.
A renter-focused checklist should also account for security-deposit evidence. Zillow's 2024 Consumer Housing Trends Report data cited in renter deposit research indicates that 87% of recent renters paid a security deposit, the typical deposit was $750, and 40% of recent movers received the entire deposit back. Those figures don't replace local legal advice, but they reinforce the practical value of a documented comparison between move-in and move-out condition.
For occupied homes, sensitive households, and properties with poor ventilation, choose products carefully and allow time for airing and drying. A fragrance-free final clean, fully dry carpet, clean filters, and a final odor check are more useful than leaving behind a strong chemical scent. Clean, dry, documented, and safely handed over is the standard to aim for.
For a finished article page, add Article schema for the main post and FAQ schema only if the page includes visible, eligible question-and-answer content. An HTML-embedded checklist comparison table can help readers compare DIY and professional preparation, but it should reflect the actual services and scope offered rather than invented prices, time savings, or performance claims.
If you're in Wayland, Newton, Needham, Wellesley, Weston, or a surrounding Massachusetts community, Sunny Day Pro Services can help when the final clean involves detailed appliance interiors, cabinets, baseboards, vents, interior windows, flooring, or post-construction residue. Request a quote after the home is emptied, confirm the required scope, and use the completed service alongside your own photographs and handover records.
Sunny Day Pro Services offers one-time move-in and move-out cleaning, deep cleaning, recurring service, and post-construction cleanup, with options for detailed kitchen, bathroom, flooring, cabinet, vent, baseboard, and interior-window work. Visit Sunny Day Pro Services to request a quote and choose a schedule for a documented, inspection-ready handover.

