
Professional Cleaning Checklist for a Spotless Home
Achieve a spotless home with our printable professional cleaning checklist. Get room-by-room tips, frequencies & expert guidance for MA.
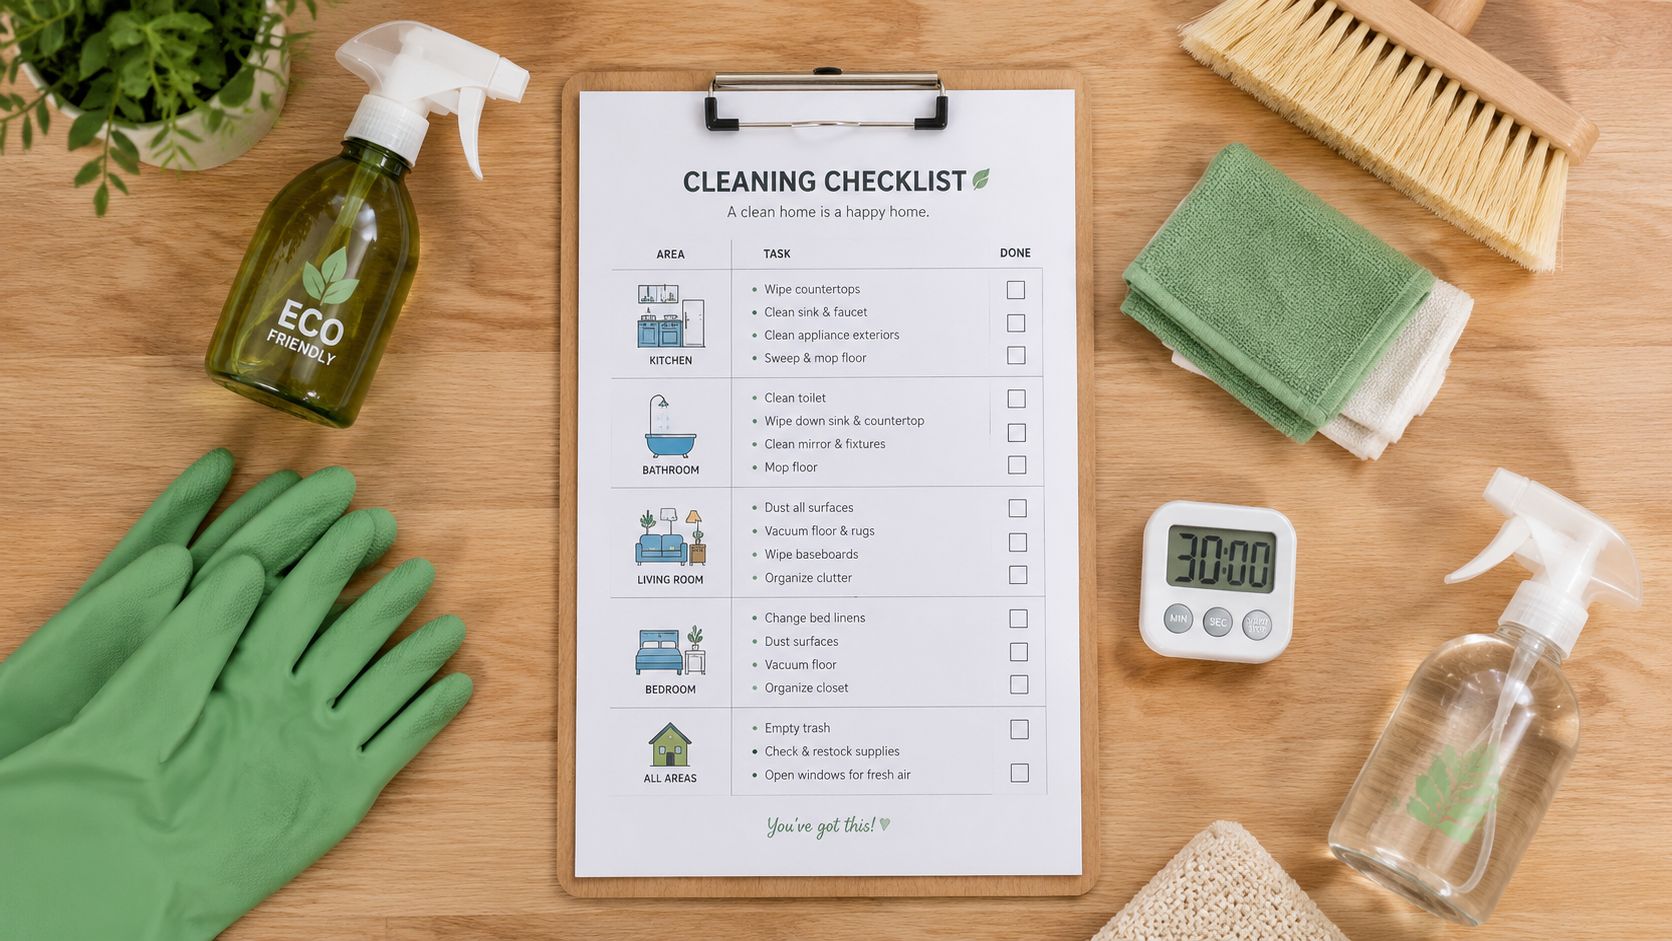
Achieve a Deeper Clean: Beyond the Surface Tidy. Ever wonder what separates a standard tidy-up from a home that feels professionally cleaned? It's not just about effort. It's about a system. A real professional cleaning checklist works because every task is assigned to a frequency, whether daily, weekly, or monthly, so nothing gets missed or duplicated, which is the core purpose of a written cleaning schedule in both homes and commercial spaces, as outlined in this professional cleaning checklist definition.
That's the difference between wiping what you can see and restoring a space so it looks, feels, and functions clean. Pros don't bounce around randomly. They move top to bottom, keep wet work and dry work separate, and finish with quality checks instead of assuming the room is done because the supplies are put away.
If you're staring at dust on ceiling fans, greasy kitchen cabinets, cloudy shower glass, and floors that never seem fully clean, you're in the right place. If you're preparing a home for sale in Weston, MA, turning over a rental in Newton, or trying to decide whether a cleaning company works to a professional standard, this guide gives you the framework.
The checklist below is organized by task flow, not by vague room labels. That matters. It helps you avoid re-soiling finished surfaces, missing hidden buildup, or wasting time redoing work. You'll also see where frequencies matter, where quality checks matter more than effort, and where specialized jobs like move-out and post-construction cleaning need a stricter process than a standard weekly clean.
Table of Contents
1. Start from the Top: Dusting Ceilings, Walls, and Fixtures
You finish the floors, step back, and spot a gray line on the ceiling vent and cobwebs above the light fixture. Now the room has to be touched again. That is why professional cleaning starts overhead and works down.
This part of a professional cleaning checklist is more than quick dusting. It is the first stage in a task-flow system that sets up everything that follows. Ceilings, fan blades, vents, light fixtures, crown molding, upper wall corners, and wall marks all belong here. The exact depth changes with the job. A weekly maintenance clean needs light removal of surface dust. A move-out or post-construction clean calls for slower, more methodical passes because fine dust clings to vertical surfaces and settles inside fixture details.
Why top-down always comes first
Gravity decides the order. Dust falls, so the checklist has to account for where debris lands, not just what looks dirty first.
Use a microfiber duster with an extension pole for dry removal. On fixtures with built-up film, switch to a damp microfiber cloth and dry the surface after. Feather dusters and dry paper towels leave too much behind, especially on textured vents, fan blade edges, and painted molding.
Work the room in one direction. I prefer starting at the door and moving clockwise so no section gets skipped. That matters in larger rooms where overhead details are easy to miss.
Homes with forced-air heat or AC need one extra judgment call. If vents are actively pushing dust back into the room, changing the HVAC filter before a deep clean can help reduce re-settling. It will not solve a dirty duct system, but it does make your overhead dusting hold longer.
Practical rule: If dust is still drifting onto furniture or floors after this step, the room is not ready for the next one.
Key Quality Checks
Check your work from an angle, not straight on. Side light shows cobweb strands on chandeliers, dust sitting on fan blade tops, and residue along vent slats much faster than a direct glance from below.
This is also where professional standards separate from a casual tidy-up. A room can smell clean and still fail inspection if the fixture rims, trim tops, and vent covers were skipped. In turnover work, those misses stand out immediately because new occupants and property managers look up.
Use this short quality check before you move down the room:
- Ceiling corners: No webs, dust strings, or shadowy buildup.
- Fixtures and fans: No visible dust on blade edges, hubs, bulbs, or shade rims.
- Walls and trim: Light scuffs, fingerprints, and reachable marks removed without damaging paint.
- Vents: Surface dust cleared from louvers and surrounding trim.
- Floor below the work area: Dust and debris have dropped where expected, ready for the next cleaning stage.
That last point matters. Top-down cleaning is supposed to make lower-surface work dirtier for a short time. That is the sign the sequence is working.
2. Interior Window Cleaning for a Streak-Free View
Clean windows right after dusting. That timing matters because airborne dust settles on glass, frames, and sills almost immediately. If you wait until the end, you often have to re-wipe the same surfaces.
Interior window cleaning isn't just about the glass. The complete result includes tracks, frames, sills, latches, and any residue left from fingerprints, cooking film, candles, or household spray products. In real estate prep, especially in places like Wellesley where natural light is a selling feature, clean interior glass makes rooms photograph better and feel maintained instead of merely picked up.
Clean the glass, frame, and sill together
Use one microfiber cloth to wash and another to polish dry. That single adjustment solves a lot of streak problems. If the same cloth handles both jobs, it loads up with moisture and soil and starts smearing instead of finishing.
Avoid direct sunlight if you can. Glass cleaner that flashes off too quickly leaves trails, especially on large south-facing windows or dark-trimmed glass doors. On cloudy days or in shaded rooms, you get more working time and a cleaner finish.
A solid routine looks like this:
- Dust first: Remove loose dust from the top frame and sill before adding moisture.
- Wash edges before centers: Dirt builds along trim lines and corners, not just in the middle of the pane.
- Polish dry: Buff with a clean, dry microfiber until the glass is clear from multiple angles.
- Check the sill: A clean window above a dirty sill still looks unfinished.
A move-in ready room has a certain sharpness to it, and interior glass is part of that. One of the easiest misses in DIY cleaning is polishing the center of the window while leaving haze on the edges, fingerprints near locks, and dust in the lower track. Pros know buyers, guests, and clients notice those details because that's where hands touch the surface.
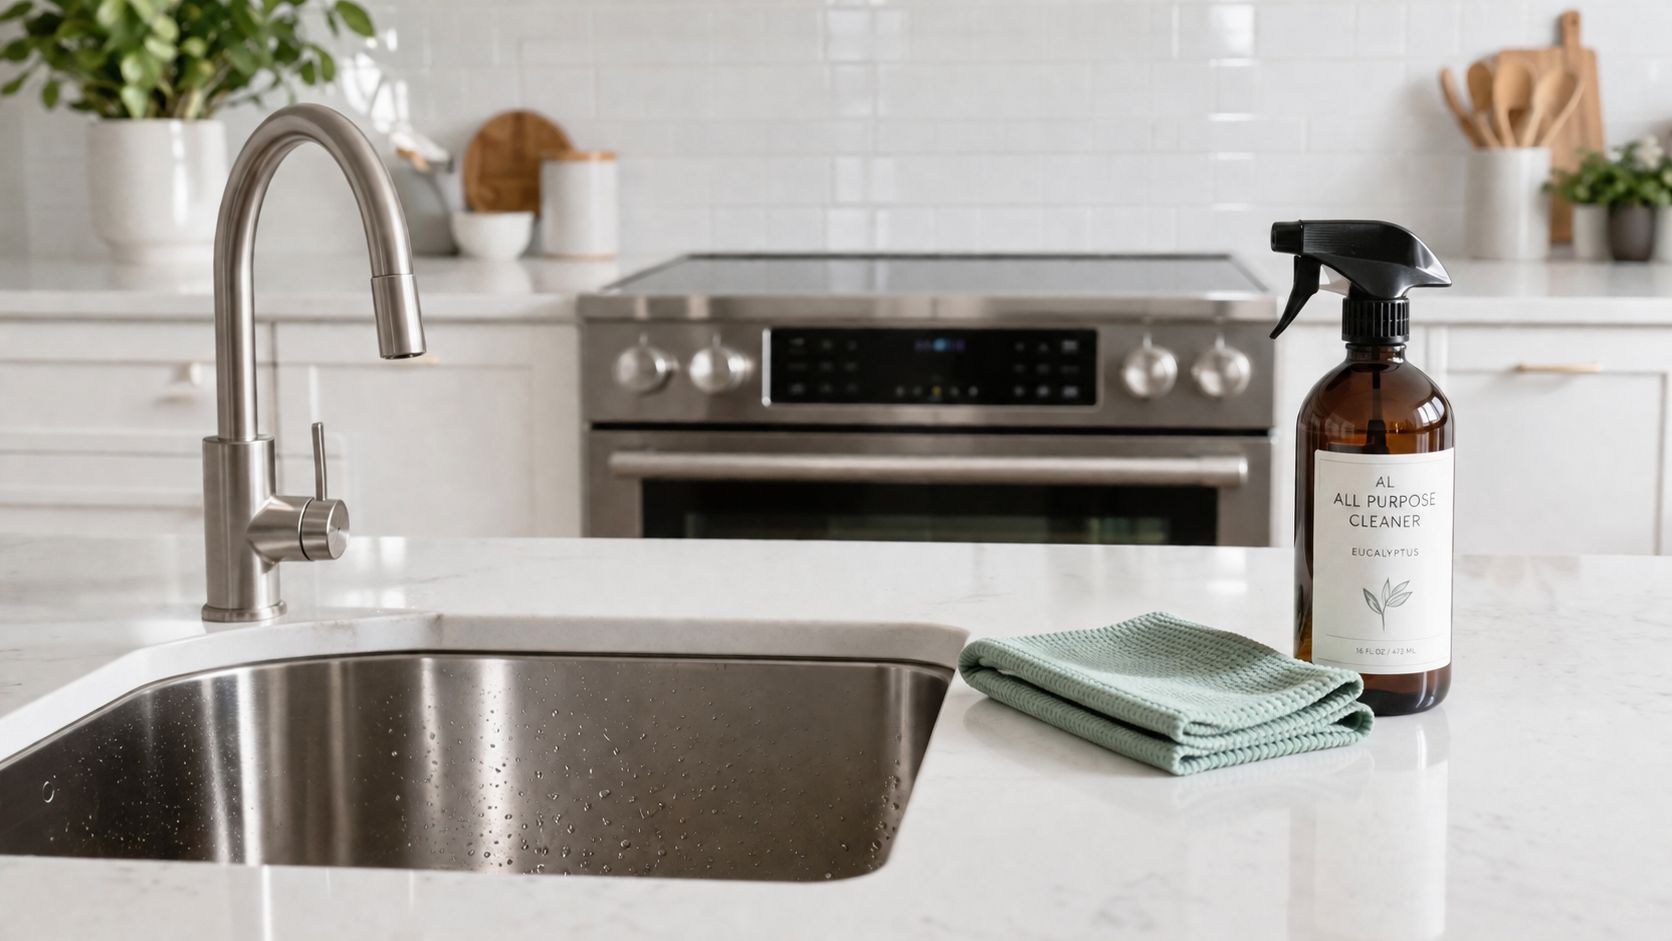
3. Kitchen Deep Clean: Surfaces and Appliances
The kitchen tells you whether a cleaning system is casual or professional. A room can look neat and still carry grease film on cabinet fronts, crumbs in drawer tracks, buildup behind the faucet, and odor inside the microwave. In most homes, the kitchen takes more labor than any other room because it combines food residue, moisture, heat, and frequent touch points.
That's one reason detailed checklist categories matter. Professional house-cleaning systems increasingly separate regular maintenance, deep cleaning, move-in or move-out work, and quality assurance, with supervisors using those quality checks to confirm that high-risk zones like bathrooms and living spaces meet company standards after the clean, as noted in this professional house cleaning checklist guide.
The kitchen is where systems matter most
Start with dry pickup. Remove loose crumbs, dust, and grit before degreasing. If you spray first and wipe later, you make a paste that spreads into grout joints, outlet covers, and textured cabinet doors.
Then move from least contaminated to most contaminated. Upper cabinet exteriors, backsplash, counters, small appliances, sink area, range top, range hood, appliance fronts, and finally inside the microwave or oven. If you cook frequently with oil, quarterly deep cleaning is a smart baseline because grease builds in layers, not all at once.
Kitchen deep-clean workflow
| Task | Frequency | Pro Tip | Quality Check |
|---|---|---|---|
| Wipe & Sanitize Countertops | Daily | Use a food-safe sanitizer. | No streaks or sticky spots. |
| Clean Inside Microwave | Weekly | Heat a bowl of water with lemon slices for 3 mins to loosen grime. | No food splatter or odors. |
| Degrease Stove Top & Backsplash | Weekly | A paste of baking soda and water works as a great non-toxic degreaser. | Surface is smooth, not greasy. |
| Deep Clean Oven & Range Hood | Quarterly | Clean the range hood filter in the dishwasher if safe. | No baked-on carbon or grease. |
What works: letting degreaser dwell, changing cloths before they're saturated, and checking cabinet pulls where grease collects around fingers. What doesn't: using one all-purpose wipe for the whole room or mopping the floor before you've finished the stove area.
A Needham listing kitchen often benefits most from this kind of detail work because buyers read grime as deferred maintenance, even when the actual finishes are in good shape.
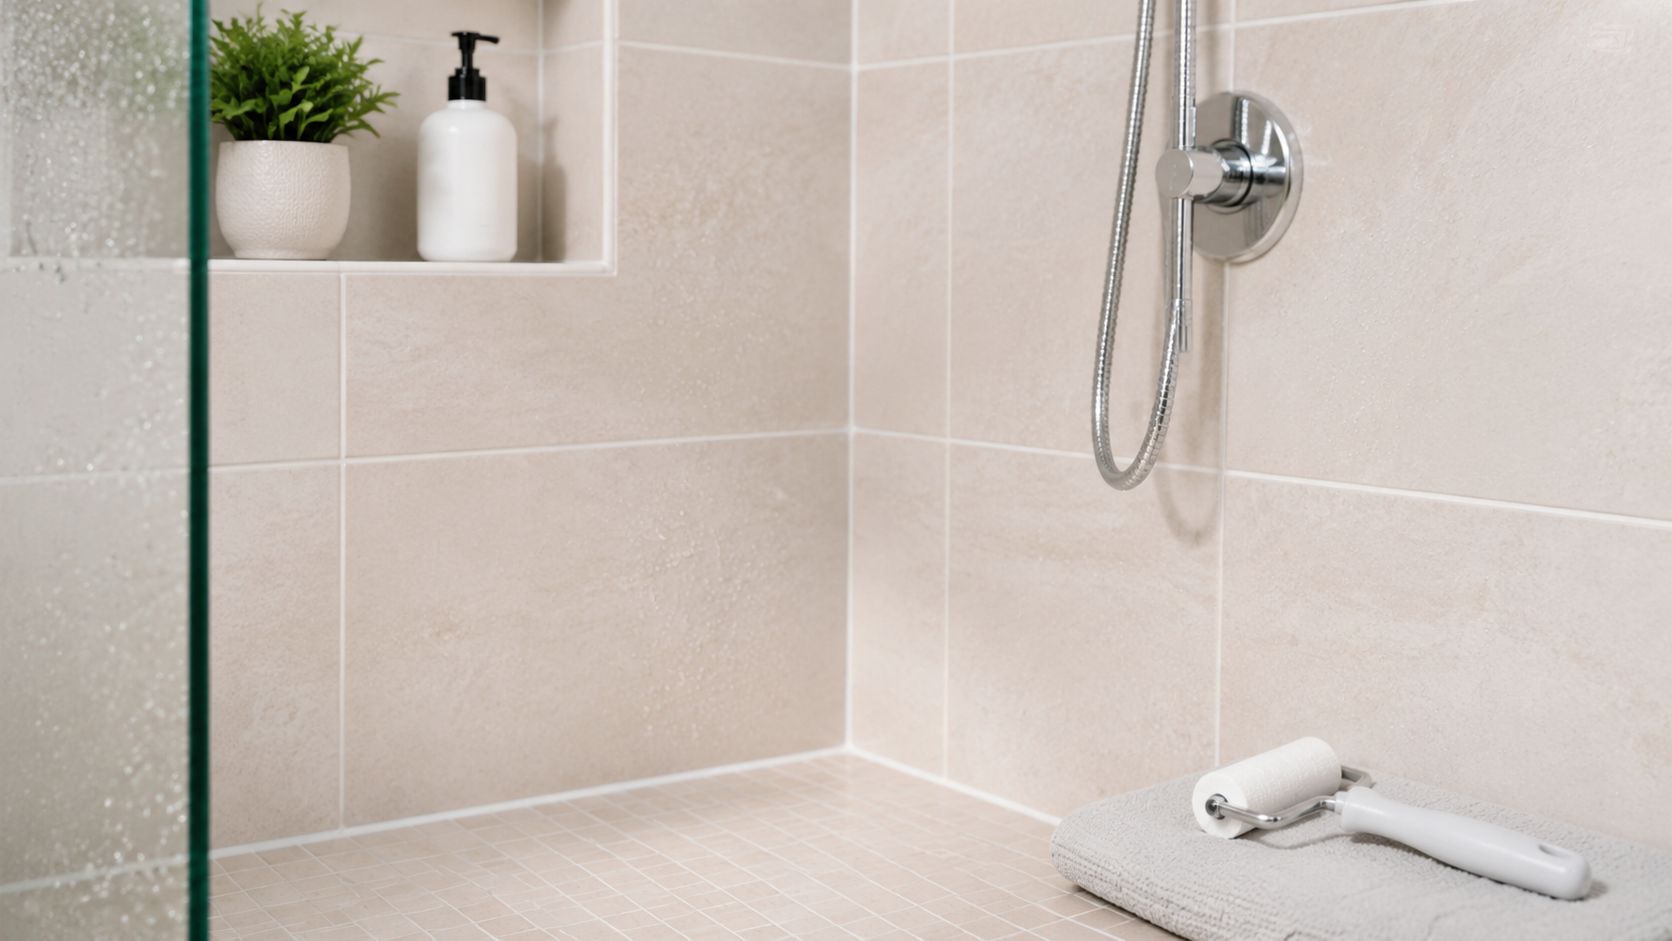
4. Bathroom Sanitization and Grout Restoration
Bathrooms need a tighter process than almost any other room because sanitation, moisture, and mineral buildup all overlap. If you clean in the wrong order, you spread contamination and leave behind residue that looks clean for a day and dull again by the weekend.
Commercial cleaning inspection standards are useful here because they focus on specifics instead of guesswork. Restrooms should be checked at the fixture level, including sinks, faucets, toilets, urinals where relevant, dispensers, stocked supplies, and hard non-porous surface disinfection with EPA-registered disinfectants. Those same quality habits translate well to residential bathrooms, as outlined in this commercial cleaning quality inspection checklist.
Sanitize first, detail second
Use separate cloths for the toilet zone and everything else. Cross-contamination happens fast in bathrooms, especially when someone is working quickly. Pros color-code tools for a reason.
Ventilate the room during and after cleaning. That helps with fume control, but it also speeds drying so grout lines, caulk joints, and corners don't stay damp longer than necessary. If the bathroom has natural stone, ask for pH-neutral products because acidic products can etch the surface.
Bathroom quality standards that actually matter
| Task | Frequency | Pro Tip | Quality Check |
|---|---|---|---|
| Sanitize Toilet, Sink, Faucets | Weekly | Use a separate cloth for the toilet area to prevent cross-contamination. | Surfaces are disinfected and shiny. |
| Clean Shower, Tub, & Glass Doors | Weekly | Use a squeegee on glass doors after every shower to prevent soap scum. | No soap scum or hard water spots. |
| Scrub Tile & Grout | Monthly | A stiff-bristled grout brush is essential for removing buildup. | Grout is its original color, not dark with mildew. |
| Descale Showerheads & Faucets | Quarterly | Soak in a bag of white vinegar overnight to remove mineral deposits. | Water flows freely and evenly. |
If you're tackling a bathroom that's beyond routine upkeep, this detailed guide on how to deep clean a bathroom is worth keeping nearby.
Bathrooms fool people. Chrome can shine while grout is still dirty, the toilet base still has buildup, and the vent cover is still dusty.
For move-in and move-out jobs, before-and-after photos help if there's any dispute about condition, especially around grout staining, shower tracks, and vanity interiors.
5. Upholstery Deep Cleaning and Stain Removal
Upholstery is one of the most overlooked parts of a professional cleaning checklist. Homeowners vacuum floors and wipe tables, but fabric sofas, dining chairs, upholstered headboards, and accent chairs steadily collect body oils, dust, pet hair, and odor.
The trade-off is simple. Clean too aggressively and you risk water rings, texture distortion, or dye movement. Clean too lightly and the fabric looks better for a day but still holds the embedded soil that causes dinginess and smell.
Why upholstery gets missed
Fabric-woven surfaces don't always look visibly dirty until the buildup is advanced. A cream-colored armrest, a seat cushion edge, or the back of a family-room sectional often shows the truth first. In staged homes, that can drag down the whole impression of the room, even when everything else is tidy.
This area also gets skipped because people use the wrong chemistry. All-purpose sprays and heavy saturation are common mistakes. Upholstery responds better to controlled moisture, fabric-safe products, and strong dry soil removal before any spot treatment starts.
Safe stain-removal workflow
Start with a full vacuum using upholstery and crevice tools. That removes dry debris so you're not turning lint and grit into muddy residue. Then spot-test in a hidden area before treating the visible stain.
Use this approach:
- Vacuum thoroughly first: Loose debris must come out before any wet cleaning.
- Spot-test products: Hidden seams or lower rear panels are safer than visible cushions.
- Blot, don't scrub: Aggressive scrubbing can rough up fibers and spread the stain edge.
- Protect after cleaning: A fabric protectant can help on high-use seating.
A show-home style living room in Weston or Needham often improves noticeably after upholstery cleaning because the room stops feeling stale. Even when the carpet and floors are clean, upholstery can hold the odors and oils that make a space feel lived-in rather than presentation-ready.
6. Carpet Deep Cleaning and Stain Removal
A carpet can make a room feel clean or immediately tell you the job was done out of order. If dusting, window cleaning, bathroom detailing, or kitchen work happens after carpet cleaning, fine debris settles right back into the pile and dulls the result.
That is why carpet belongs near the end of the workflow.
Professional results come from sequence, soil removal, moisture control, and inspection. The goal is not to make the carpet look brighter for a few hours. The goal is to remove embedded soil, treat spots correctly, and leave the fibers dry enough to return to normal use without musty odor or sticky residue.
What works on carpet and what backfires
Start with a slow, thorough vacuum pass. Dry soil removal does more work than many people expect, especially in traffic lanes, room perimeters, and under bed and sofa lines where grit collects. If that debris stays in place, wet cleaning turns it into slurry and makes extraction less effective.
Pre-treat the carpet based on the problem, not with one product for everything. Traffic lane soil, beverage spills, pet contamination, and post-construction dust behave differently and should be handled differently. Overapplying detergent is a common mistake. It can leave residue that attracts new soil and makes the carpet feel crunchy or tacky after it dries.
Hot water extraction is still the method I trust most for many wall-to-wall carpets because it rinses suspended soil out of the backing and face fibers. Low-moisture cleaning has a place in occupied properties, property management turnovers, and any job where dry time is tight. It works best on lightly to moderately soiled carpet and still depends on good vacuuming and correct spot treatment before the machine ever touches the floor.
Move-outs and post-renovation jobs need extra scrutiny. Construction dust settles deep, and flattened pile can make a carpet look permanently worn when it is packed with fine debris. In those cases, multiple vacuum passes, careful pre-spray, and slower extraction often make the difference between a passable result and a carpet that resets the room.
Drying and quality checks
Drying is part of the cleaning, not an afterthought. Set air movers or fans right away, keep indoor air moving, and use dehumidification if the space is closed up. A carpet that smells damp the next morning was left with too much moisture, too much residue, or both.
Use a simple quality check before calling it done:
- Walk the traffic lanes: They should feel clean, not sticky.
- Check edge lines and corners: These areas often hold missed soil.
- Inspect spots in side light: Wick-back often shows up as the carpet dries.
- Smell the room after 30 to 60 minutes: Damp odor points to incomplete extraction or slow drying.
- Look for pile distortion: Heavy furniture marks and matted lanes may need grooming, not more solution.
Frequency should follow use. Busy family rooms, entry paths, pet areas, and rental turnovers need more attention than guest rooms. The schedule should match traffic, soil load, and the type of issues in the home, not a fixed date on the calendar.
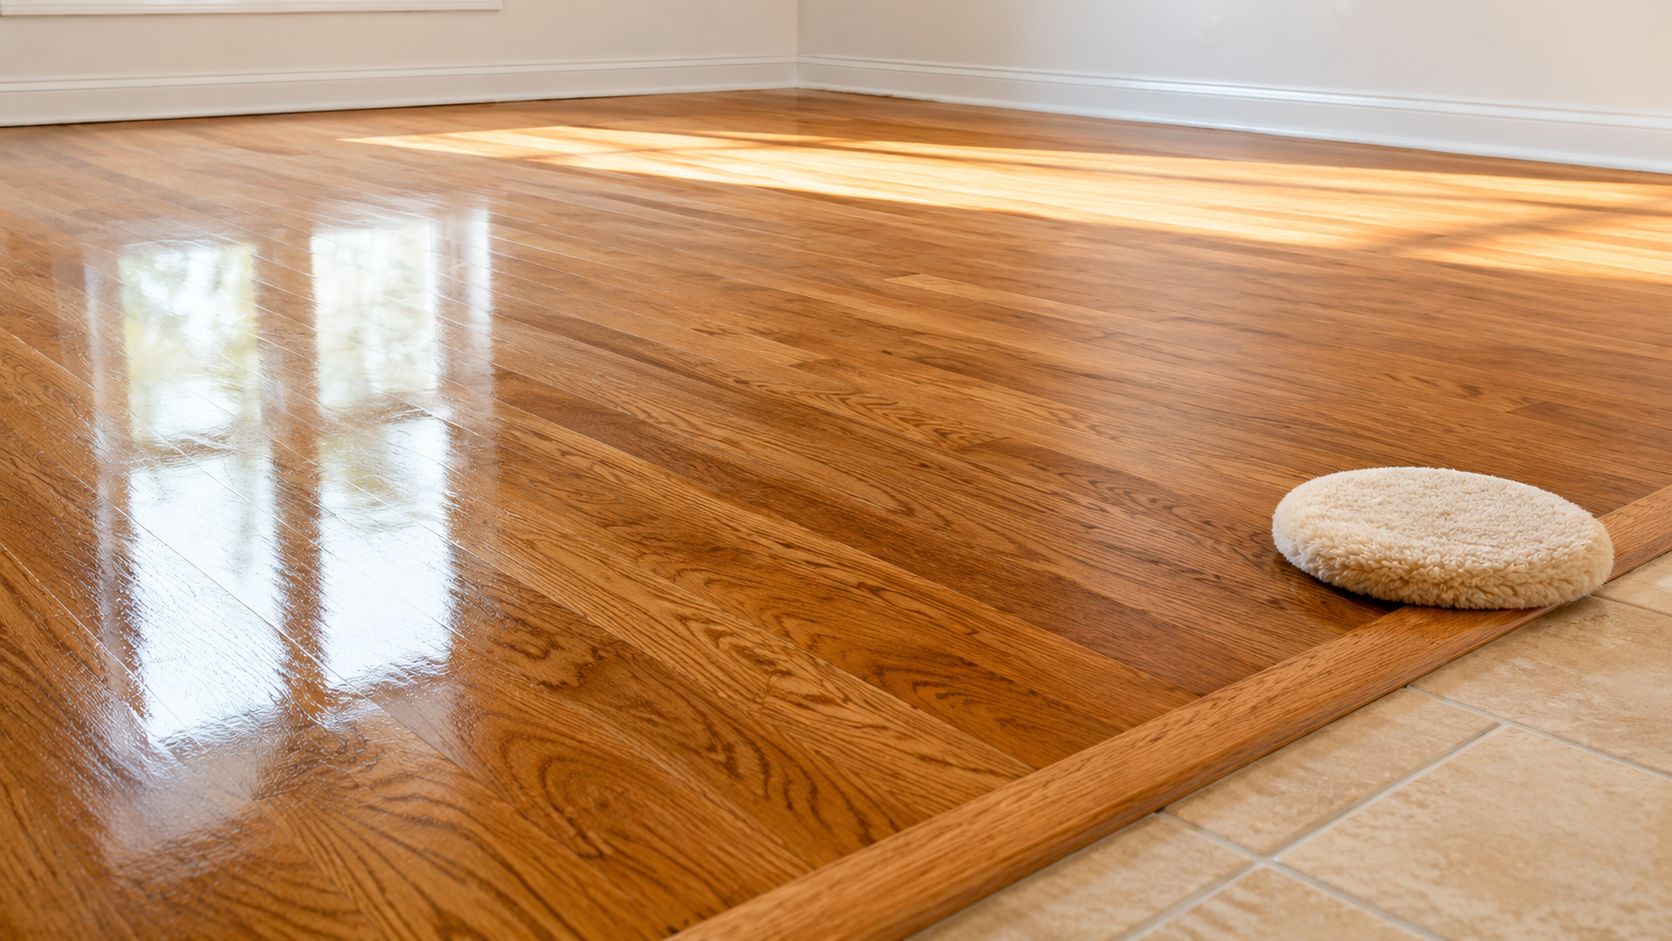
7. Hard Floor Care: Hardwood Cleaning and Restoration
Hardwood rewards restraint. The goal isn't to flood the floor until it shines. The goal is to remove grit, soil, and residue while protecting the finish from moisture damage and abrasion.
This is why hardwood belongs near the end of the workflow. Once all dusting, bathroom work, kitchen degreasing, and glass cleaning are complete, you can address the floor without having debris falling back onto it. For move-in prep, it should be one of the last major tasks before furniture arrives.
Protect the finish, don't chase shine
Use a pH-neutral hardwood cleaner and a well-controlled microfiber mop. Too much water can seep into seams, dull the finish, or in worse cases create edge swelling. Steam can also be risky on many hardwood systems, especially older or site-finished floors with vulnerable wear layers.
What works well on older hardwood in homes around Wayland is dry soil removal first, targeted hand work on stuck-on residue, then a careful damp clean with frequent pad changes. The floor should feel clean under socks, not slick. Slick usually means residue was left behind.
Check these details before calling the room finished:
- Corners and edges: Grit collects where vacuums and flat mops often miss.
- Transition strips: Soil gathers along thresholds between tile and wood.
- Under chair lines: Dining areas often hold fine scratches and sticky residue.
- Reflection quality: The finish should look even, not cloudy in streak bands.
A twenty-year-old hardwood floor can still present beautifully if the finish is intact and the cleaner respects the material. The biggest mistake is treating hardwood like tile. It isn't.
8. Hard Floor Care: Tile and Grout Deep Cleaning and Sealing
Tile is durable, but grout is where most floors and shower surrounds start to look tired. Dirt, soap film, body oils, and mop residue settle into the grout lines long before the tile itself looks bad. That's why a room can feel dingy even after the surface has been wiped.
This is also where homeowners often use the wrong tools. A harsh acid, a bleach-heavy routine, or a stiff metal brush can do more harm than good, especially on sensitive finishes or older grout.
Deep cleaning before sealing
Clean first. Always. Sealing dirty grout locks in discoloration and makes the problem harder to correct later. A penetrating sealer works better than a film-forming product for porous grout because it protects without creating a peeling surface layer.
Bathrooms and kitchens benefit most from this step because moisture and food residue create regular staining pressure. After a proper deep clean, let the grout dry fully before sealing. Rushing that stage weakens the protection.
If you want a deeper dive into safe methods, this guide on the best way to clean tile floors covers practical maintenance and product choices.
When sealing makes sense
Sealing is worth it when grout is porous, newly restored, or exposed to steady moisture and spills. It won't fix broken grout or failed caulk, but it does make routine maintenance easier and helps preserve the clean appearance longer.
Use these checkpoints:
- Grout color: It should look consistently clean before any sealer goes on.
- Dry time: Sealer belongs on dry grout, not damp joints.
- Shower floors and wet zones: These deserve extra scrutiny because staining returns fastest there.
- Color-sealing options: Heavily stained grout may need restoration, not just protection.
A client will often think the tile itself is the problem when the grout is really what's dragging down the whole room. Fix that, and the space often looks dramatically newer without replacing a single tile.
9. Special Case: Move-In/Move-Out & Post-Construction Cleaning
The toughest callback jobs usually start the same way. The place looked clean during the first pass, then daylight hit the trim, cabinet interiors, and window tracks. Dust showed up again, adhesive marks were still on the glass, and grit on the floor threatened to scratch a brand-new finish.
Move-in, move-out, and post-construction work need a tighter system than a standard deep clean. The tasks overlap with the rest of this checklist, but the margin for error is smaller because the space is either empty, newly finished, or about to change hands. Every missed detail stands out.
Post-construction cleaning takes the most control. Fine dust settles on horizontal surfaces, clings to walls and trim, and works its way into vents, tracks, and closet corners. New materials also need care. Aggressive pads, dirty microfiber, or the wrong solvent can mark fresh paint, scratch fixtures, or dull flooring before the owner even moves in.
Why these jobs need a different checklist
An occupied home hides a lot. Once furniture is out, you can see the baseboards behind beds, shelf dust inside closets, grease on cabinet tops, and residue around appliances. That is why move-out cleaning often takes longer than clients expect, even when the home looks decent at first glance.
Post-construction adds a second challenge. Cleanup has to follow the job flow. High dusting comes first, then detail work on ledges, trim, vents, switches, and glass, and floors stay for last. If the crew vacuums too early or skips a return visit after trades finish punch work, dust settles back onto cleaned surfaces and the whole job slips.
For property managers, contractors, and homeowners preparing for handoff, the standard is simple. The space has to hold up under close inspection, not just from the doorway. If you need a more detailed task sequence, use this post-construction cleaning checklist for final dust, detail work, and handoff prep.
The Critical Final Walk-Through
Use stronger light than feels necessary. Side lighting reveals drywall dust on trim tops, caulk smears on fixtures, film on glass, and debris packed into track corners.
Run this final check before the keys change hands:
- Cabinets, drawers, and closets: Empty, wiped, and free of dust in the corners and on upper shelves.
- Windows, sills, and tracks: No labels, paint specks, tape residue, or settled construction dust.
- Vents, returns, and trim details: Surface dust removed after the last high-dusting phase.
- Appliances and fixtures: Interiors cleaned, protective film removed, and fingerprints polished off.
- Floors: Finished last, with no grit left behind to scratch hardwood, LVP, or new tile.
Fresh renovation work only looks finished when the cleanup is done to the same standard as the build.
10. Optional Task: Exterior Window Cleaning
Exterior glass is optional only in the sense that a home can function without it. Visually, it changes the property fast. If interior windows are clean but the outside still carries pollen, road film, sprinkler spots, or weather residue, the whole house looks less sharp from both inside and out.
This matters most before listing photos, open houses, seasonal entertaining, or after a long winter in Massachusetts when exterior surfaces collect layered grime.
Why exterior glass changes curb appeal fast
Professional exterior window cleaning uses safer access methods, better water quality, and more patience with detail than most homeowners can manage on a ladder. In hard-water areas, deionized water service helps reduce spotting on the final rinse. That's especially useful on large panes, sunrooms, and second-story windows where drying marks are easy to see.
Schedule it for an overcast day if possible. Bright sun speeds evaporation and makes streaks more likely. If you're already improving curb appeal, pair window cleaning with siding, entry, or walkway cleaning so the house looks consistently maintained.
The quality check is simple but unforgiving. Stand inside and look out at an angle. If you still see spotting, drag marks, or residue around the perimeter, the job isn't done.
10-Item Professional Cleaning Checklist Comparison
| Task | Implementation Complexity | Resource Requirements | Expected Outcomes | Ideal Use Cases | Key Advantages |
|---|---|---|---|---|---|
| Start from the Top: Dusting Ceilings, Walls, and Fixtures | Medium, technique and sequencing required | Extension poles, microfiber dusters, ladders, time | Reduced dust/allergens and improved visual cleanliness | Monthly or bi-weekly maintenance; pre-showing | Improves air quality and visible cleanliness; safe high-area access |
| Interior Window Cleaning for a Streak-Free View | Low–Medium, skillful squeegee/microfiber technique | Microfiber cloths, squeegee, deionized or glass solution | Streak-free clarity and increased interior light | Photo readiness, regular maintenance, pre-listing | Enhances natural light and view; faster and more consistent than DIY |
| Kitchen Deep Clean: Surfaces and Appliances | High, intensive degreasing and sanitization | Heavy-duty degreasers, steam equipment, ventilation, time (2–4 hrs) | Food-safe surfaces, removed grease, restored appliance function | Quarterly deep clean, pre-move-in, pre-listing | Reduces appliance issues, raises perceived value, ensures sanitation |
| Bathroom Sanitization and Grout Restoration | High, mold remediation and sealing processes | Hospital-grade disinfectants, grout brushes, sealers, ventilation, cure time | Reduced pathogens, sealed grout, lower mold recurrence | Weekly/bi-weekly for vulnerable households; inspections; staging | Improves health/safety, prevents water damage, improves inspection results |
| Upholstery Deep Cleaning and Stain Removal | Medium, fabric-specific methods and spot testing | Low-moisture extractors, spot chemistries, protectants, drying time | Refreshed fabric, odor reduction, improved stain appearance | Pre-showing, seasonal refresh, homes with pets | Restores texture/color, eliminates odors, protects delicate fibers |
| Carpet Deep Cleaning and Stain Removal | Medium–High, hot-water extraction and stain work | Commercial extractors, enzymatic cleaners, fans/dehumidifiers | Removes embedded dirt/allergens; restored carpet appearance | Semi-annual maintenance, post-construction, pre-move-in | High contaminant removal; improves hygiene and appearance |
| Hard Floor Care: Hardwood Cleaning and Restoration | Medium, moisture-controlled cleaning and buffing | Low-moisture cleaners, buffers/polishers, sealants, skilled tech | Restored luster, protected finish, minimal moisture risk when done properly | Final step before move-in, routine maintenance, staging | Extends floor life, restores shine, prevents moisture damage if correct methods used |
| Hard Floor Care: Tile and Grout Deep Cleaning and Sealing | Medium–High, grout restoration plus sealing | Grout cleaners, stiff brushes, penetrating sealer, drying/curing time | Uniform grout color, reduced mildew, protected grout lines | Kitchens and bathrooms, pre-listing, post-remediation | Prevents mold/water intrusion, restores appearance, extends lifespan |
| Special Case: Move-In/Move-Out & Post-Construction Cleaning | Very High, coordinates multiple services and teams | Multi-tech crews, full equipment set, longer scheduling, documentation | Fully move-in ready property; removal of fine construction dust | Tenant turnover, post-renovation, sale preparation | Comprehensive coverage; saves time; improves listing/tenant readiness |
| Optional Task: Exterior Window Cleaning | Medium, safety measures and weather-dependent | Deionized water systems, harnesses/extension tools, spot removers | Clear exterior glass; removal of mineral and weather deposits | Seasonal curb-appeal boost, pre-listing exterior photos | Dramatic curb appeal improvement; removes hard-water stains; safer than DIY ladders |
Your Checklist Is Complete: When to Call the Pros
Saturday starts with good intentions. By midafternoon, the kitchen is half done, the baseboards still have dust on them, the shower grout looks better but not clean, and the floors need another pass because debris fell while you were wiping shelves and fixtures. That is usually the point where a deep clean stops being a checklist and turns into rework.
A professional-grade result comes from task flow, inspection, and restraint. The order matters. Dry soil has to come out before moisture goes down. Products have to match the surface. Wood, stone, upholstery, and painted finishes all punish guesswork in different ways. The final 10 percent is where the standard shows, especially inside cabinets, along edges, around hardware, and in the corners people notice during a move-out or pre-listing walk-through.
Analysts at Fortune Business Insights project the global professional cleaning services market will be valued at USD 481.75 billion in 2026 and reach USD 859.20 billion by 2034, according to this cleaning services market projection. That demand reflects a simple reality. People hire cleaners for consistency, speed, and a finished result that holds up under inspection.
There is also a business-side reason standards matter. The cleaning services market is projected to reach approximately $90 billion by 2027, and the labor market includes about 336,700 annual openings for janitors and building cleaners, according to this cleaning services business market summary. In a crowded field, the companies worth hiring are the ones that show up with a system, document scope clearly, and correct misses before the client has to ask.
Call a pro when the job has one of these risk factors:
- The scope is too large for one pass. Whole-home deep cleans, move-outs, and post-construction work usually need crew labor, staging, and a room-by-room quality check.
- The soil load is heavy. Grease film, soap scum, grout discoloration, adhesive residue, and embedded carpet soil often need stronger chemistry and better extraction tools.
- The surfaces are easy to damage. Hardwood, natural stone, delicate upholstery, and newer finishes can be dulled, swollen, etched, or discolored by the wrong method.
- The deadline is fixed. Showings, closings, guest arrivals, and tenant turnovers leave no room for missed details or a second attempt.
- The result needs accountability. A good company works from a checklist, inspects the work, and comes back on any item that missed the standard.
For homeowners in Wayland, Needham, Weston, Wellesley, Newton, and the greater Boston area, Sunny Day Pro Services is built for that level of work. The team is background-checked, trained, and focused on detail that stands up to close review, not just a quick visual reset. That matters in move-out cleaning, pre-listing prep, and post-construction cleanup, where dust, residue, and overlooked edges can undo an otherwise good job.
The practical difference is operational discipline. Clear communication. Flexible scheduling. Eco-friendly options when requested. A satisfaction guarantee with follow-through if something needs correction.
If the house needs more than surface tidying, hiring professionals saves time, reduces risk, and produces a cleaner that lasts longer than a rushed weekend effort. The right checklist is only part of the job. Execution is what gets the home ready for real life, real guests, or a final walkthrough.

