
Thinset vs Mastic: Which Tile Adhesive Fits Your Project
Thinset vs Mastic explained: where each tile adhesive works, where it fails, and how coverage and moisture decide your choice in Massachusetts homes.
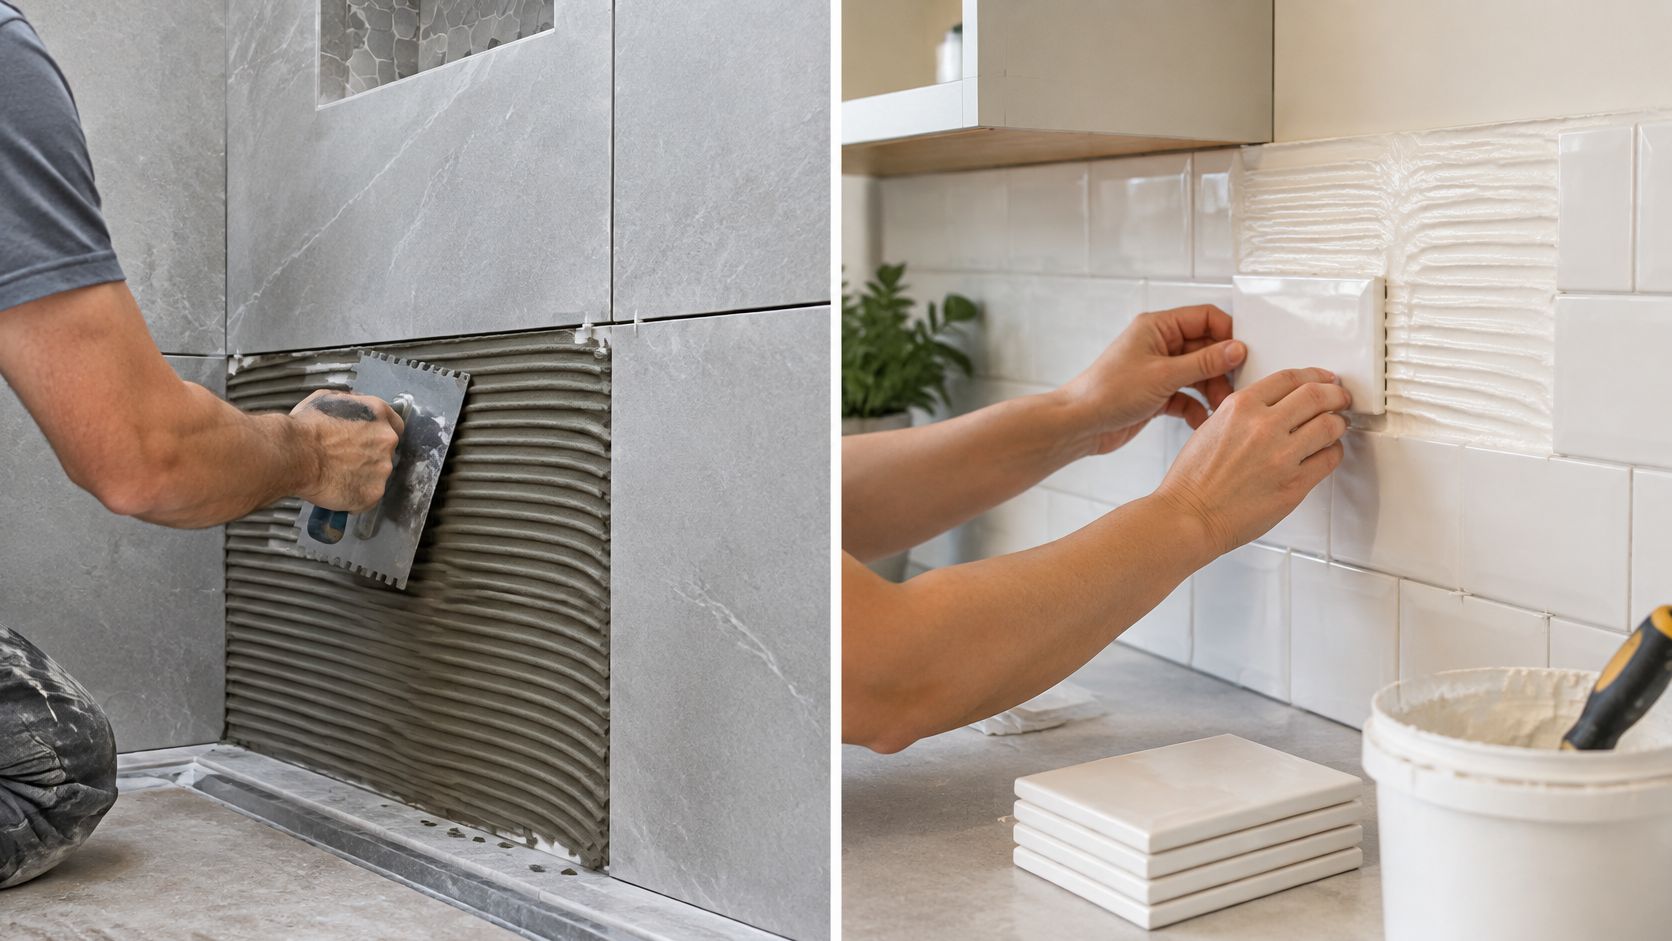
The most popular advice on thinset vs mastic is too simple to protect your tile. You'll hear that mastic is the easy choice for walls and thinset is the strong choice for everything else, as if picking the right bucket or bag guarantees success.
It doesn't. The adhesive label matters, but substrate stability, mortar coverage, and curing conditions decide whether either product holds. A correct thinset spread too thin over a moving plywood panel will fail. A mastic used inside its narrow limits on a small, dry wall can perform fine. Start with the room, the tile, and the surface underneath, then choose the product that fits those conditions.
Table of Contents
- Thinset and Mastic Side by Side
- How Each Adhesive Sets and Holds Tile
- Which Adhesive Fits Each Room and Tile
- Coverage and Substrate Checks Before You Commit
- Failure Modes and Their Fixes
- Choosing the Right Adhesive for Your Project
- Confirm the Adhesive Before Tile Goes Down
Thinset and Mastic Side by Side
Thinset is the broader system, and mastic works only in limited dry or intermittently wet interior applications. That's the short answer. The table below shows why the choice isn't about convenience alone.
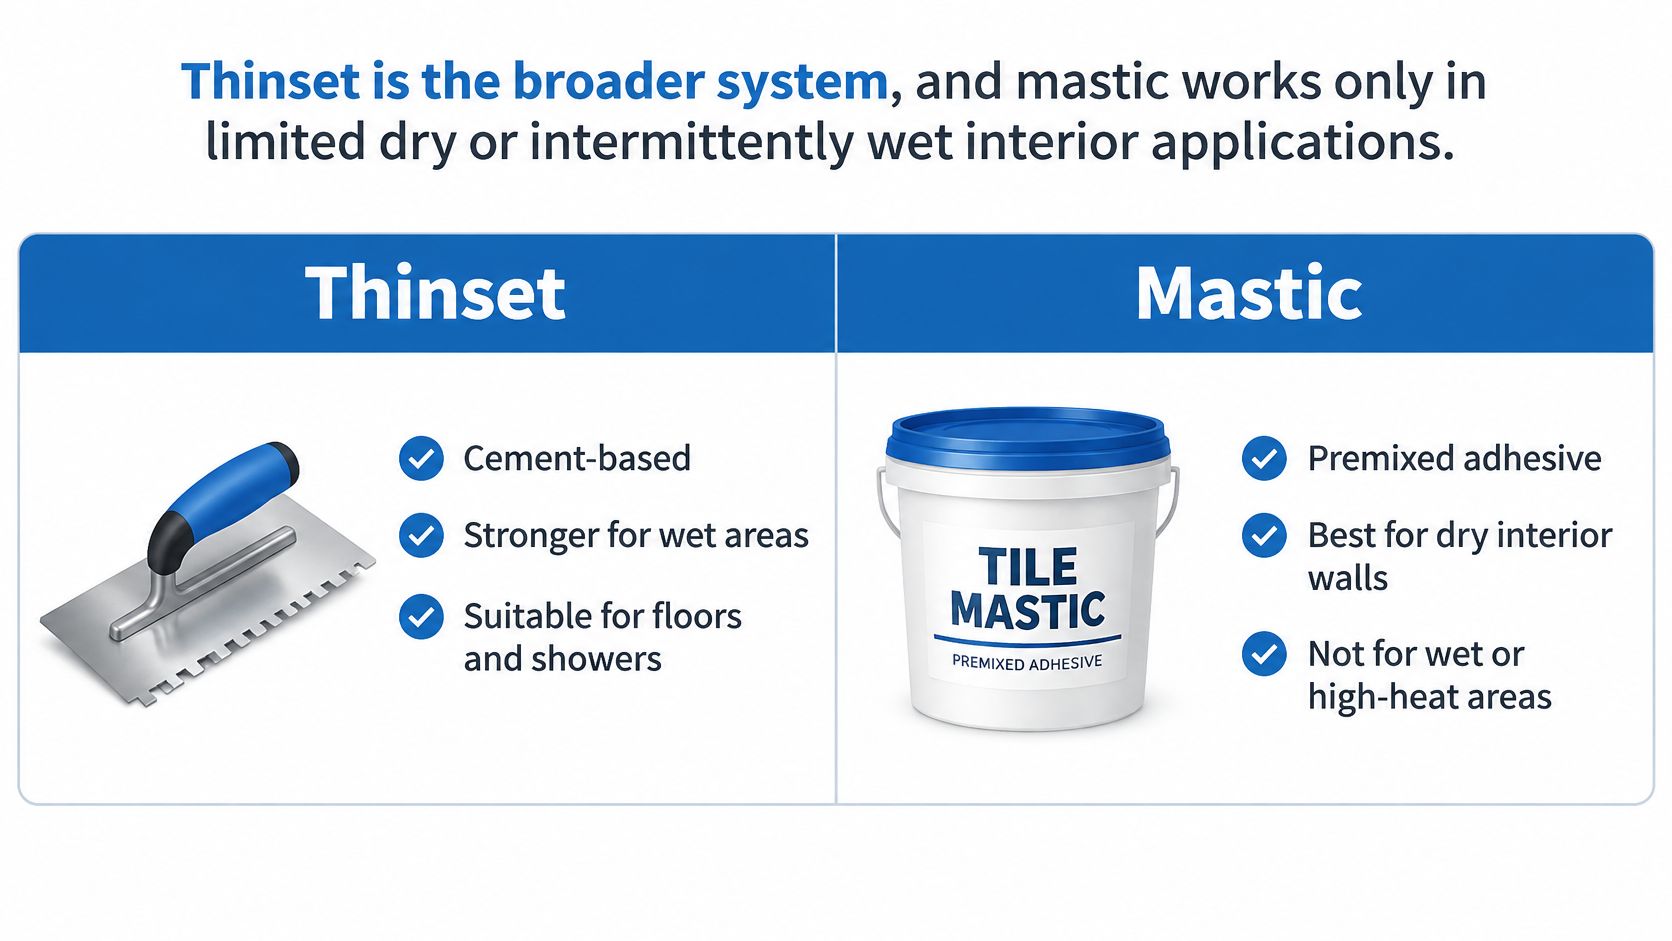
| Criterion | Thinset (cement-based mortar) | Mastic (organic adhesive) |
|---|---|---|
| Setting mechanism | Cement hydration, not dependent only on evaporation | Hardens as water evaporates from the adhesive |
| Governing standard | ANSI A118.1, A118.4, A118.15 | ANSI A136.1 |
| Wait before grouting | Per product data sheet | At least 48 hours, longer for low-porosity or large-format tile |
| Wet areas and showers | Suitable when the specific mortar is approved for wet use | Not recommended for shower floors, steam rooms or exterior work |
| Coverage target | 80% dry interior, 95% wet or exterior | Full contact per product data sheet, dry interiors only |
| Best fit | Floors, porcelain, natural stone, showers, wet areas | Small-format tile on limited dry interior walls |
How to Read This for Your Room
Scan the rows against your actual space before you buy anything. If your project involves a floor, porcelain, stone, or any regular water exposure, the left column is where you live. Mastic's column only works when every row lines up in its favor, which means small tile, interior wall, and dry or only occasionally damp conditions.
The cure row deserves attention, too. Homeowners often pick premixed mastic to save time, then lose that time waiting for it to dry behind dense tile. Thinset requires mixing, but its schedule follows the data sheet rather than how fast water can escape from behind the tile. Match the product to the condition, not to what's easiest to open.
How Each Adhesive Sets and Holds Tile
Thinset and mastic don't just come in different containers. They harden in opposite ways, and that chemistry sets every limit that follows.
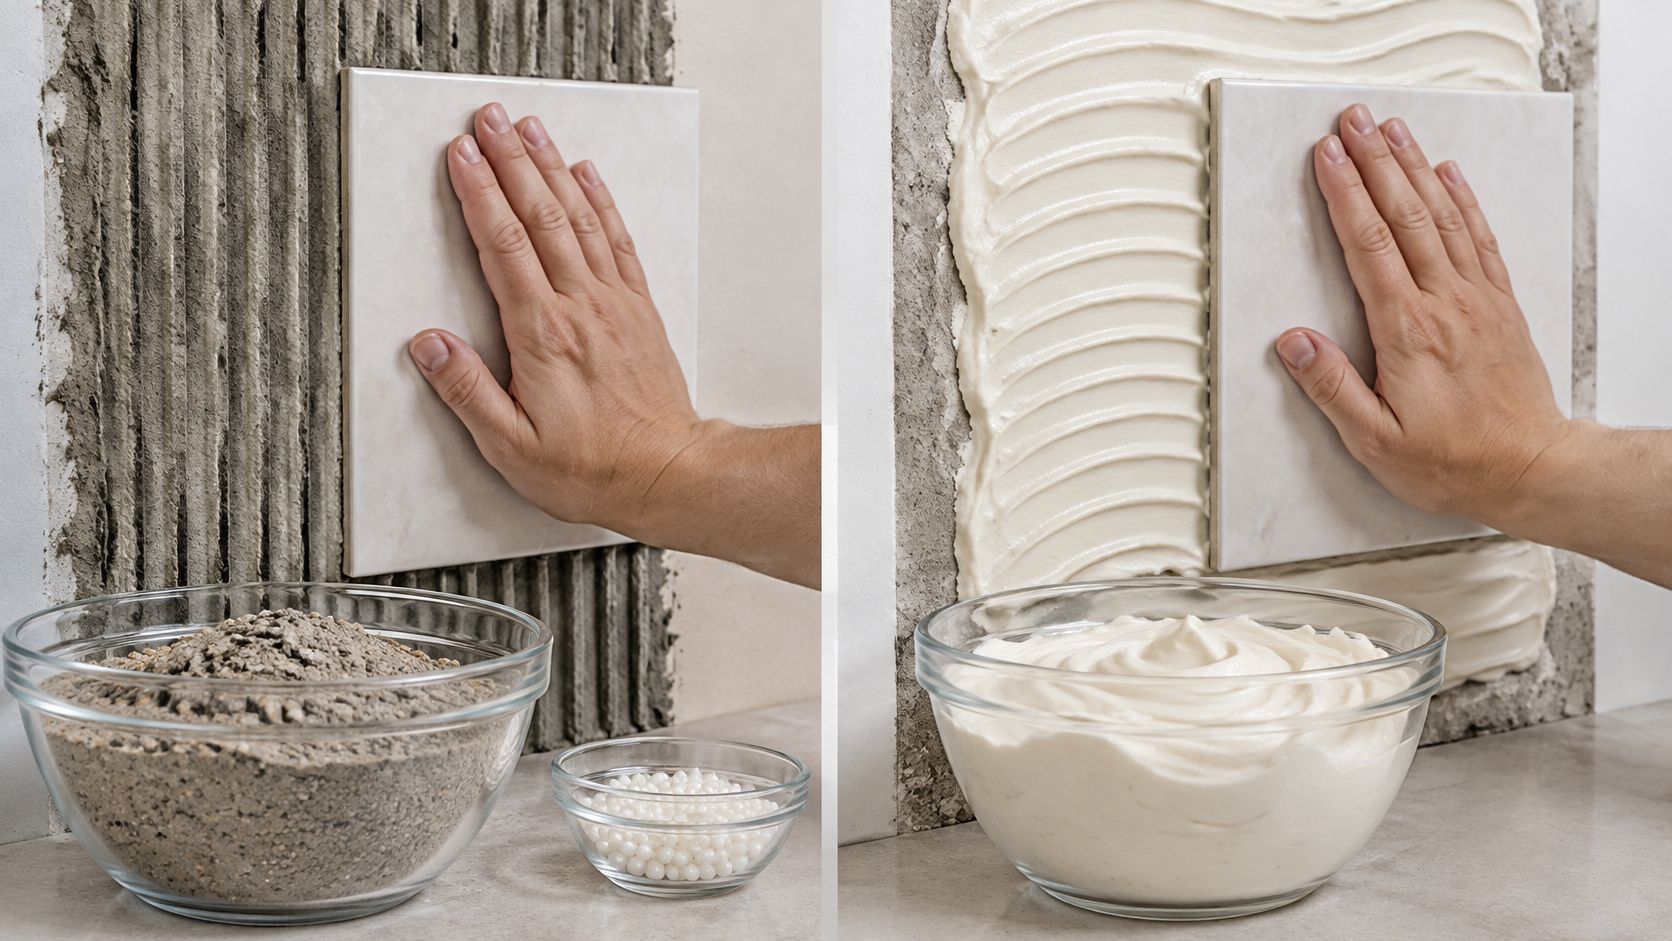
Thinset is Portland cement with aggregate, and modified versions add latex or other polymers. It sets through cement hydration, a chemical reaction with water, so it isn't dependent solely on evaporation. Mastic is a premixed blend of polymer and mineral components that gains strength only as water leaves the adhesive. The technical bulletin on tile adhesives notes that ANSI A118.4-2023 requires at least 300 psi after four weeks on glazed wall tile and at least 200 psi on porcelain.
Thinset cures with cement. Mastic cures by drying.
What That Means on the Job
Because thinset hydrates, it can keep gaining strength in damp assemblies where mastic would stall. Because mastic must dry, moisture trapped behind impervious porcelain or glass slows its cure and can leave soft adhesive in the center of a tile long after the edges feel firm. That trapped moisture is also why organic adhesives are more prone to mold and mildew growth in the wrong location.
The room's moisture level decides more of this than anything printed on the front of the container.
The Labels You'll See on Bags and Buckets
- ANSI A118.1: Dry-set mortar, the basic unmodified thinset.
- ANSI A118.4: Modified dry-set mortar with polymer additives for better bond and flexibility.
- ANSI A118.15: Improved modified mortar with higher performance thresholds.
- ANSI A136.1: Organic mastic adhesives, split into Type 1 and Type 2. Type 1 is the more water-resistant class, but it's still intended for interior work with limited or intermittent water exposure.
Polymer-modified thinsets have become the common choice over older unmodified mortar beds, so most bags on the shelf today carry one of the A118 designations above. Check the product class first. Tile size, room conditions, and trowel choice come after you know which chemistry you're working with.
Which Adhesive Fits Each Room and Tile
If the space gets wet at least sometimes, start with thinset and confirm the specific mortar is approved for that use. That's the rule that prevents most expensive mistakes in the thinset vs mastic decision.
Coverage reinforces the point. The Tile Council of North America guidance summarized in this installation document calls for more than 80% mortar coverage in dry areas and 95% coverage in wet areas. Voids under tile reduce support and invite cracking or debonding, especially on floors and large-format tile.
| Installation area | Tile type | Recommended adhesive | Coverage target | Key condition |
|---|---|---|---|---|
| Dry interior wall | Small-format ceramic or porcelain | Type 1 mastic or modified thinset | 80% | Mastic only if the data sheet allows the tile size and exposure |
| Dry interior floor | Porcelain or ceramic | Modified thinset | 80% | Mastic not used as the standard floor adhesive |
| Shower wall | Ceramic or porcelain | Thinset approved for wet areas | 95% | Mastic not recommended in wet areas |
| Shower floor | Any tile | Thinset approved for wet areas | 95% | Mastic not recommended on shower floors |
| Exterior or freezing area | Porcelain or natural stone | Exterior-rated thinset | 95% | Mastic not recommended outdoors |
| Backsplash behind range | Ceramic or porcelain | Thinset when splashing is frequent | 80% | Mastic only for light, dry use |
| Large-format porcelain panels | Large-format porcelain | Large-format-rated thinset | 95% on floors and wet areas, 80% minimum dry | Confirm cure time before grouting |
Where Mastic Stops Being a Shortcut
Mastic suits selected small-tile, dry-interior wall applications. It doesn't belong in laundries, saunas, pools, gang showers, steam rooms, or exterior areas, and it isn't a floor adhesive. Its drying mechanism is the reason. Water trapped behind impervious tile or inside a continually wet assembly delays curing and can contribute to deterioration.
Thinset is the more broadly applicable system for floors, porcelain, natural stone, showers, and other wet or high-load installations. For shower work, the adhesive is only one layer, so review how to waterproof a shower before tiling before you assume mortar alone handles water.
Before you use the matrix, write down three facts about your project: tile size, room moisture, and whether the surface is a wall or a floor. Those three answers eliminate the wrong product faster than any brand comparison.
Coverage and Substrate Checks Before You Commit
Here's the uncomfortable part of the thinset vs mastic debate: you can choose the right adhesive and still get a failed floor. Coverage and substrate problems cause failures that no product swap will fix.
The 2024 ANSI A108/A118/A136.1 standards overview notes that industry guidance specifies at least 80% mortar contact in dry interiors and 95% in wet or exterior applications. A technically appropriate thinset applied with spot bonding or a too-small notch leaves voids that crack under point loads, like a stool leg or a dropped pan.
Field rule: A new adhesive cannot fix a moving surface.
Wood Panels That Should Not Hold Tile
Wood-based panels such as particleboard, composite panels, OSB, lauan, and softwood plywood are not recommended tile backings. They expand and contract as moisture changes, and that movement breaks the bond even when the correct thinset is used. If your installer plans to tile directly over one of these, stop and fix the backing first. Proper tile backer board installation is the work that makes the adhesive choice meaningful.
Inspect These Four Things First
- Substrate: Is it flat, clean, sound, and dimensionally stable, with no bounce or crumbling?
- Waterproofing membrane: Is it present where required, and is the chosen mortar compatible with it?
- Tile absorption: Is the tile dense porcelain, porous ceramic, or natural stone that needs specific mortar chemistry?
- Movement joints: Are soft joints planned at perimeters and changes of plane instead of hard grout lines that will crack?
Older Massachusetts homes make these checks urgent. Plywood-backed bathrooms, seasonal humidity swings, and framing that has moved for decades expose weak preparation quickly. Switching from mastic to thinset can't rescue a poorly prepared or unstable surface.
Ask your installer one direct question before tile goes down: how will you verify coverage? A good answer involves lifting a freshly set tile to check transfer, adjusting notch size, and back-buttering where needed. If you don't get that answer, the adhesive debate is the least of your problems.
Failure Modes and Their Fixes
The most overlooked failure happens with the product people trust most. Large-format tile seals much of the mortar surface and limits evaporation, so polymer-modified mortars can cure slowly or stay under-cured when moisture can't escape. The National Tile Authority guide to installation methods emphasizes that wet-area and exterior installations generally require about 95% coverage, while dry interiors require about 80%.
Ordinary thinset isn't automatically right for large porcelain panels. Tile size, tile-back profile, membrane permeability, and installation timing matter as much as the label. Organic adhesives, meanwhile, are restricted from continuously wet, exterior, and steam environments under ANSI A136.1.
| Symptom | Likely cause | Fix |
|---|---|---|
| Hollow sound or cracked tile | Low mortar coverage leaving voids | Back-butter large tile and check coverage before setting |
| Tile debonds in a shower | Mastic used in a wet area | Remove and reset with wet-area thinset |
| Adhesive stays soft or gums up under grout | Mastic not fully cured, moisture trapped | Allow full cure time before grouting and improve ventilation |
| Mold or discoloration at the adhesive line | Organic adhesive exposed to moisture | Replace with a mortar-based system and fix the moisture source |
| Large tile cracks or lifts | Mortar under-cured under sealed tile | Use large-format mortar and confirm cure before grouting |
| Tile lifts from the underlayment | Wood-based panel movement | Replace or stabilize the backing before setting tile |
Prevention Checks That Actually Work
- Confirm the mortar class: Large-format, modified, or wet-area rated as the tile and room require.
- Match notch size to tile: Bigger tile and deeper back profiles need larger notches to achieve contact.
- Back-butter large tile: A flat skim coat on the tile back fills texture and closes voids.
- Respect cure time: Grouting early traps moisture and weakens the bond you're counting on.
- Check membrane compatibility: Some waterproofing systems slow drying and change which mortar you should use.
Fixes range from resetting a single loose tile the same day to a full tear-out when mastic has softened throughout a shower. Don't pull tile on your own to investigate. Bring the symptom, the room, and the product name to your installer first, because the pattern of failure tells them whether you're facing a spot repair or a system problem.
Choosing the Right Adhesive for Your Project
Run these questions in order. Each one narrows the thinset vs mastic choice, and most projects are decided by the first two.
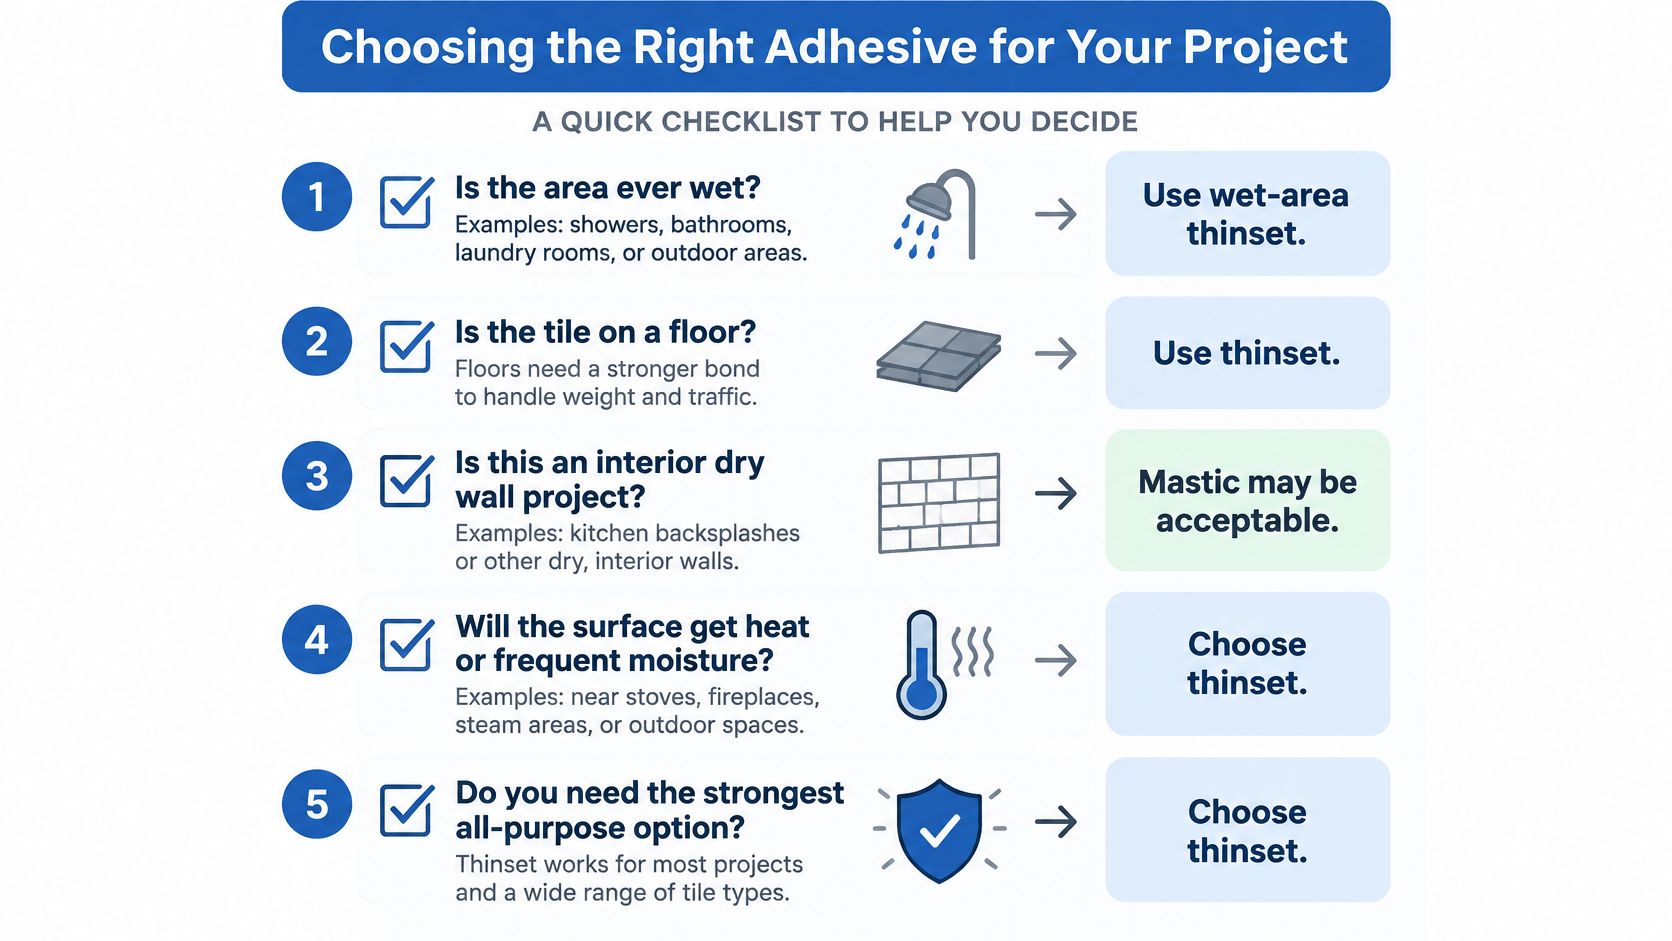
- Is the area ever wet? If yes, use wet-area thinset. Showers, shower floors, steam, exteriors, and splash-heavy zones end the discussion.
- Is the surface a floor? If yes, use thinset. Foot traffic and furniture loads require cementitious strength.
- How big is the tile? Large-format tile needs a large-format-rated mortar, the right notch, back-buttering, and a confirmed cure schedule.
- What's the substrate? If it's a wood-based panel, fix the backing before any adhesive decision. No product compensates for movement.
- What's the tile material? Porcelain, ceramic, marble, and granite each place different demands on bond and mortar color. Natural stone and hardwood-adjacent work need extra care in product choice and surface protection.
The adhesive is the cheapest part of a tile job to get right and the most expensive to redo.
Put Your Budget Where It Protects the Job
The adhesive is a small share of most project costs, so don't choose it by price alone. Ceramic tile is cost-effective and ideal for walls and floors, which frees budget for coverage, preparation, and the correct mortar class instead of forcing a compromise on the layer you can't see.
Our tile installation and remodeling work covers porcelain, ceramic, marble, granite, backsplash, and remodeling for kitchens, bathrooms, and flooring. Across that range, I would treat mastic as a narrow convenience for small dry interior walls, not as a default because it skips mixing. Convenience at the bucket rarely survives contact with water, weight, or time.
Confirm the Adhesive Before Tile Goes Down
You don't need to become a mortar expert. You need four confirmations in writing before the first tile is set.
- Pull the product data sheet. Confirm it allows your tile size, your room's water exposure, your substrate, and your installation area. If the sheet doesn't say it, the product doesn't do it.
- Confirm the coverage target and method. Ask which notch size will be used, whether large tile will be back-buttered, and how coverage will be checked during installation.
- Confirm substrate and membrane compatibility. The backing must be sound and stable, and any waterproofing membrane must work with the chosen mortar as a system. This applies to bathroom work and to kitchen tile installation alike.
- Confirm the cure schedule. Ask when grouting can start and when the area can take traffic or water. A rushed schedule is a common reason good products underperform.
Tell Us About Sensitive Surfaces Early
Customers with sensitive surfaces, such as natural stone or hardwood, can mention them in the quote form. That detail changes real decisions, including mortar selection, protection during work, and how adjacent finishes get cleaned afterward. Don't wait until installation day to raise it.
Sunny Day Pro Services installs porcelain, ceramic, marble and granite, along with custom backsplashes and full-room remodels, in Wayland, Newton, Needham, Wellesley, Weston and nearby communities. Our tile installation comes with a guaranteed high-end finish, and that finish starts long before grout, with the right adhesive over the right backing at the right coverage.
Request an estimate with your room details, tile type, tile size, and substrate if you know it. We'll confirm the adhesive before any tile is set, which is the only point in the project when changing your mind is still free.
Ready to settle the thinset vs mastic question for your specific room, tile, and substrate before work begins? Visit Sunny Day Pro Services to request an estimate for porcelain, ceramic, marble, or granite installation, custom backsplashes, or a full kitchen or bathroom remodel. Tell us your tile size and where it's going, and we'll confirm the right adhesive, coverage method, and cure schedule upfront.

